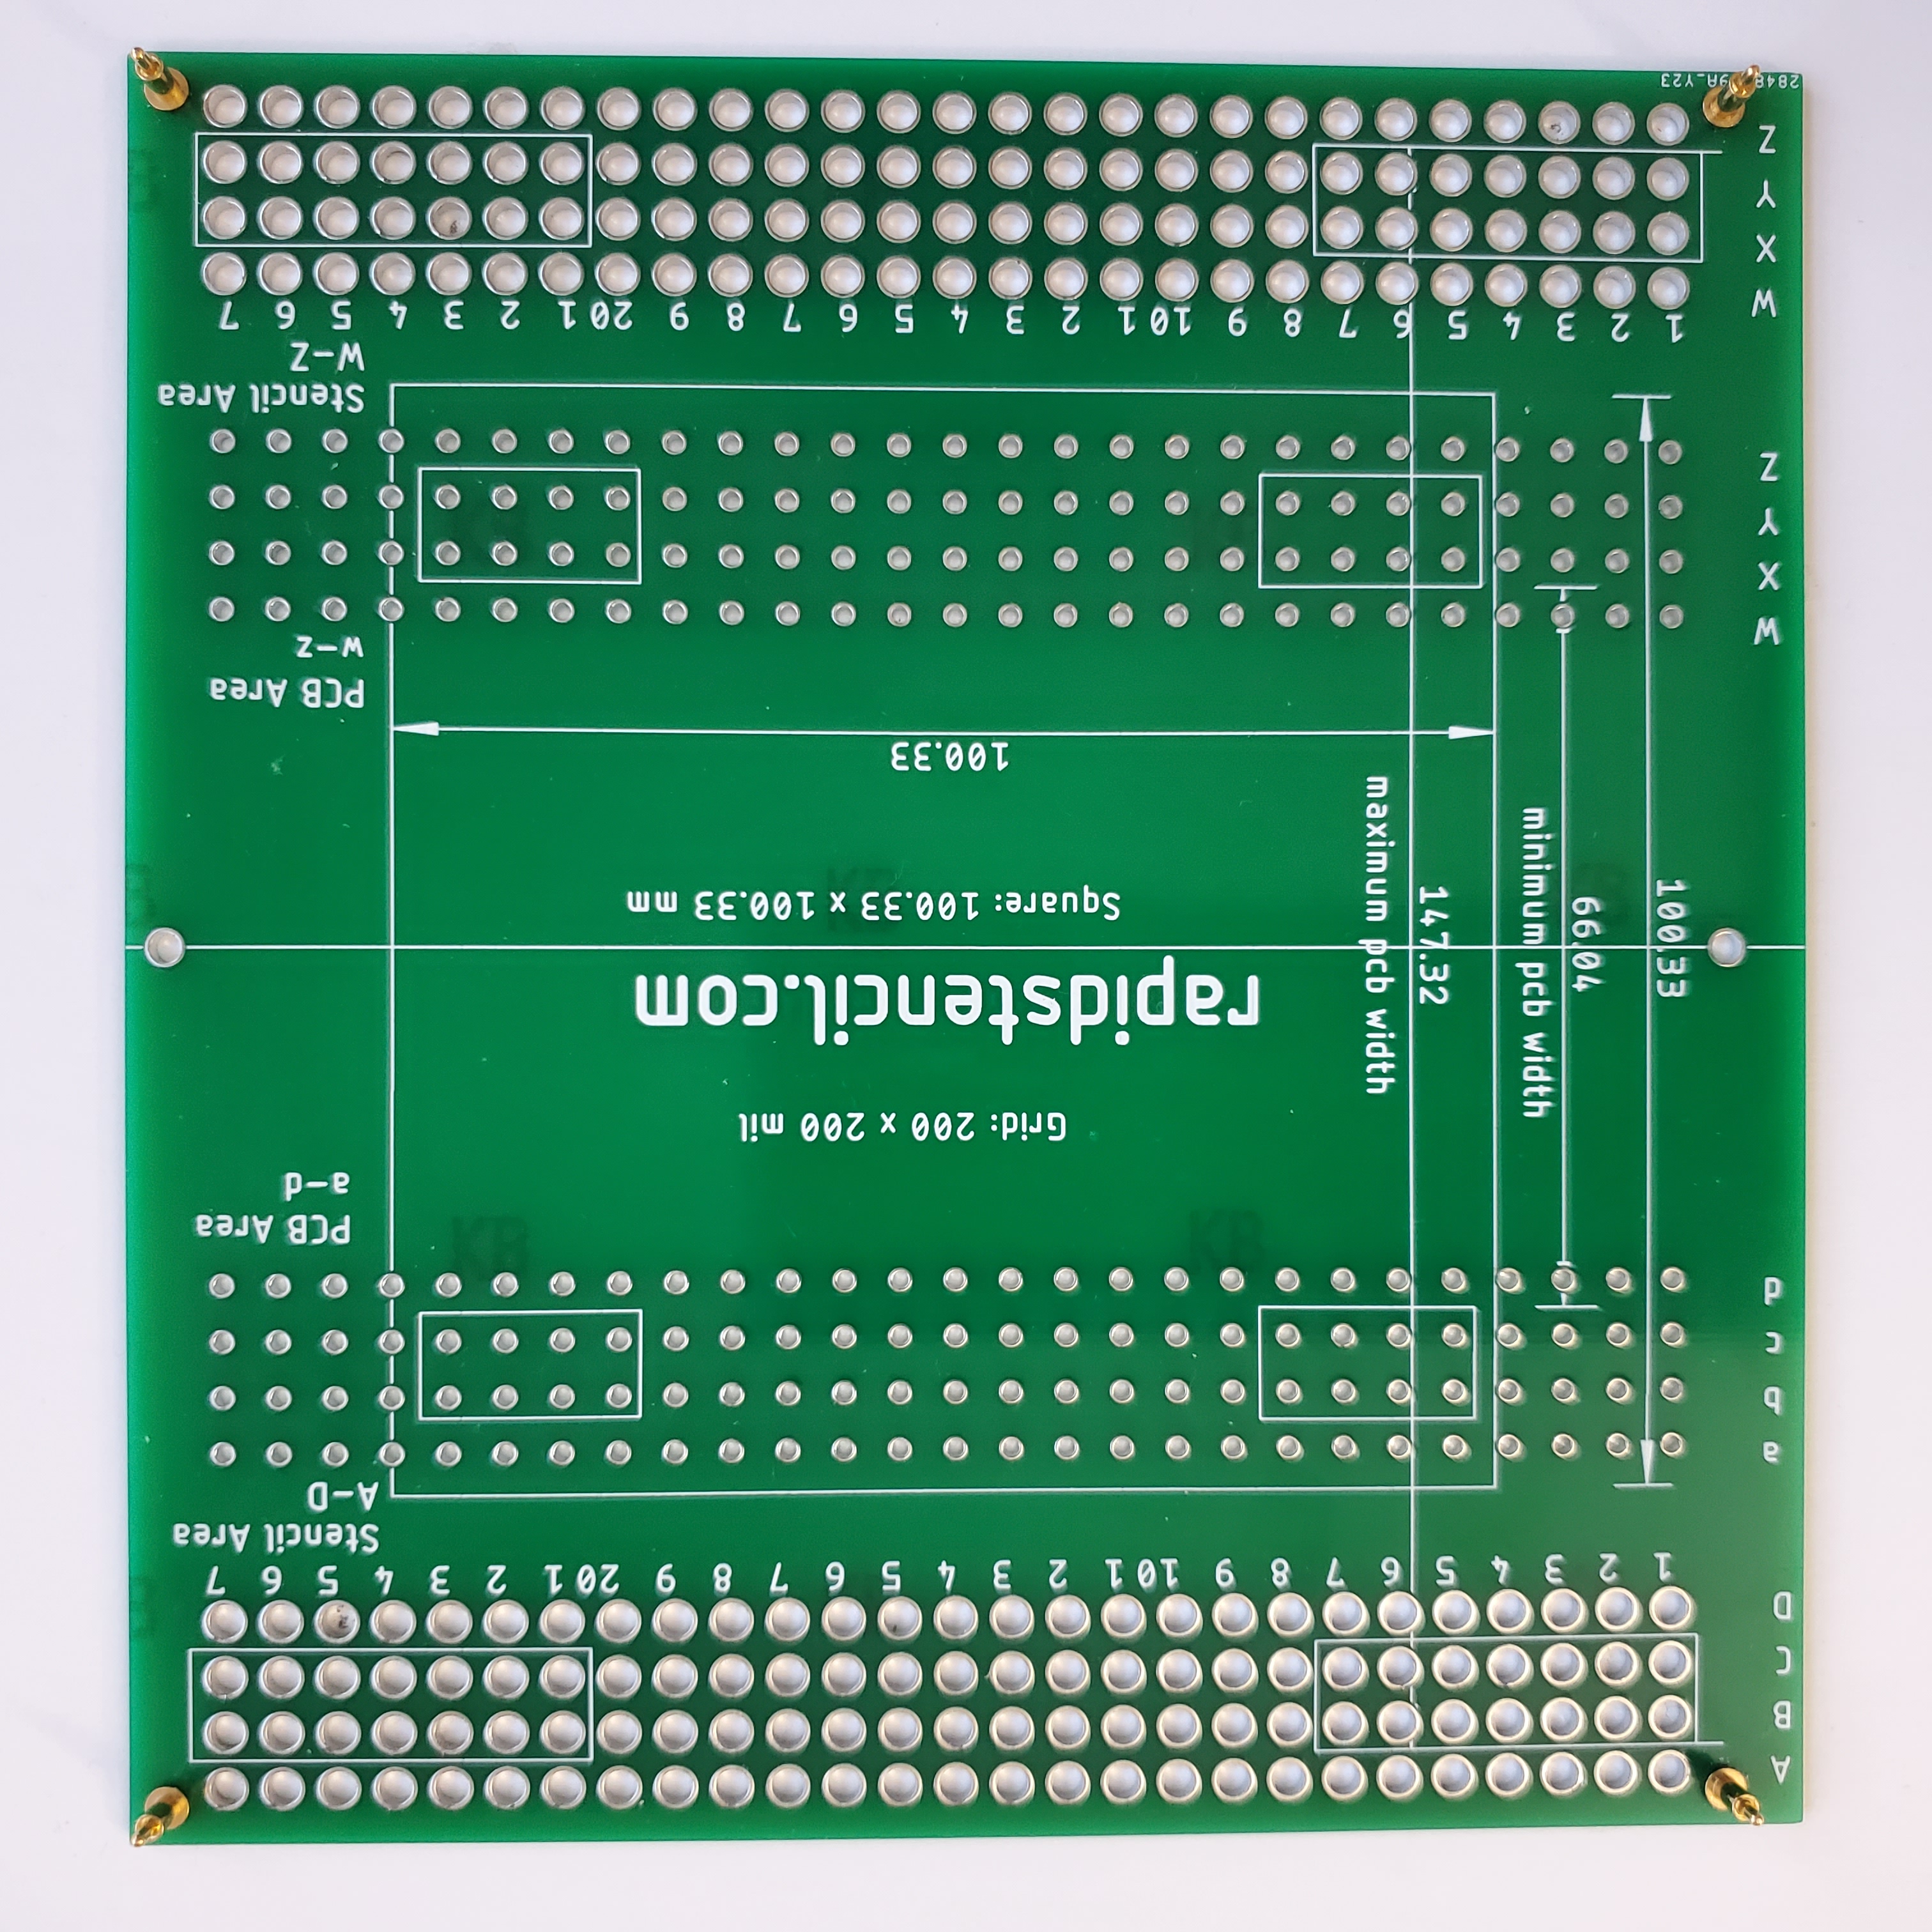
The best way is to use you CAD software to determine the coordinates (Pic 1). Alternatively
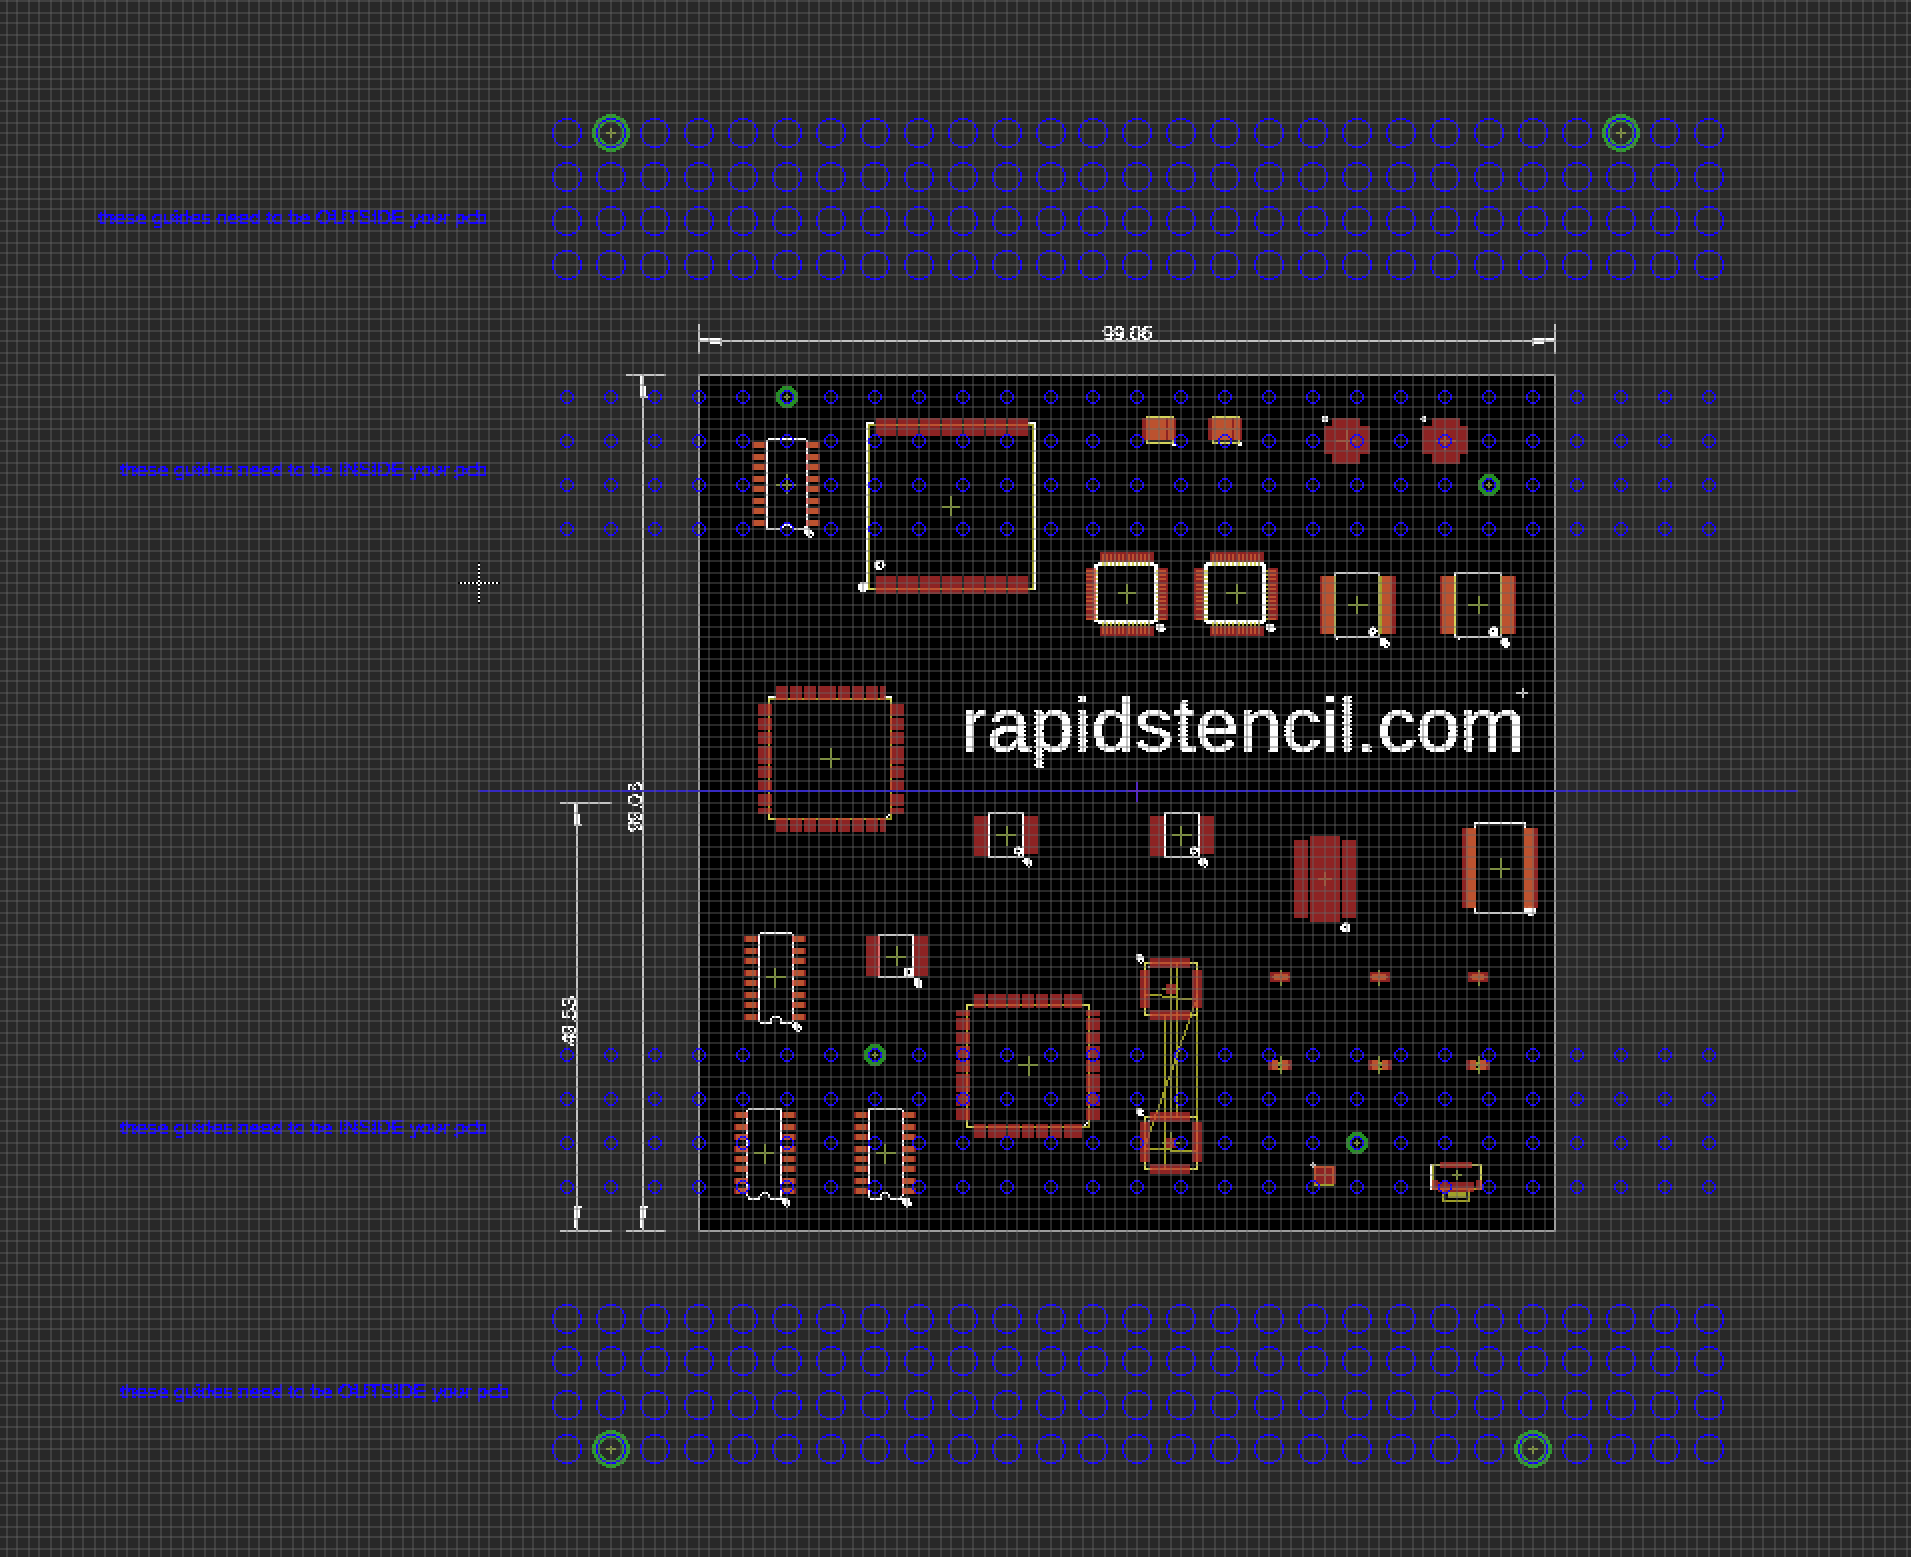
Determine pin coordinates from CAD
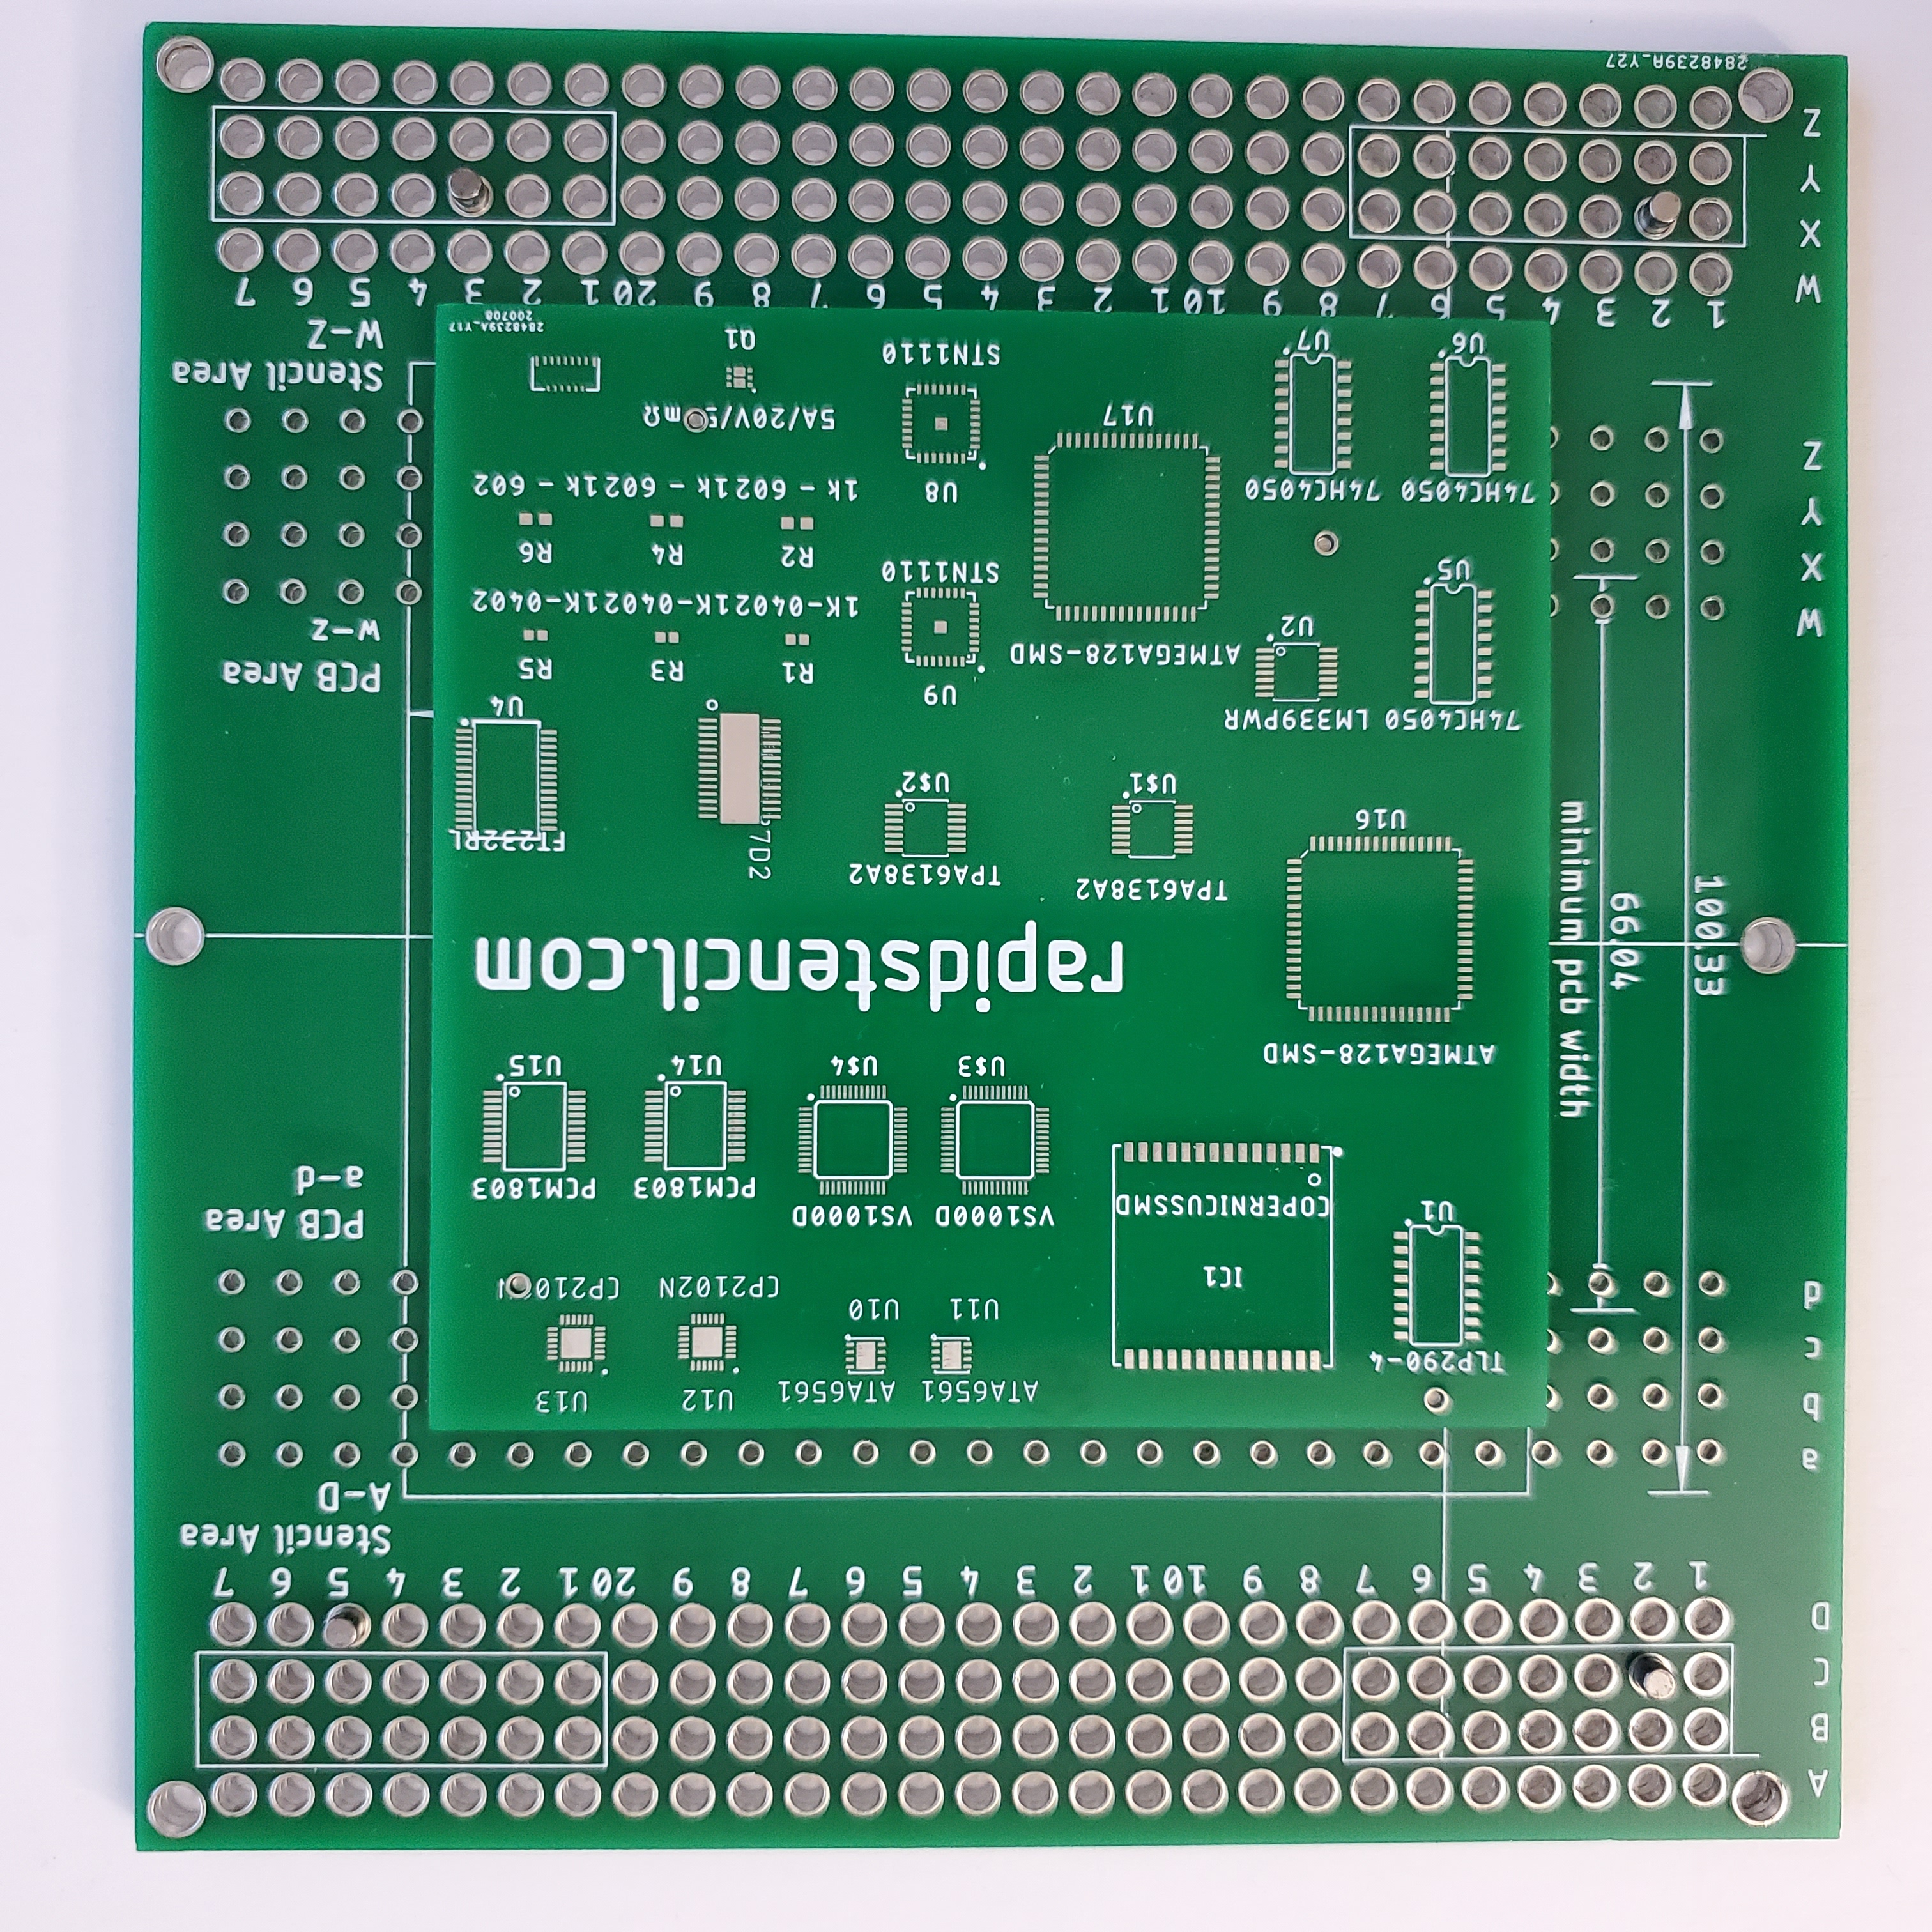
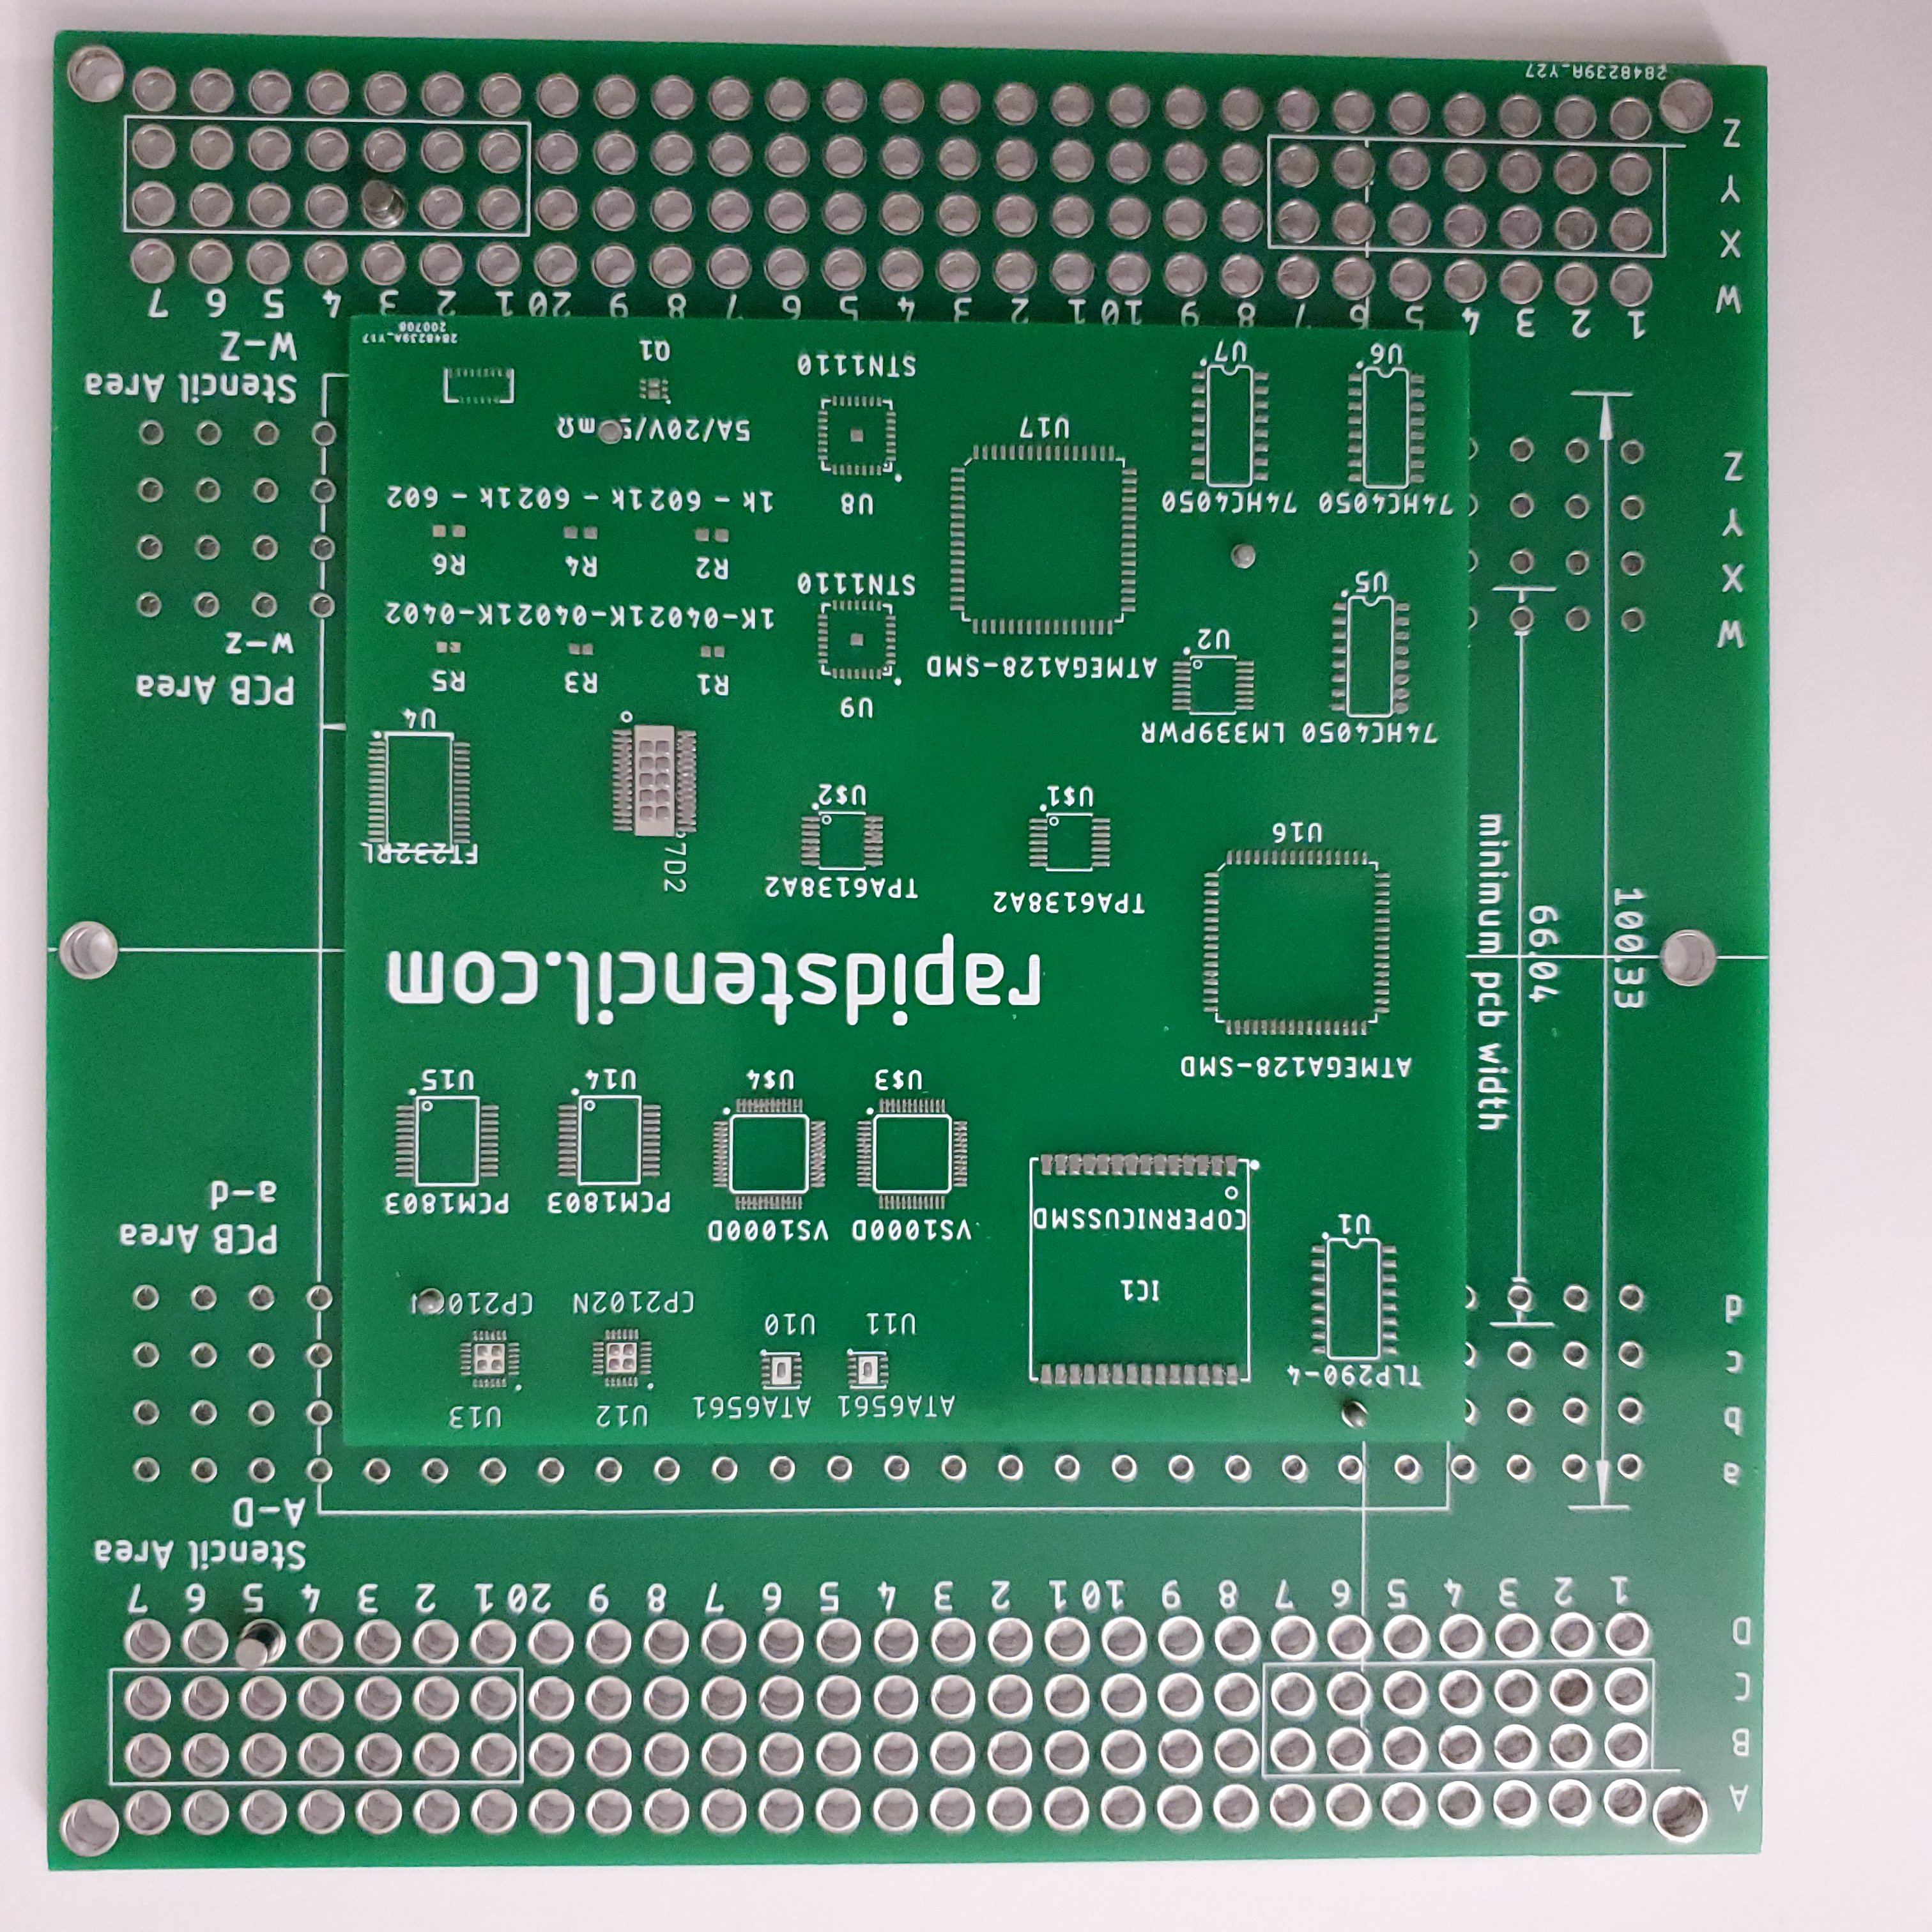
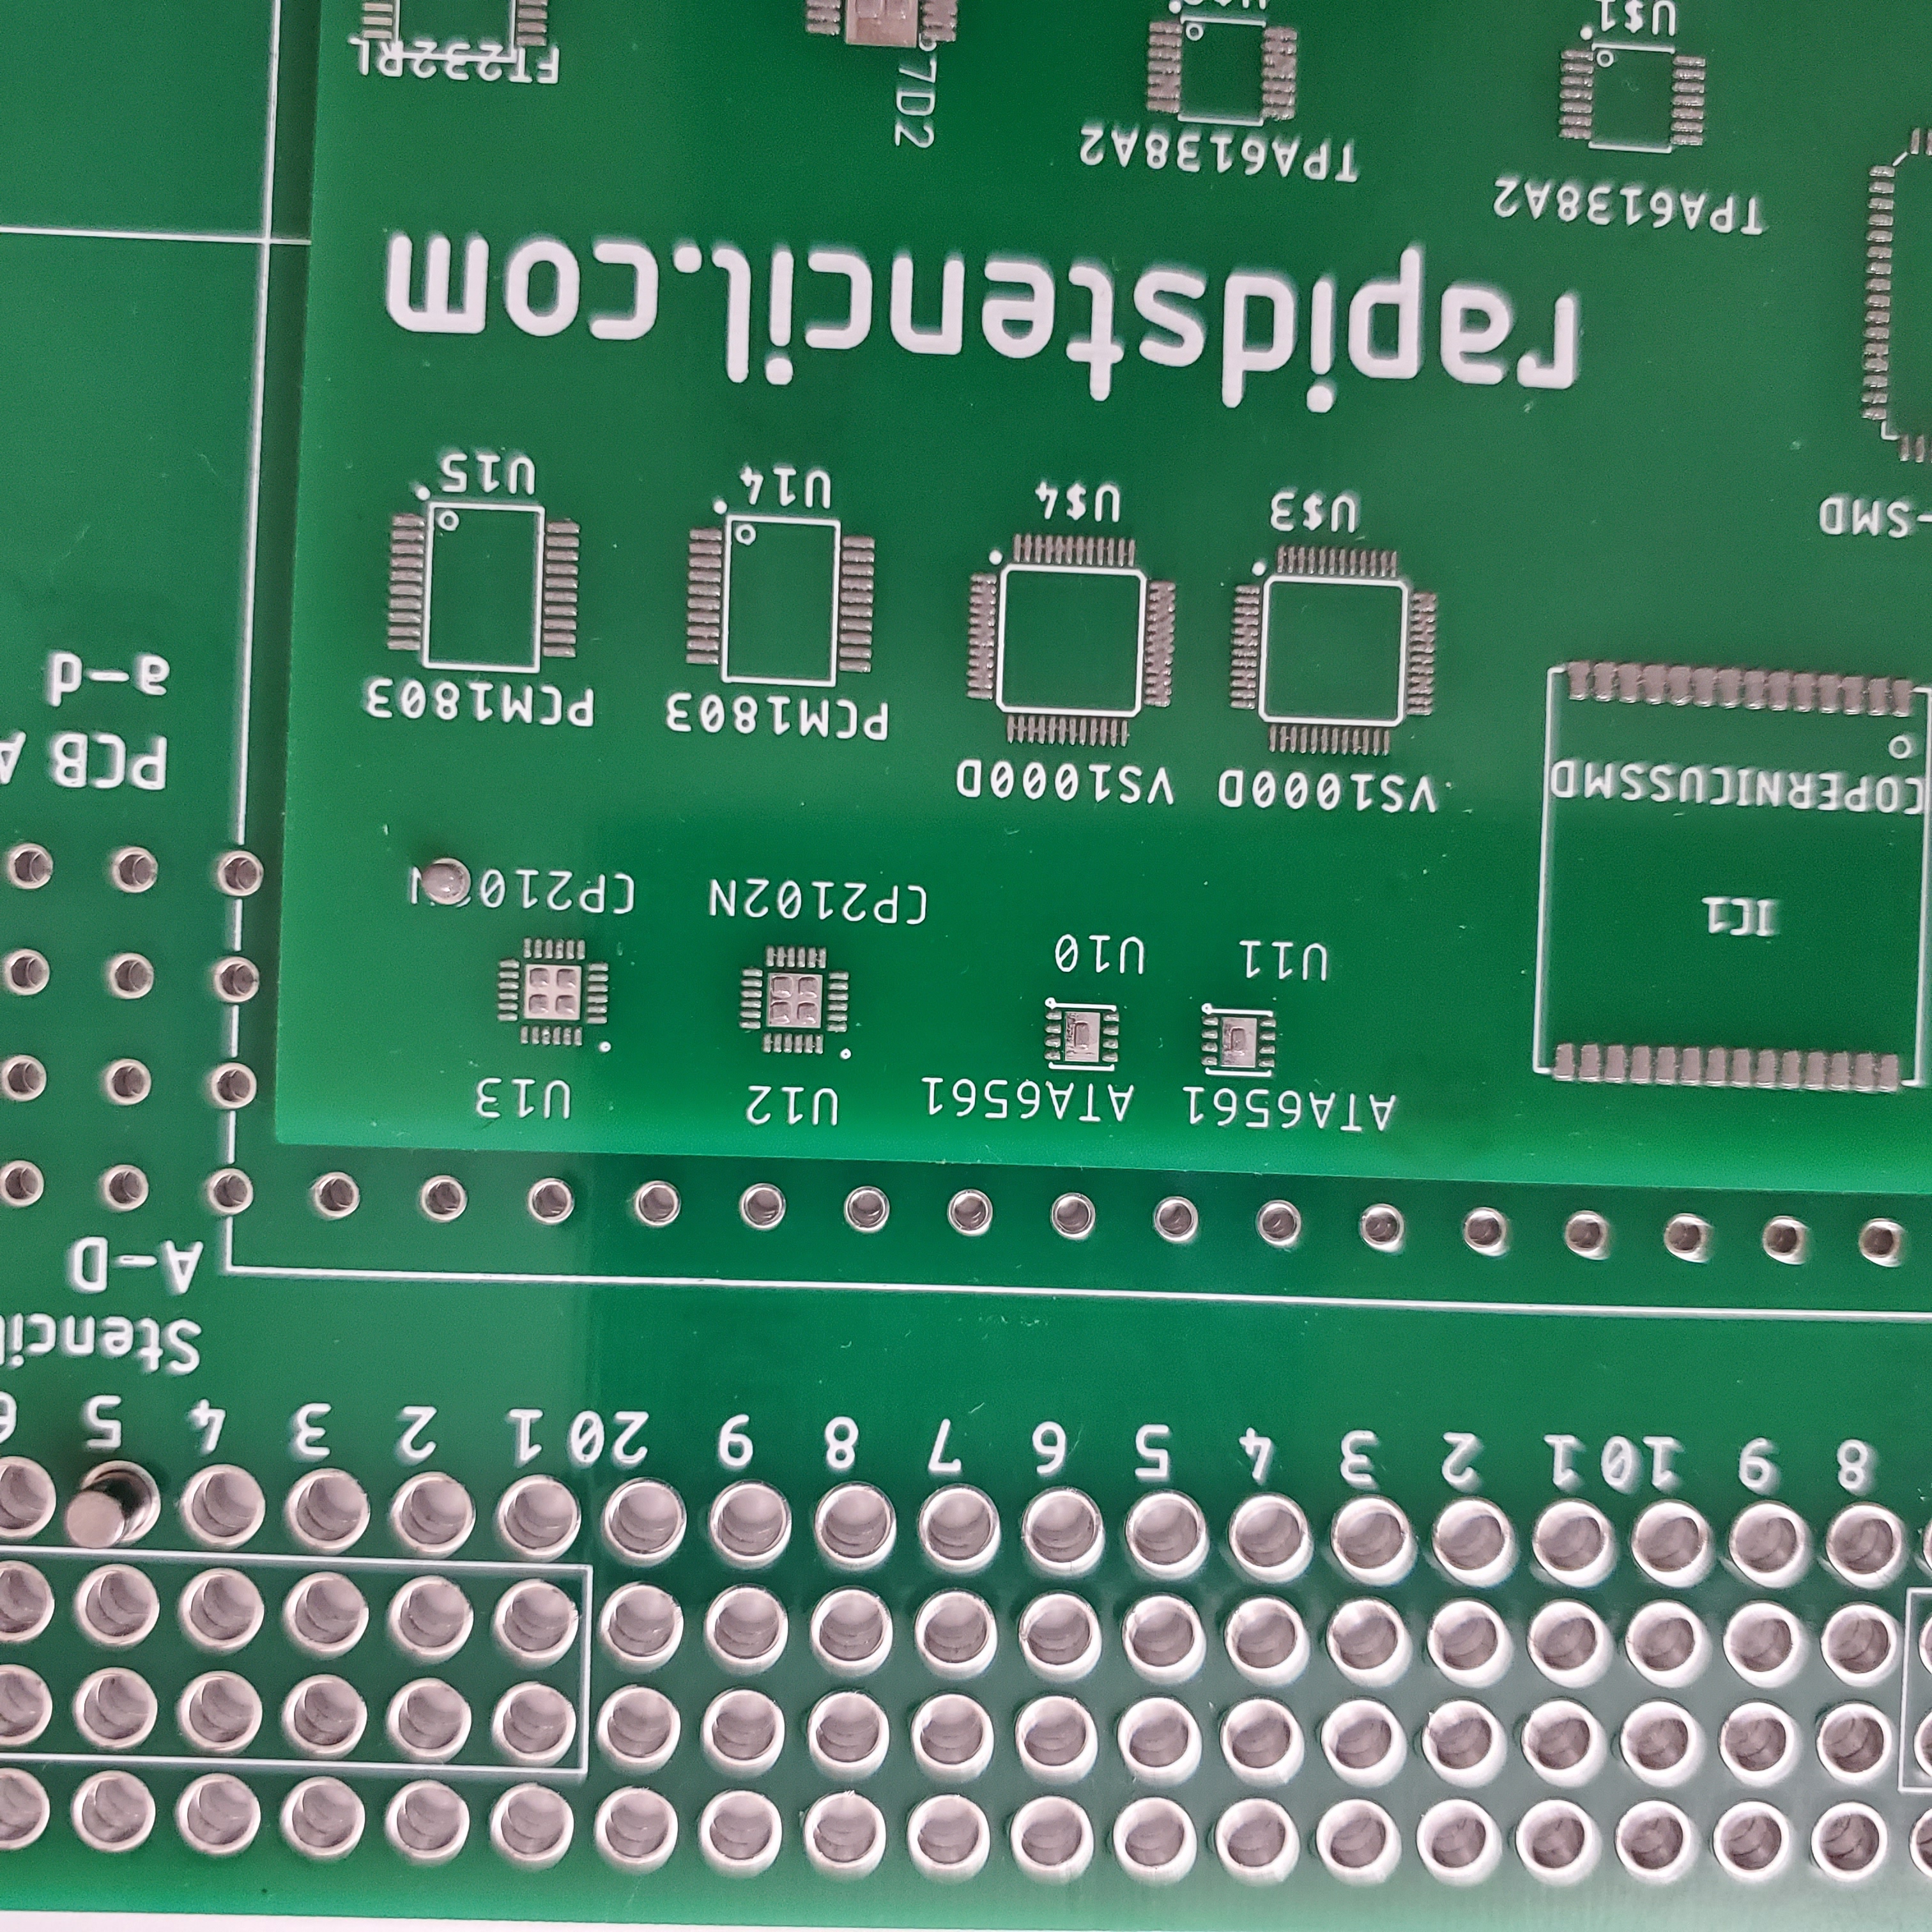
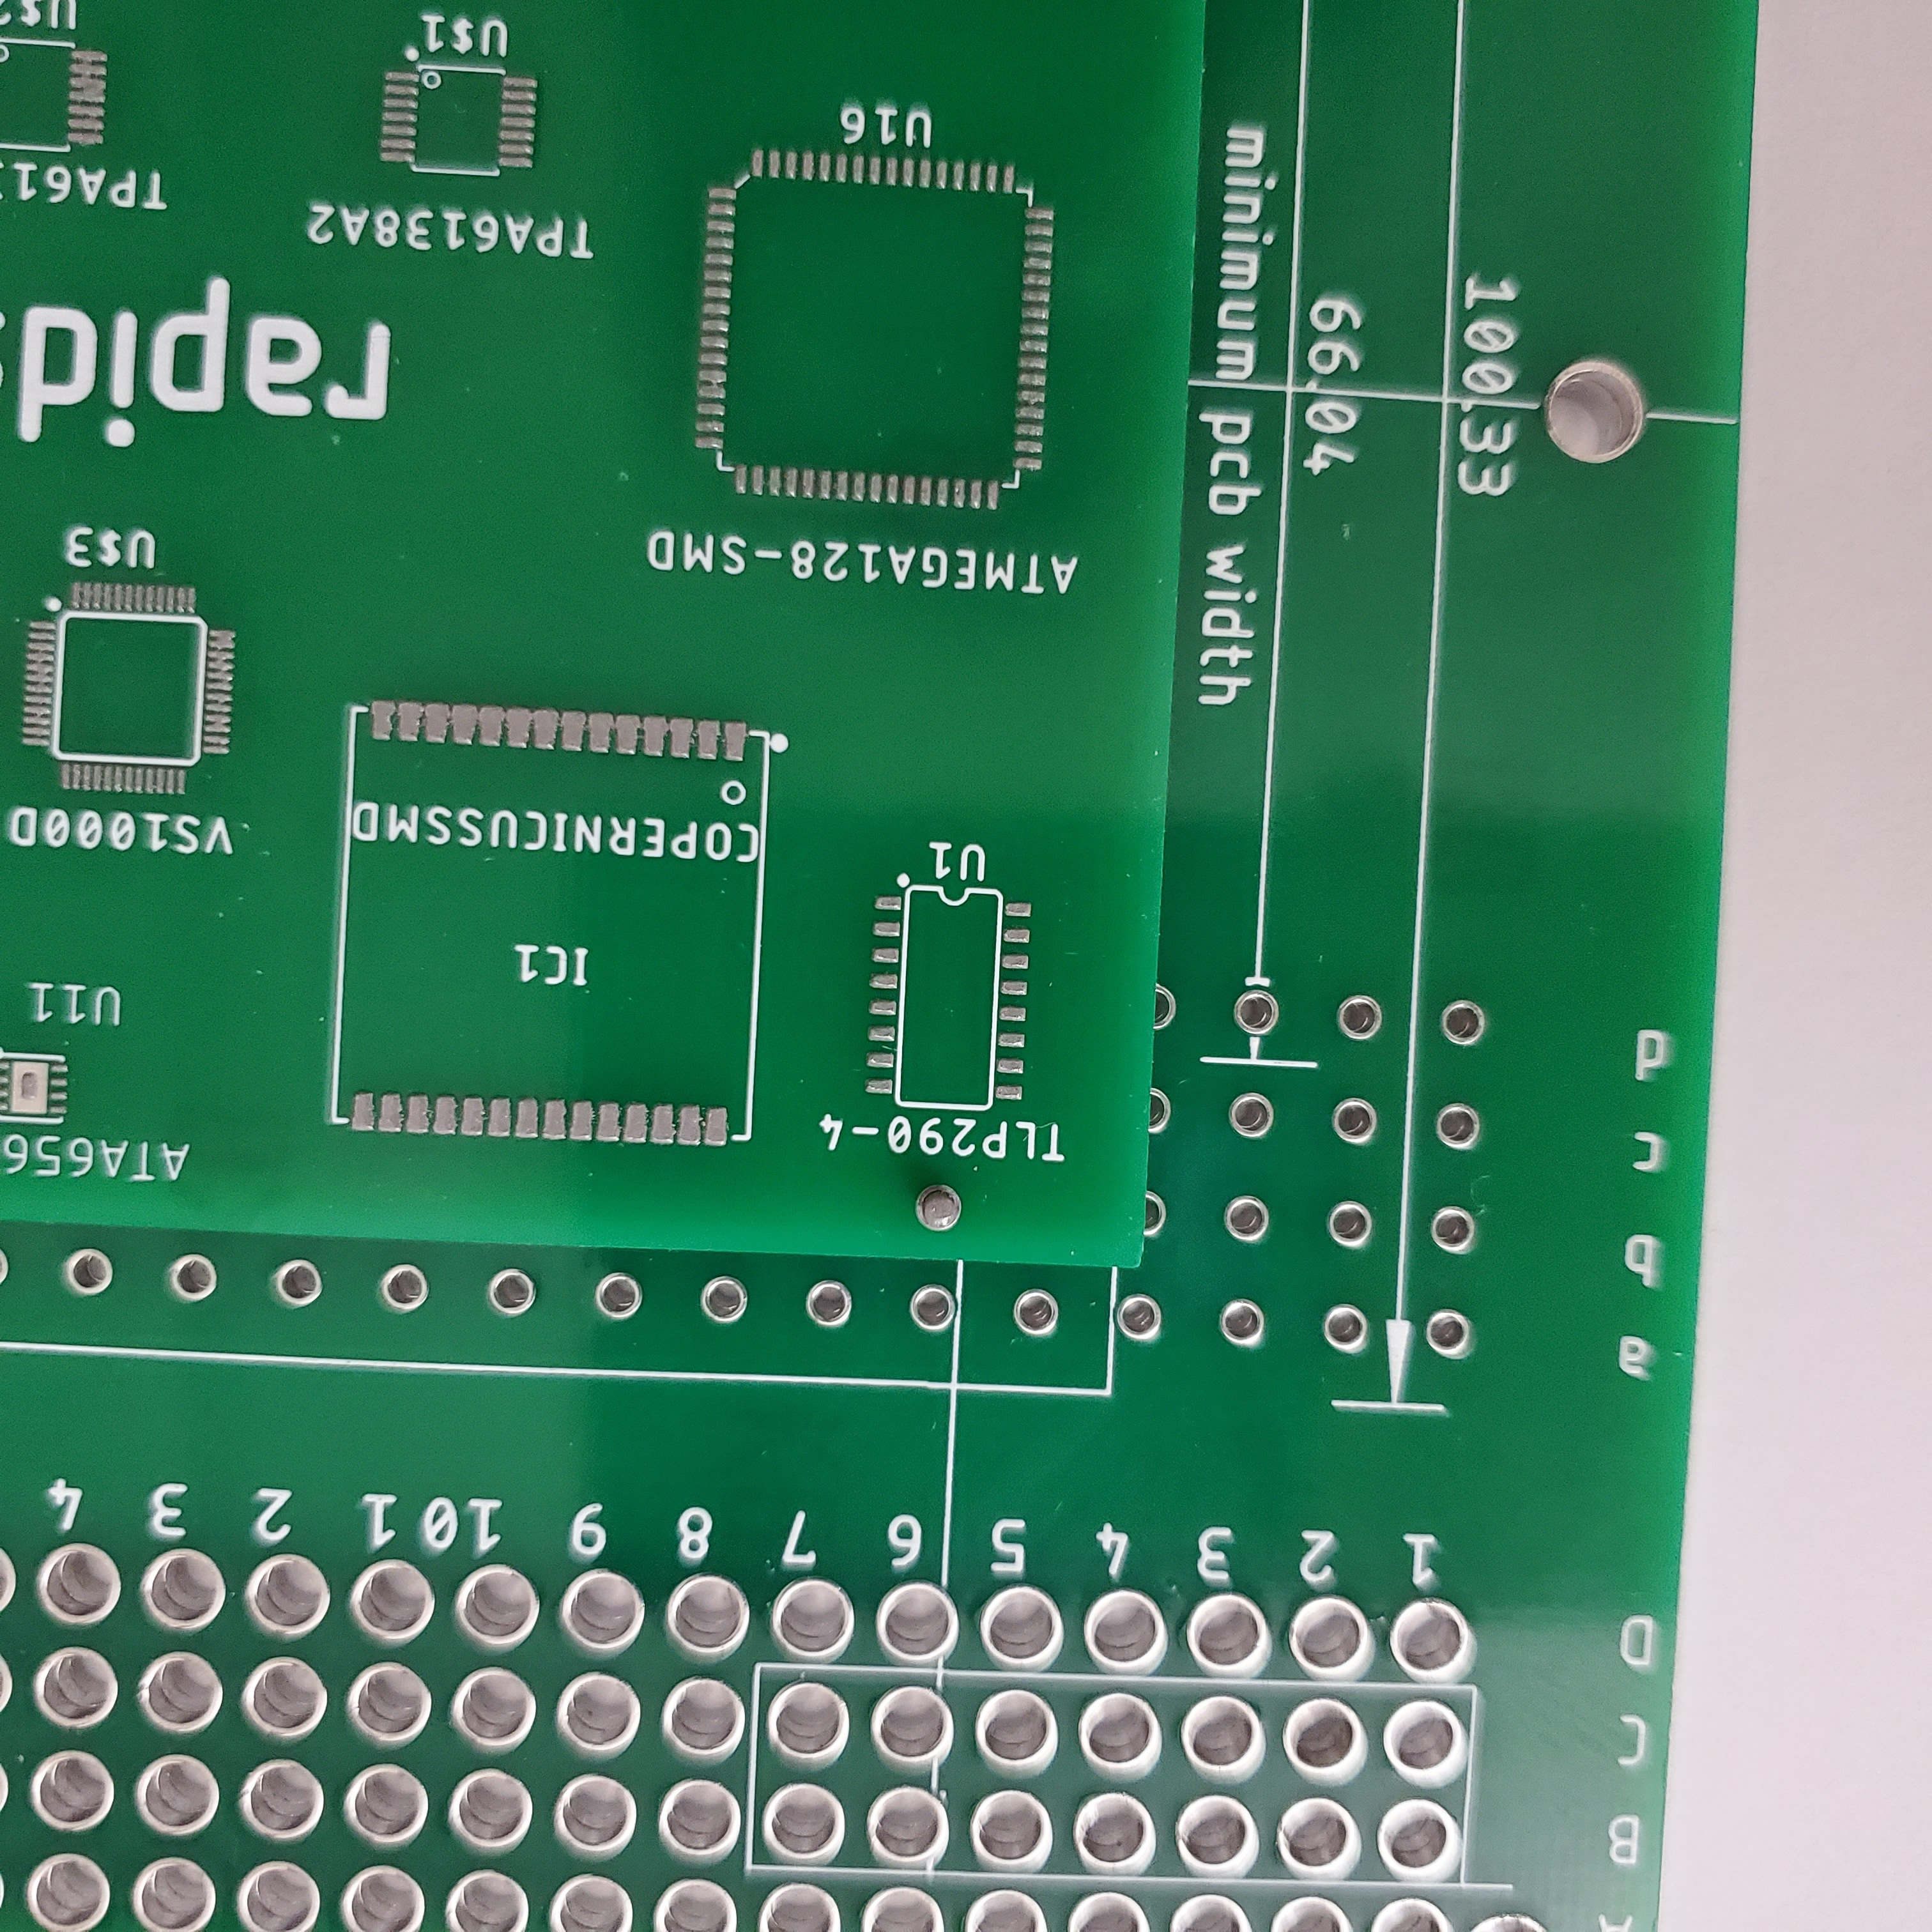
Place your PCB on RapidStencil, align and place the small pins

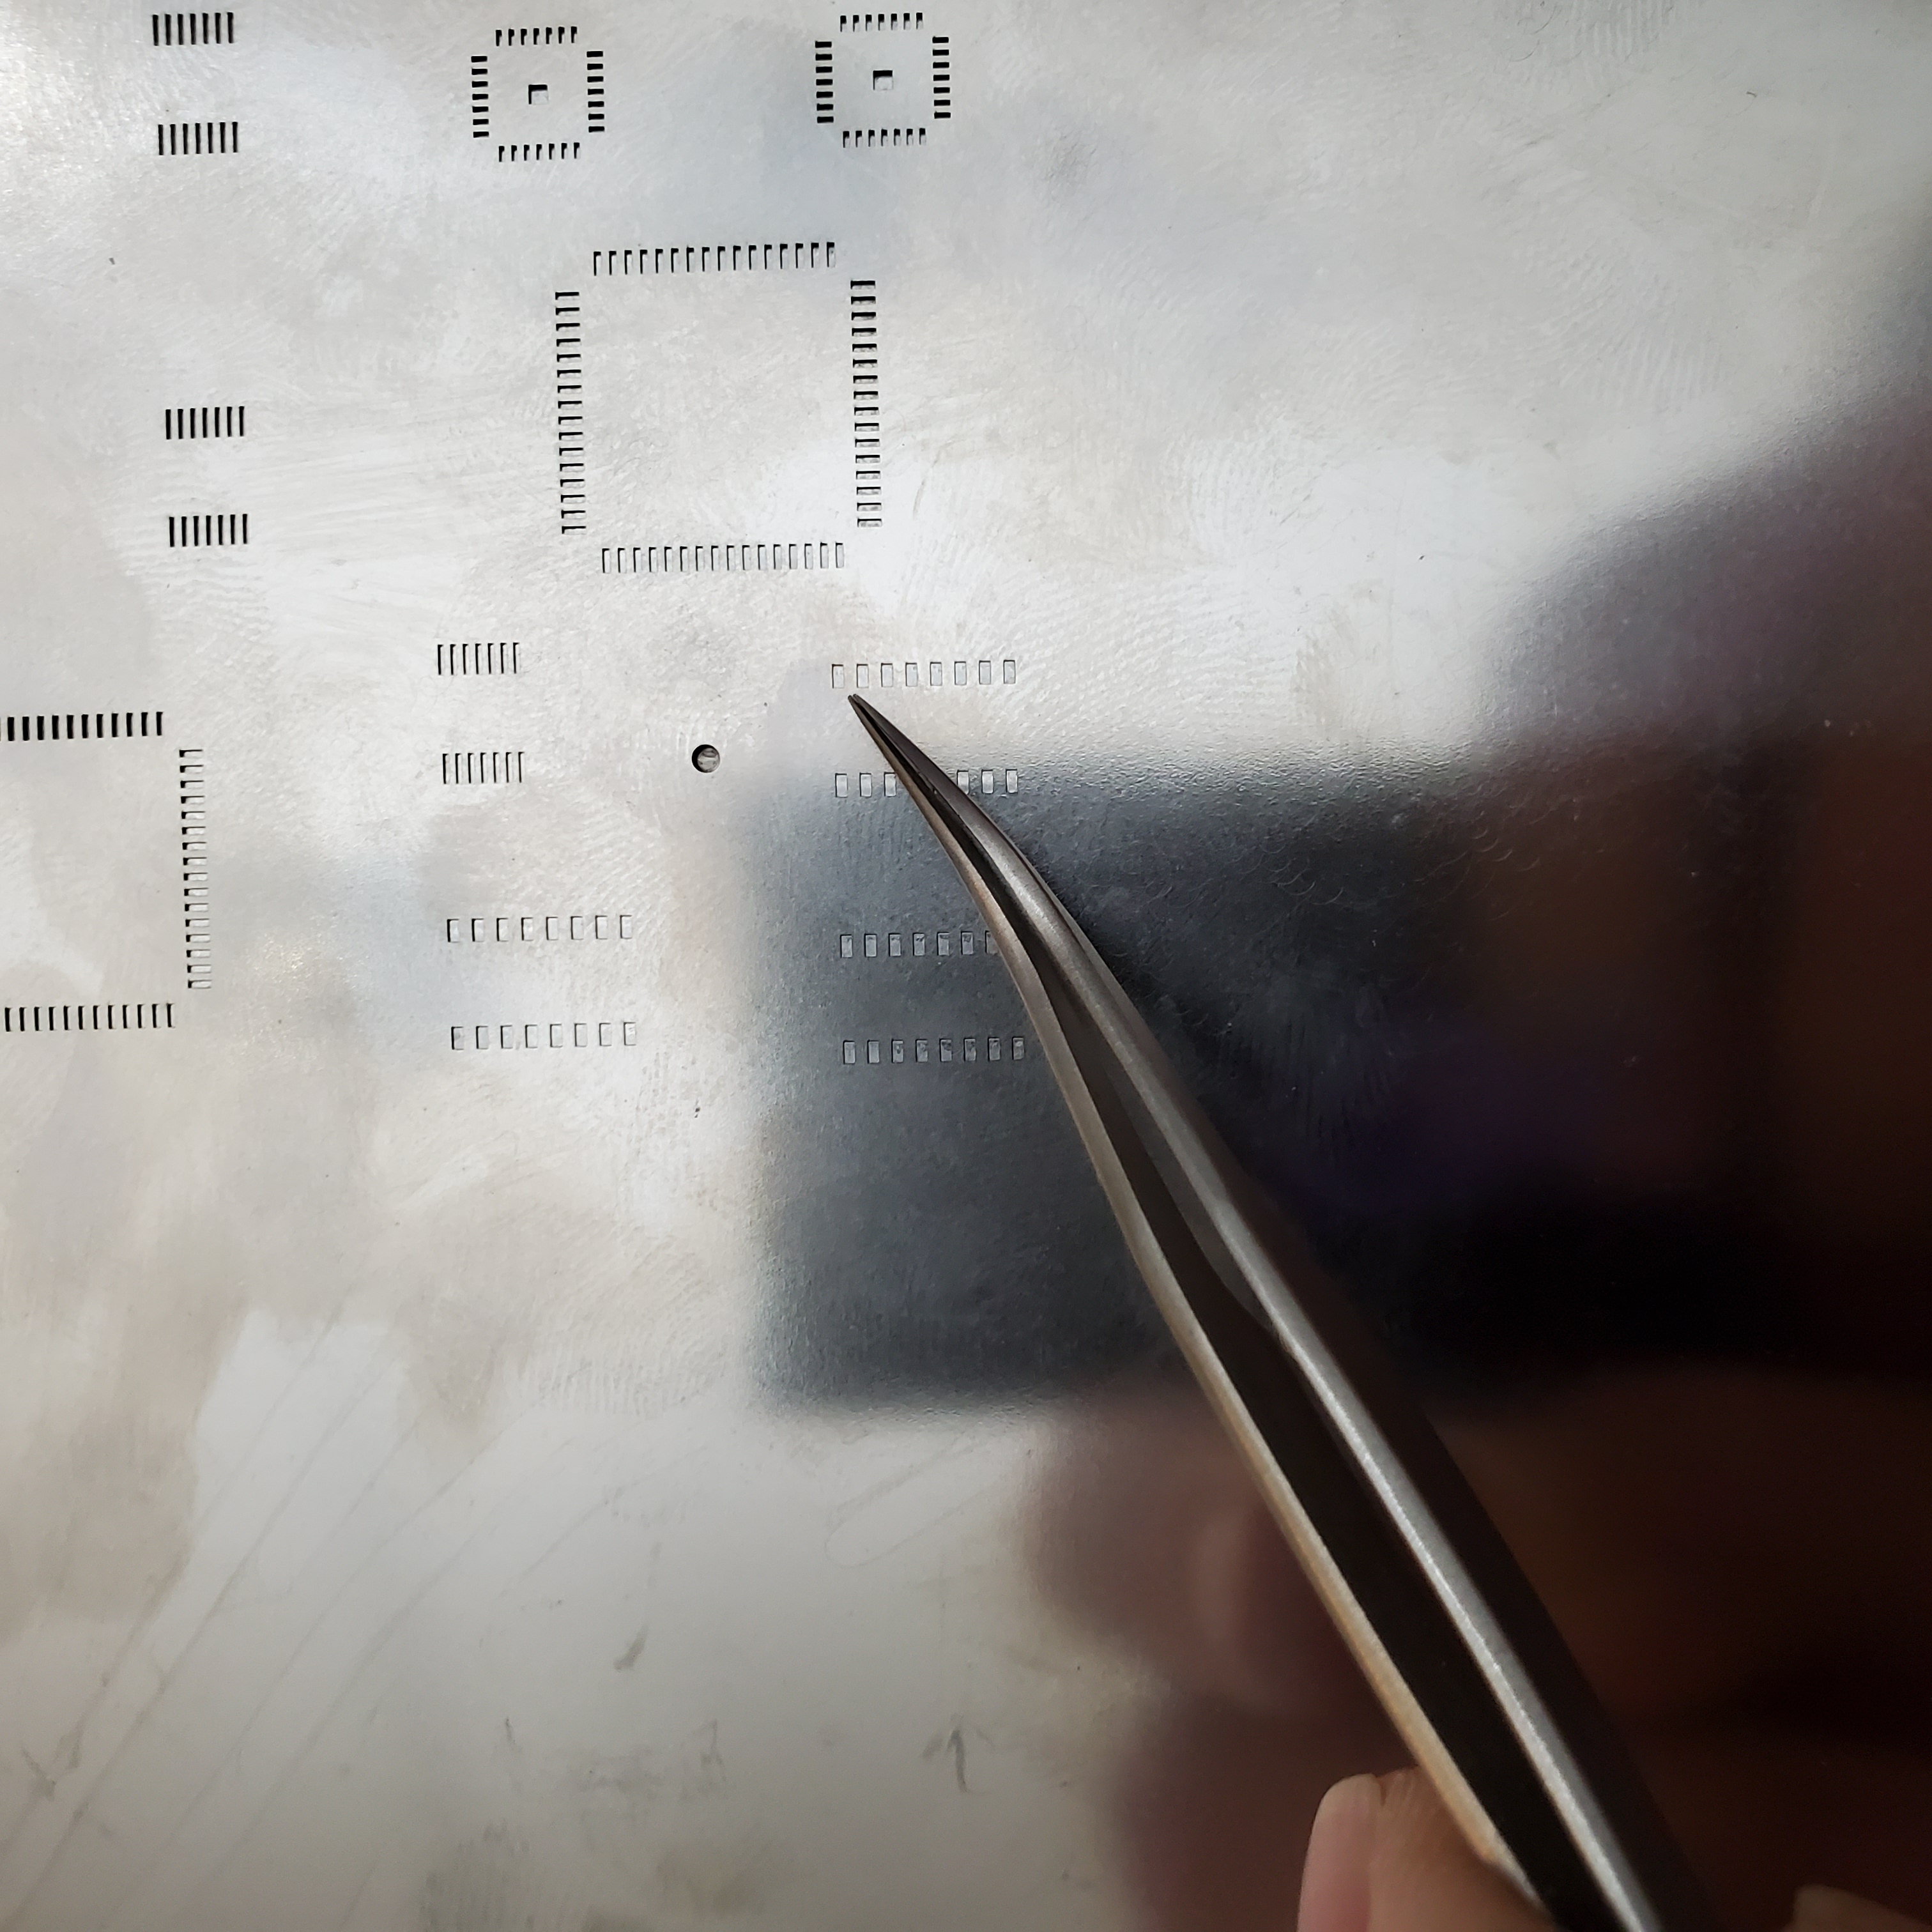
Remove stencil and take note of the pin coordinates
Click on the picture to view in detail
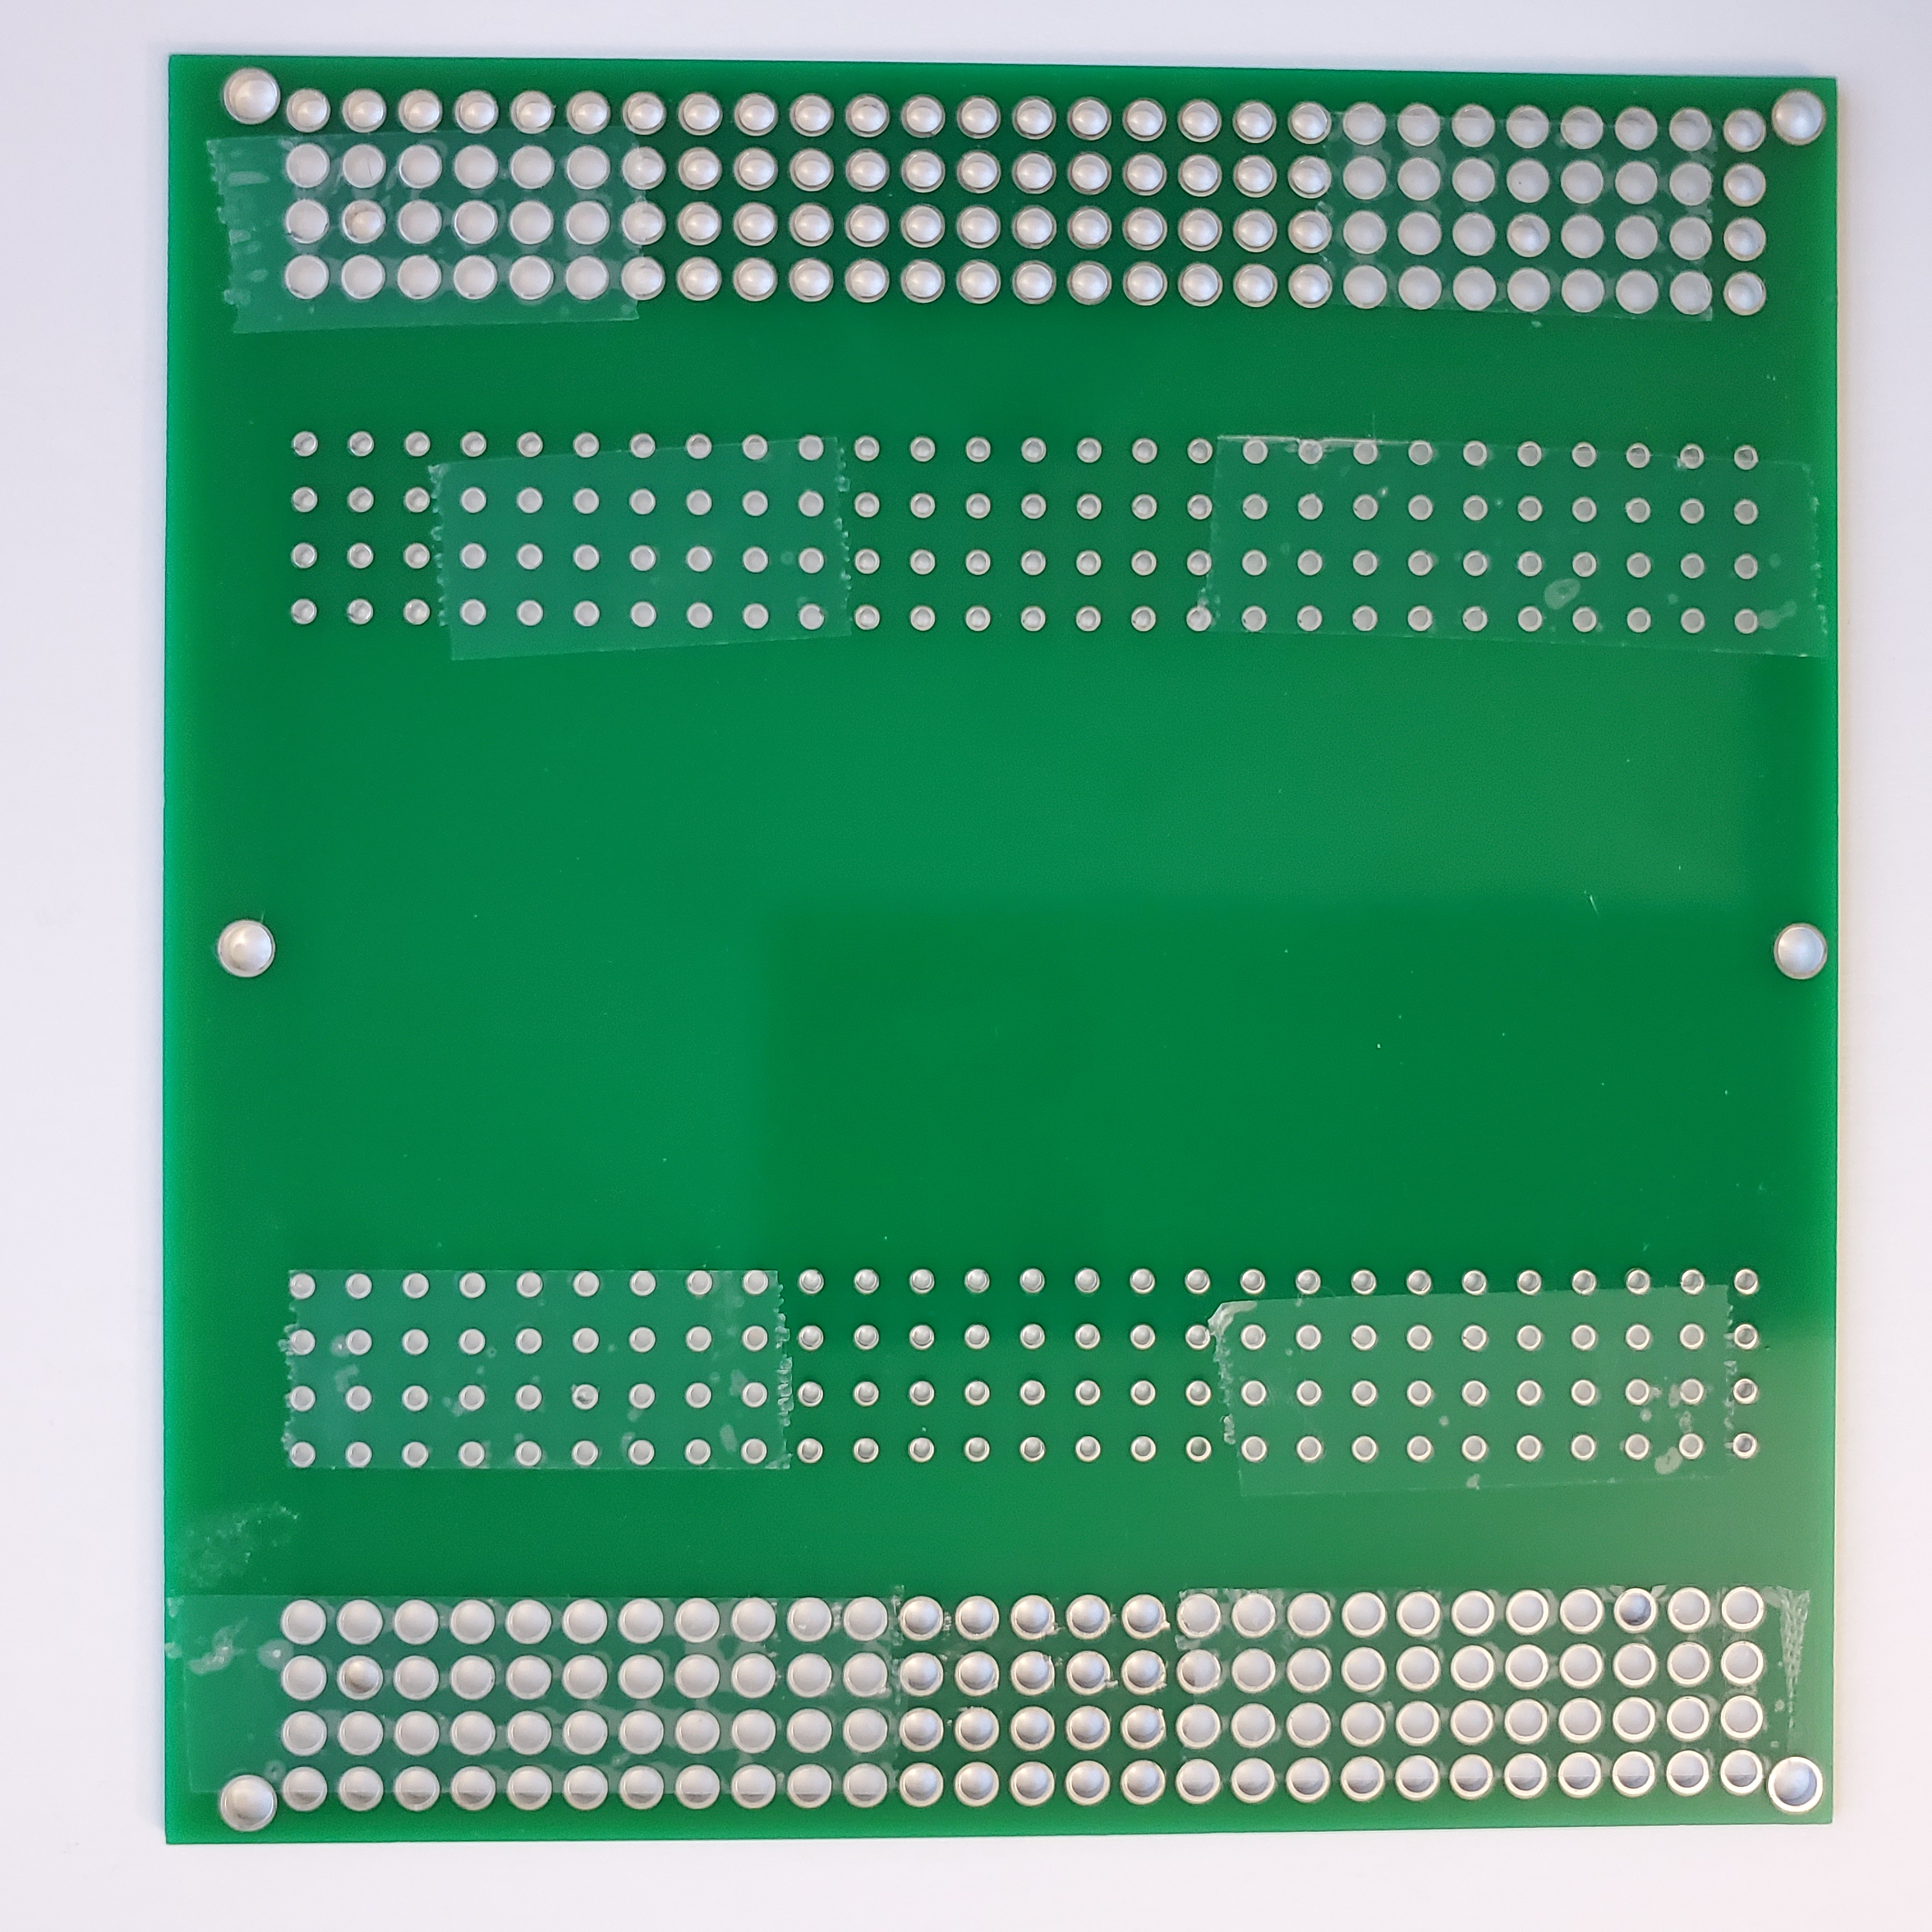
Put tape on the back side
Turn it around
Place the 4 larger pins in their position
Place second RapidStencil
Place third RapidStencil
Place the 4 smaller pins in their position
Smaller pins protrude slightly
Place your PCB board through the matching smaller pins
Smaller pins are recessed in your board
Larger pins go through your stencil
Detail: smaller pin do not go through your stencil
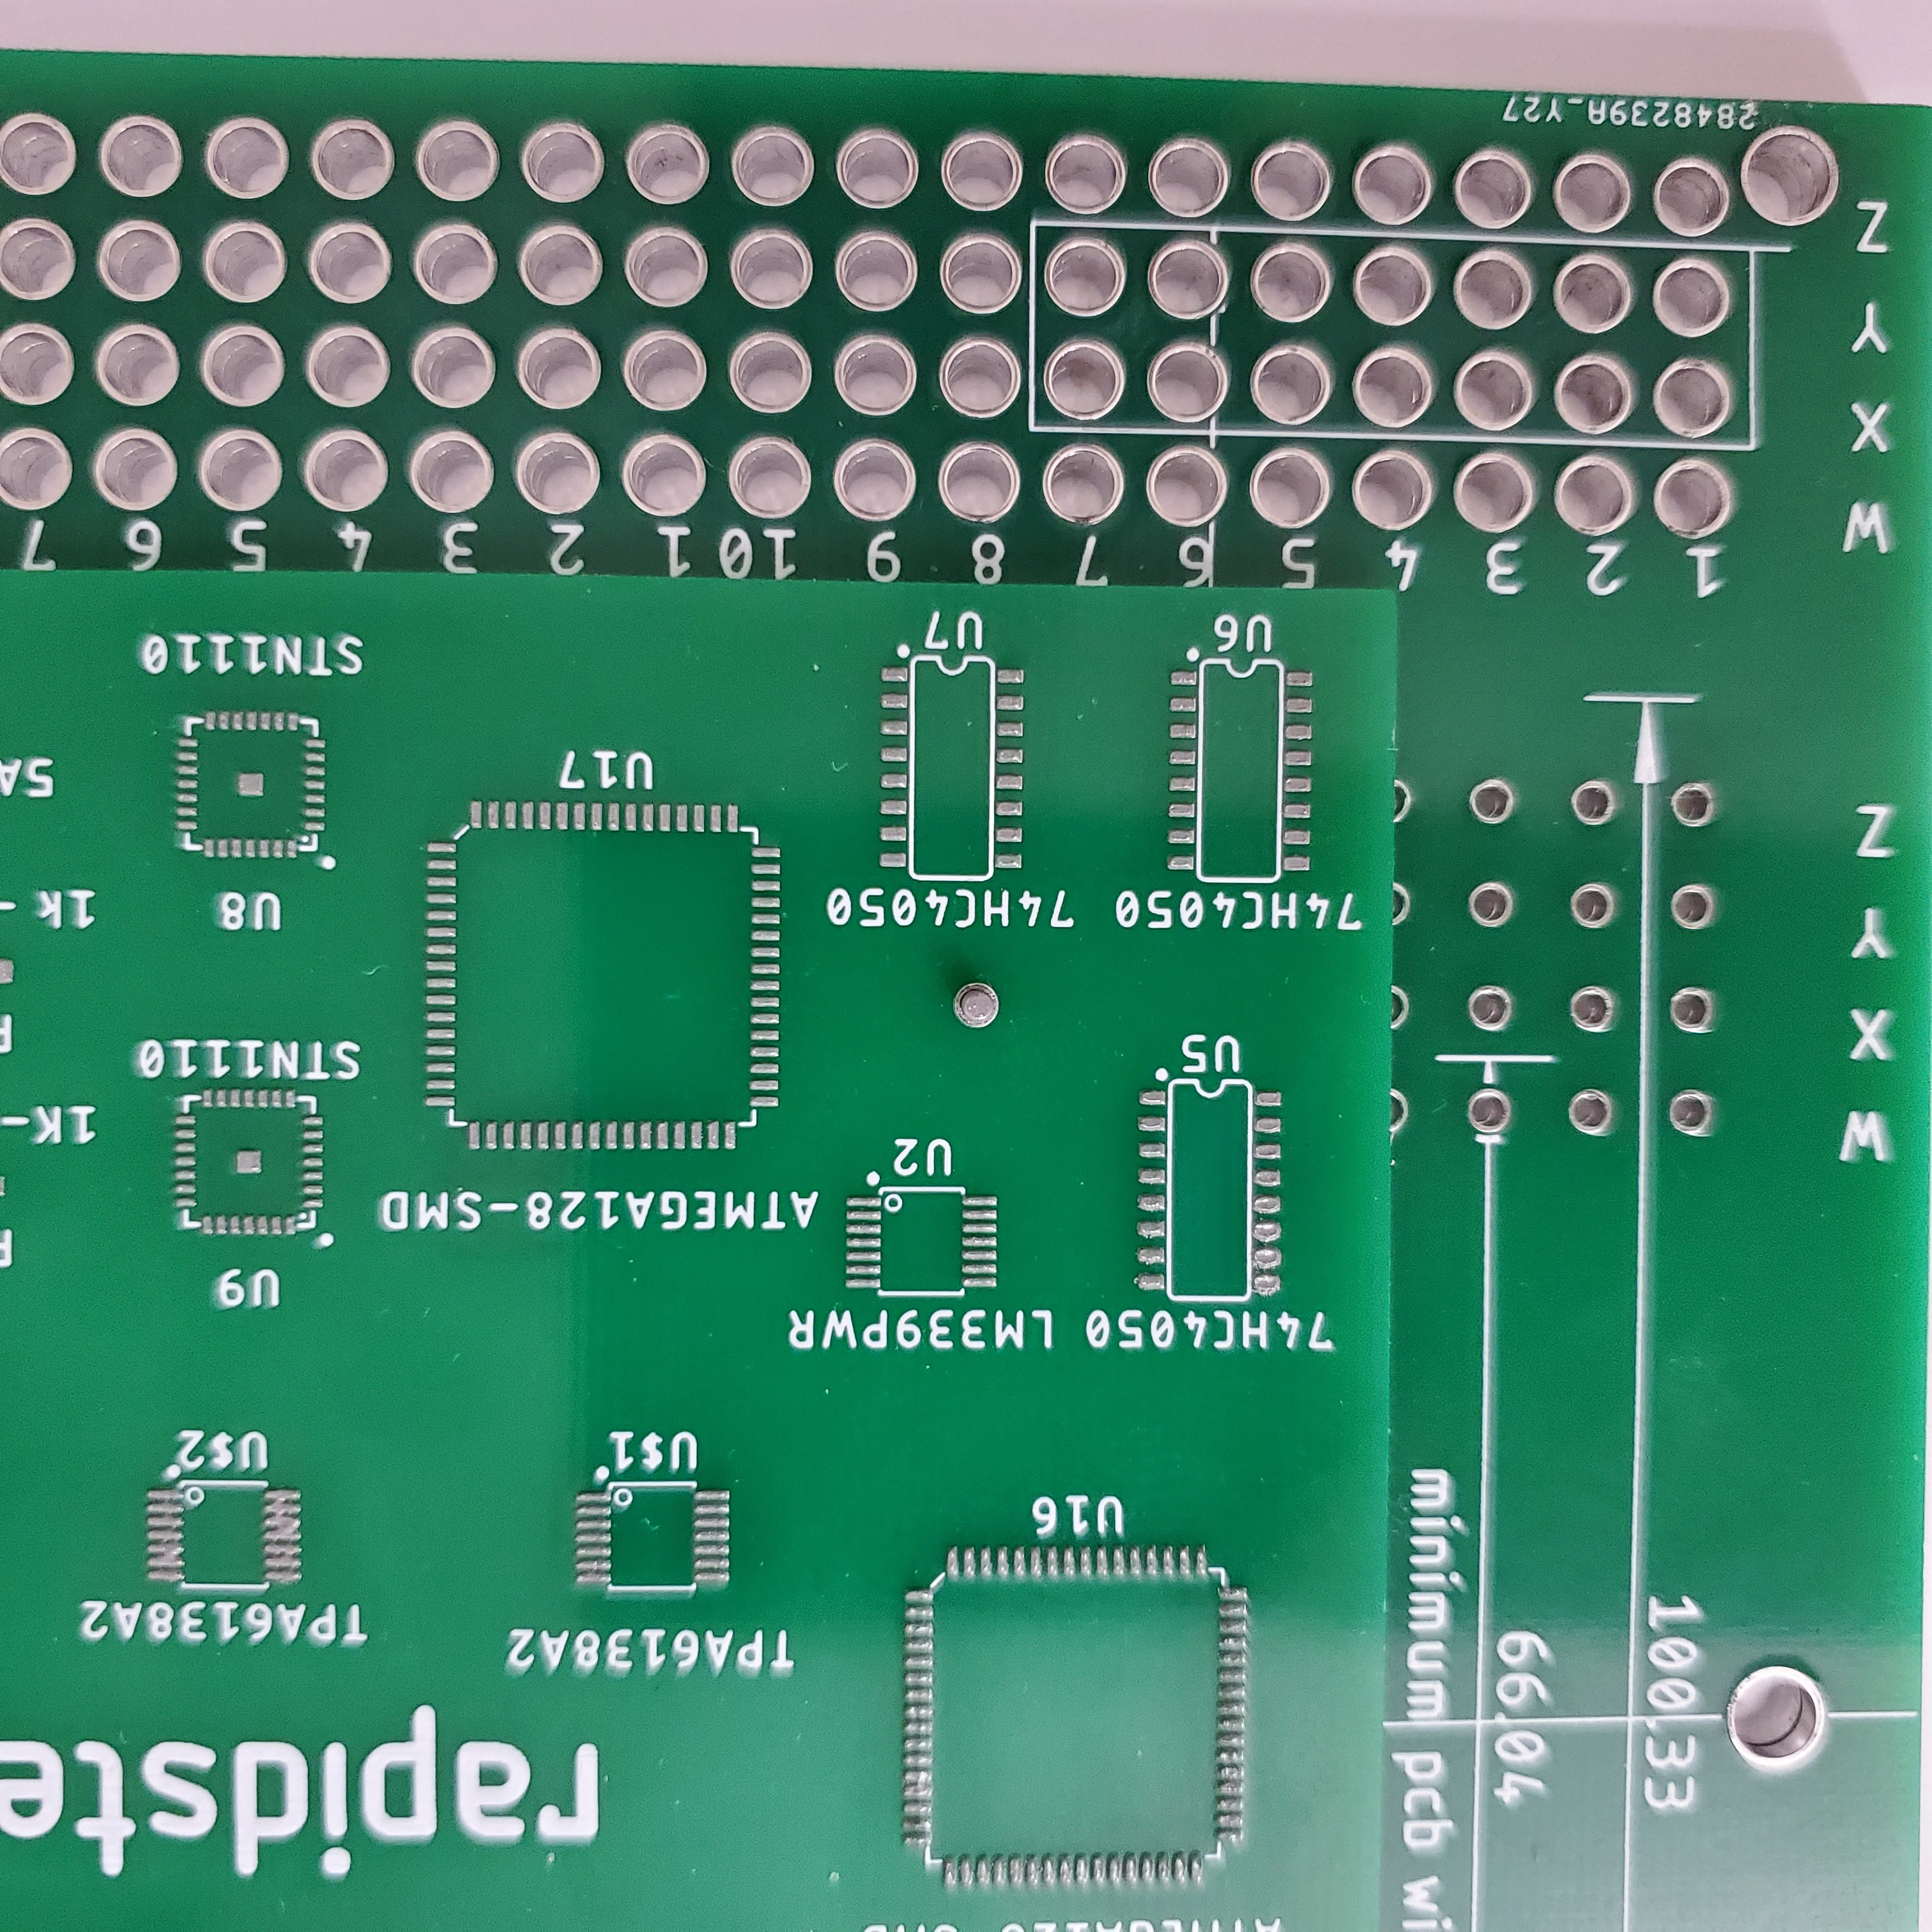
Stencil accuracy is excellent!
The process is very similar with the previous one with a couple of differences as shown below:
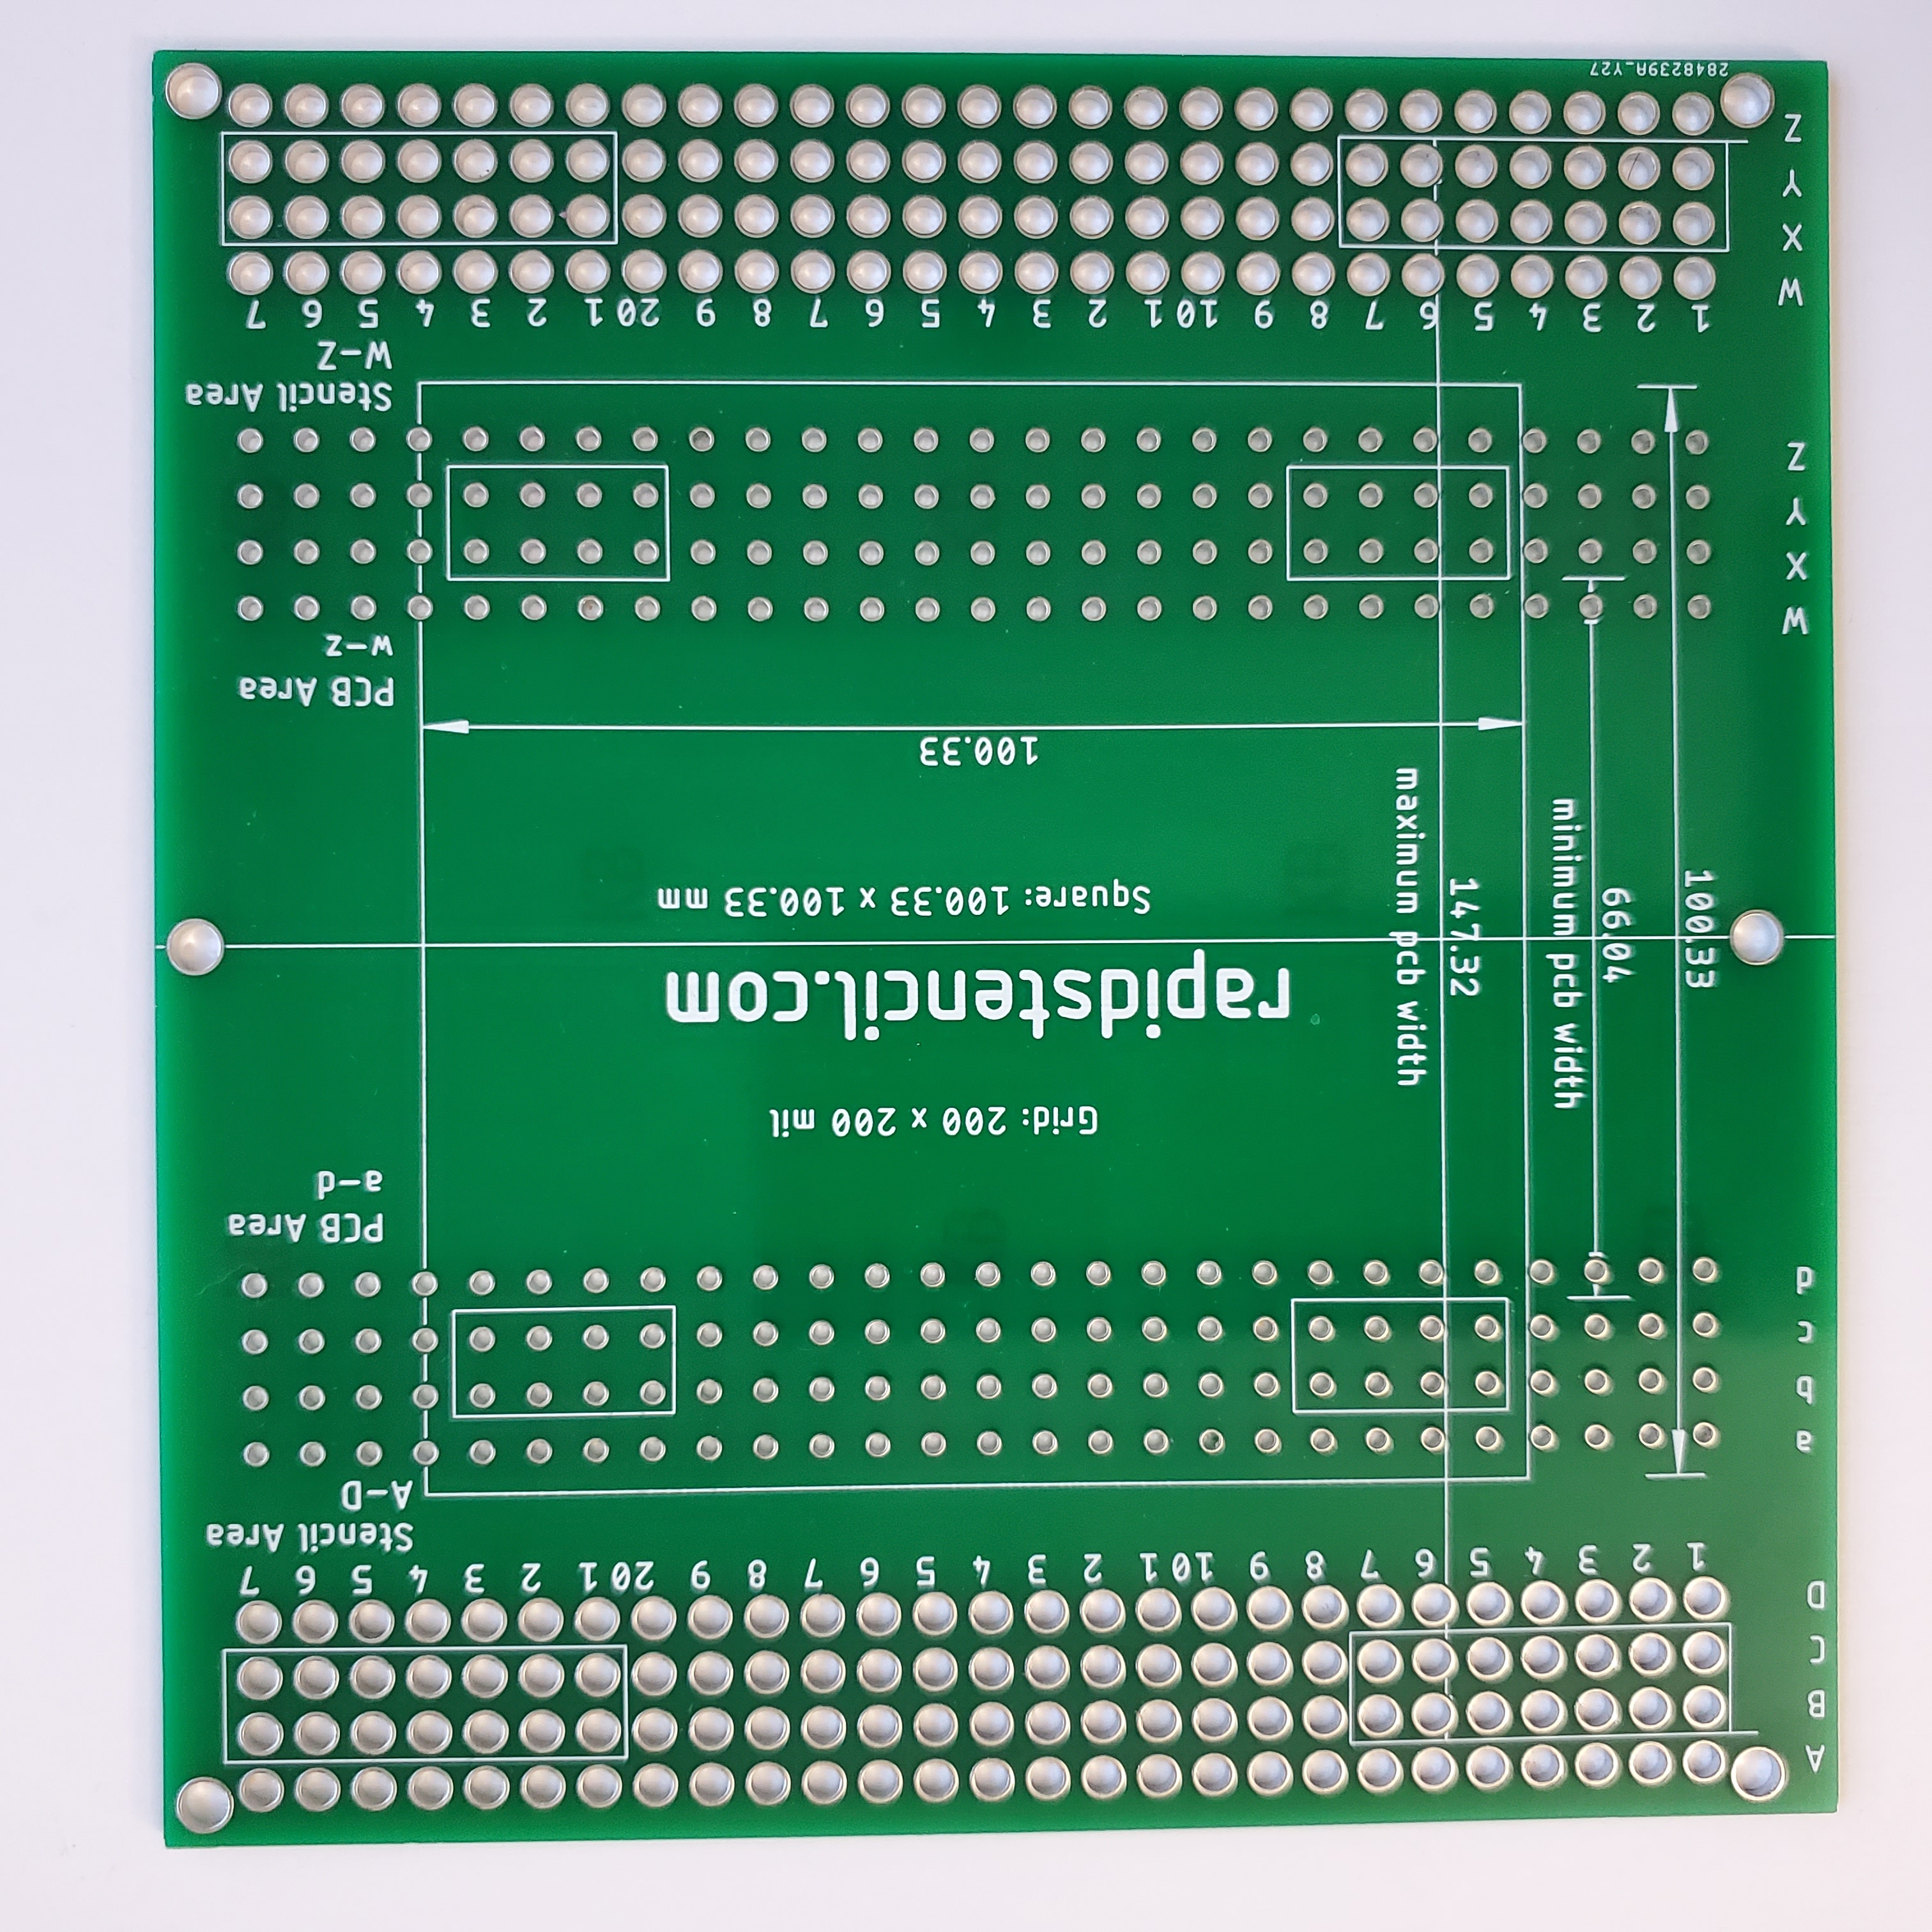
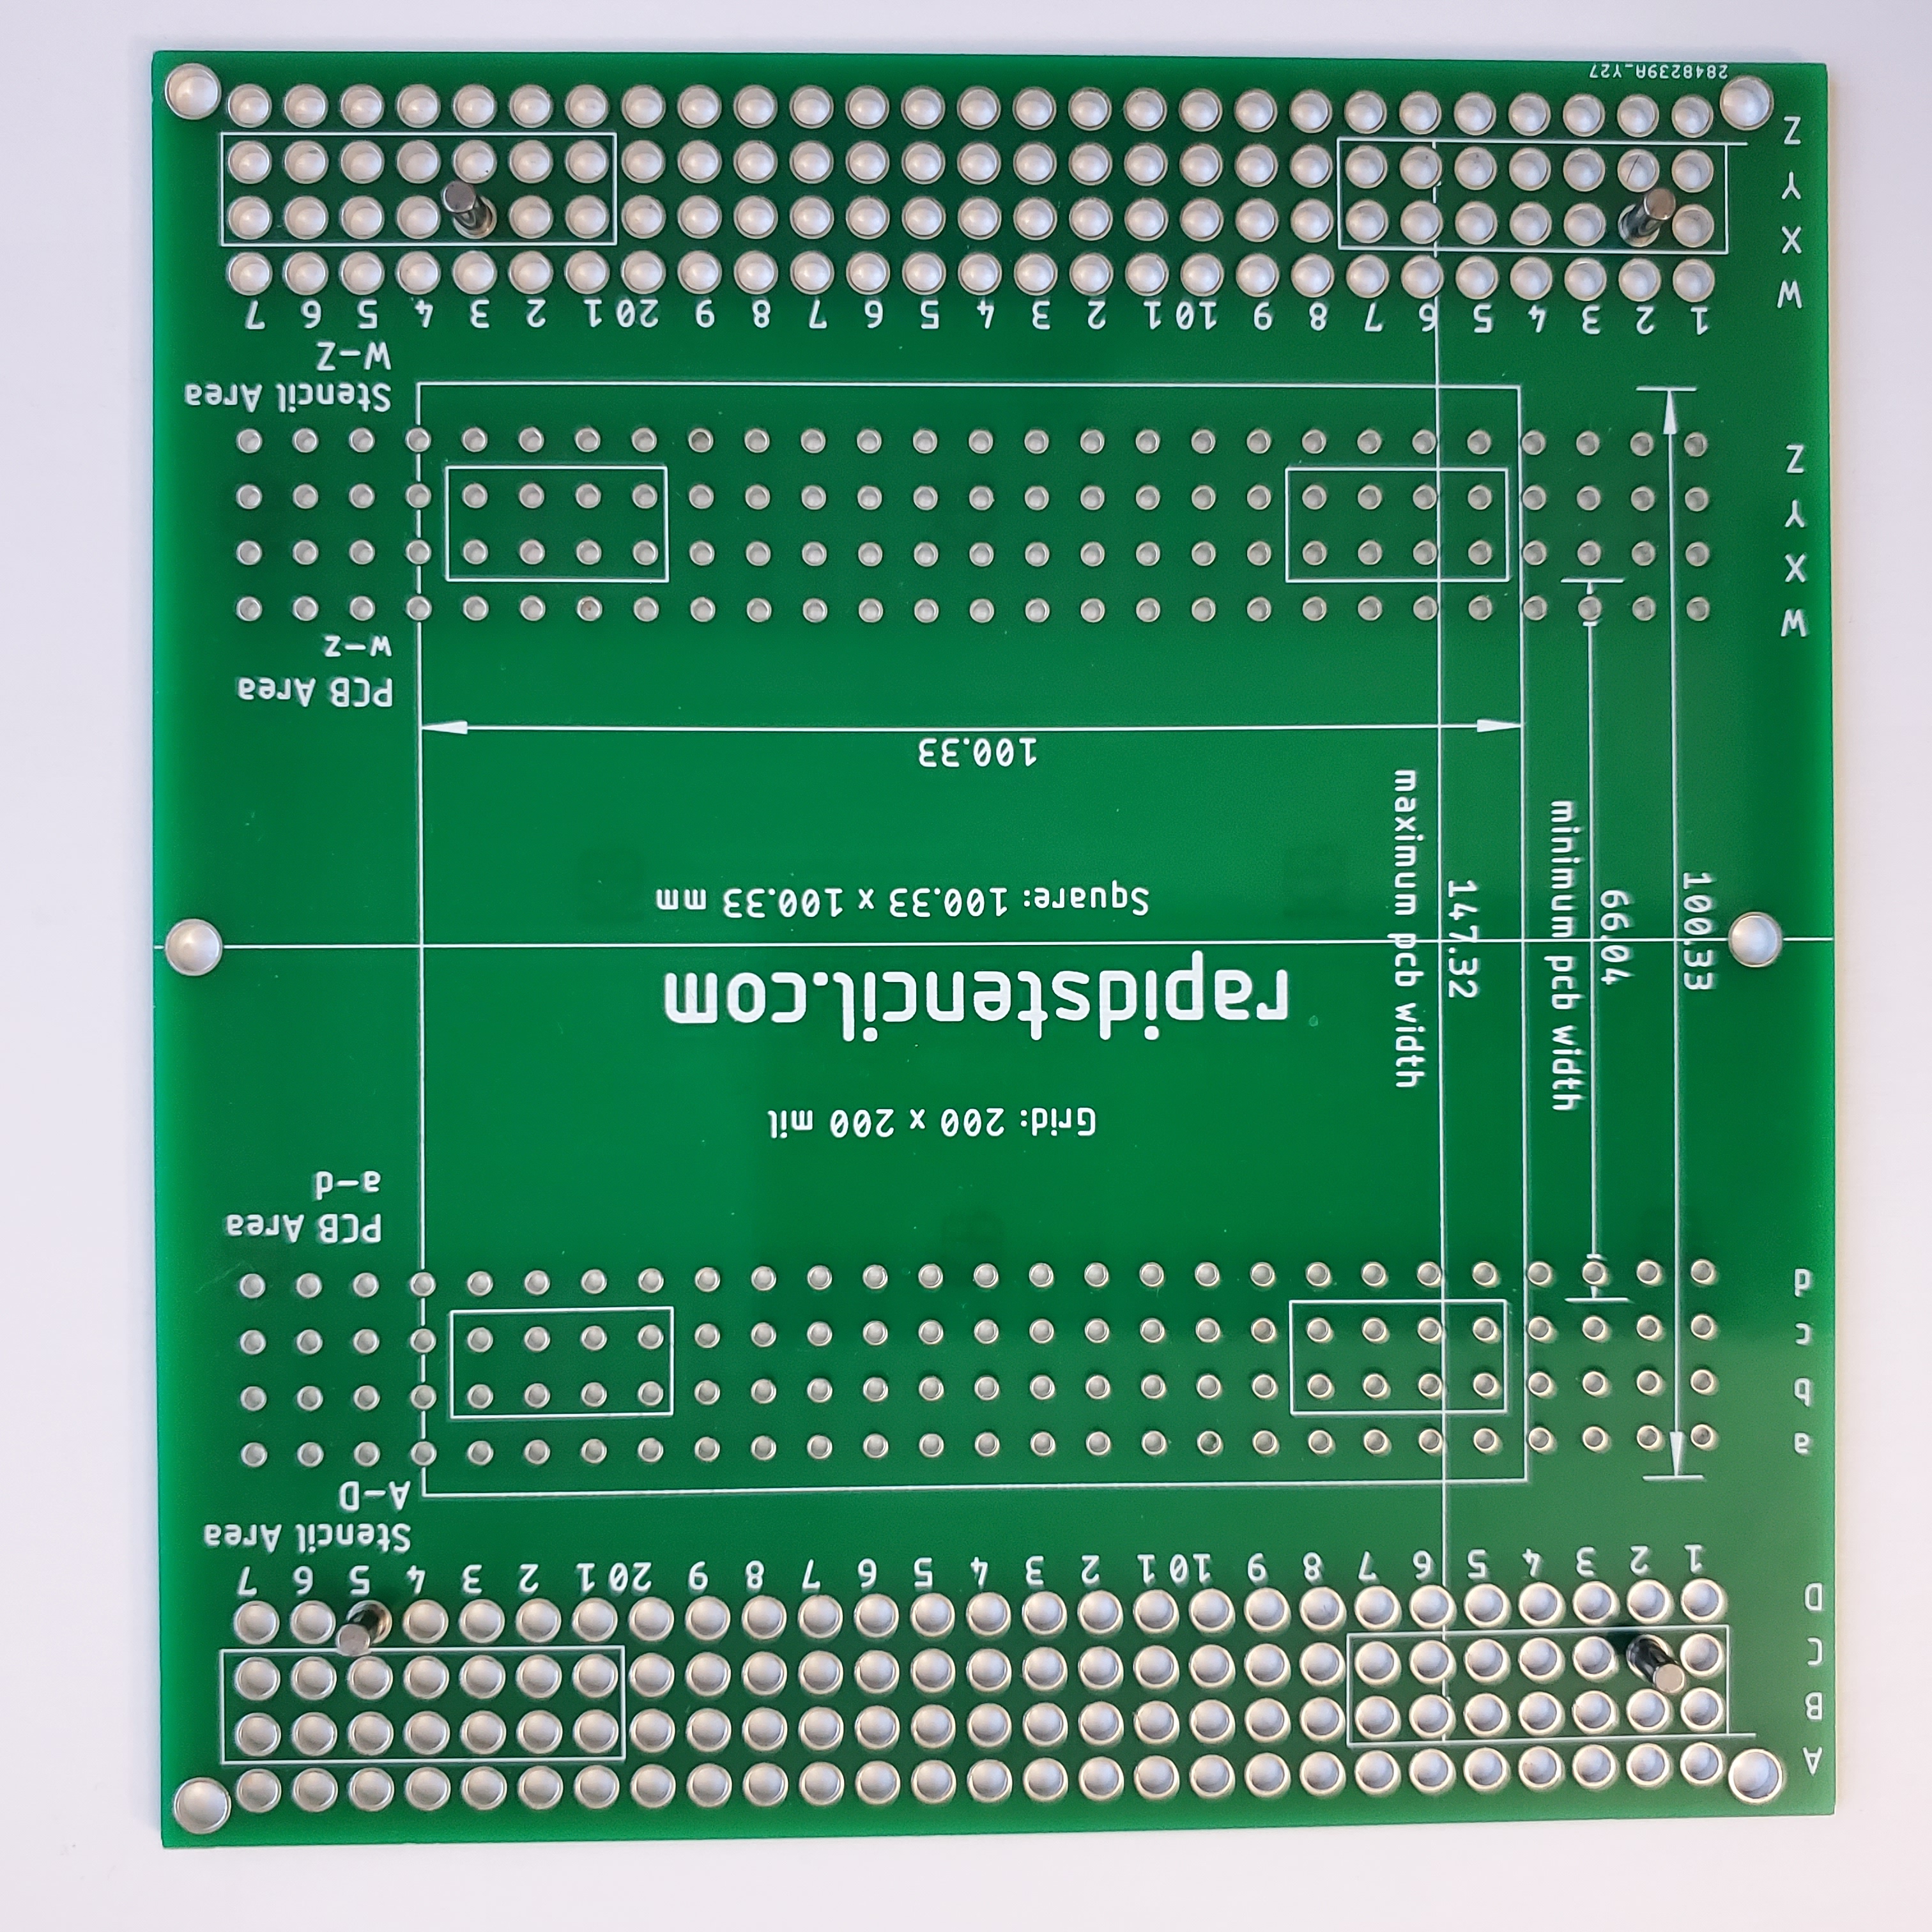
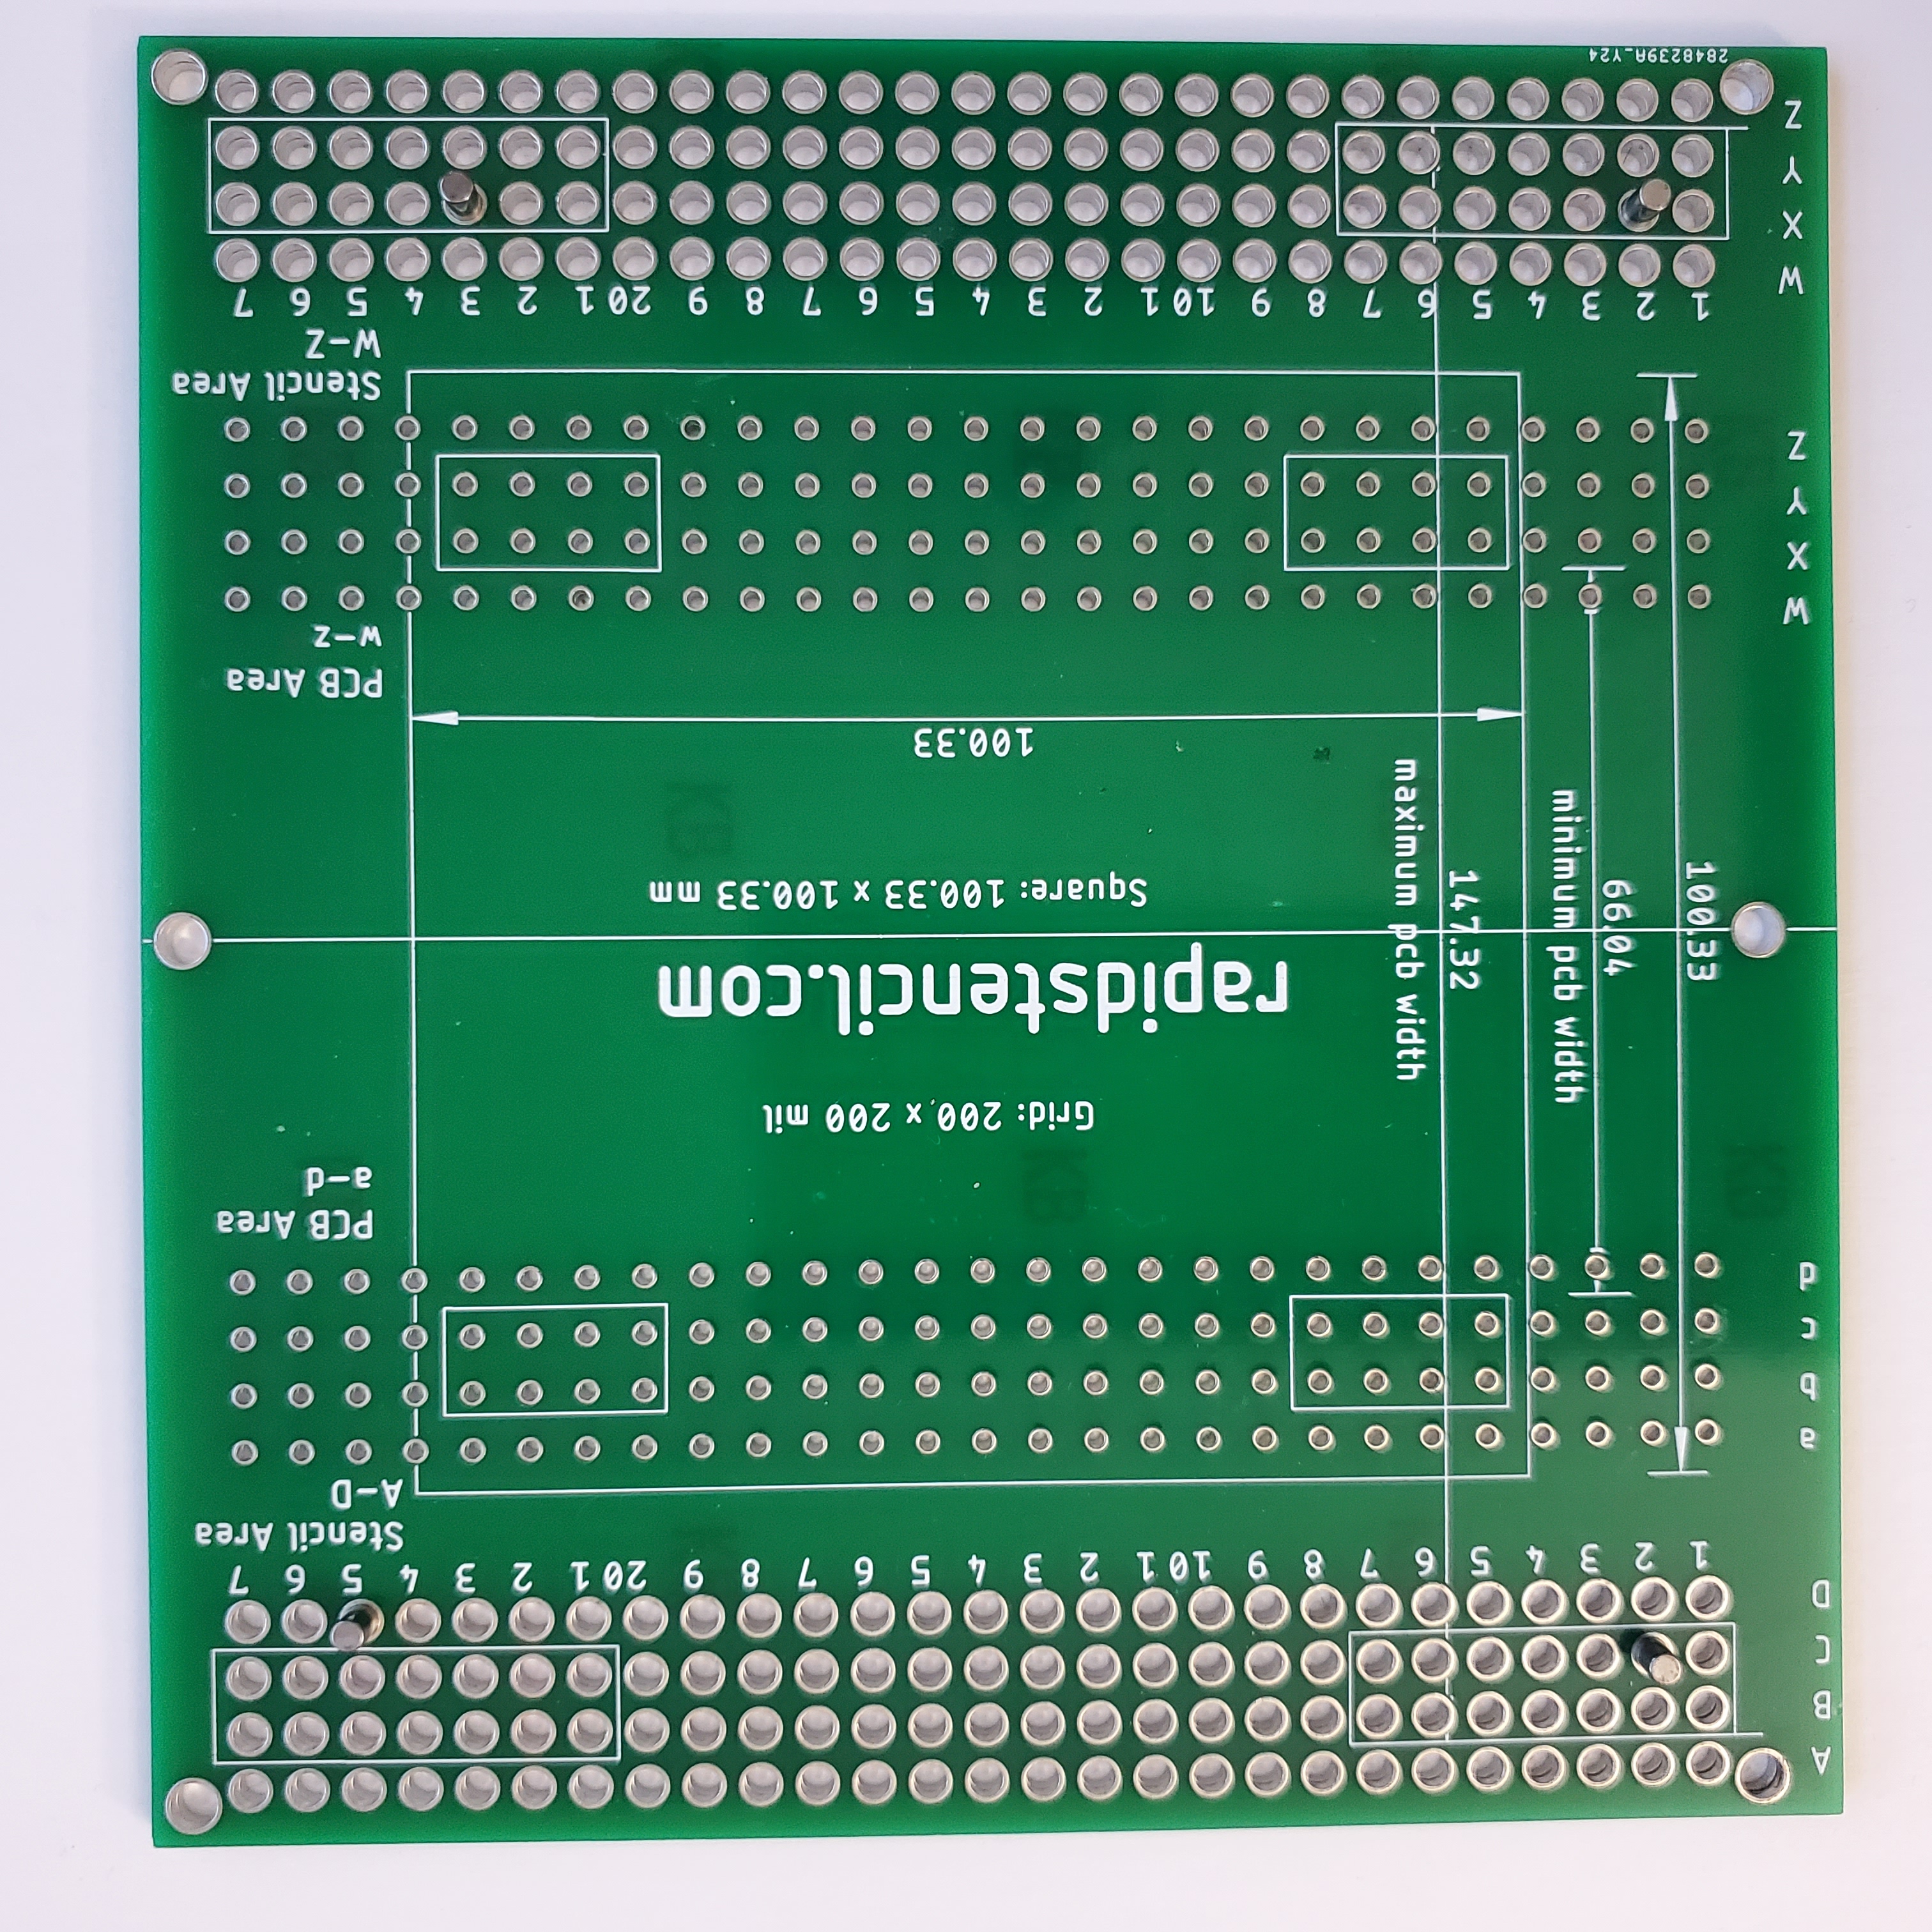
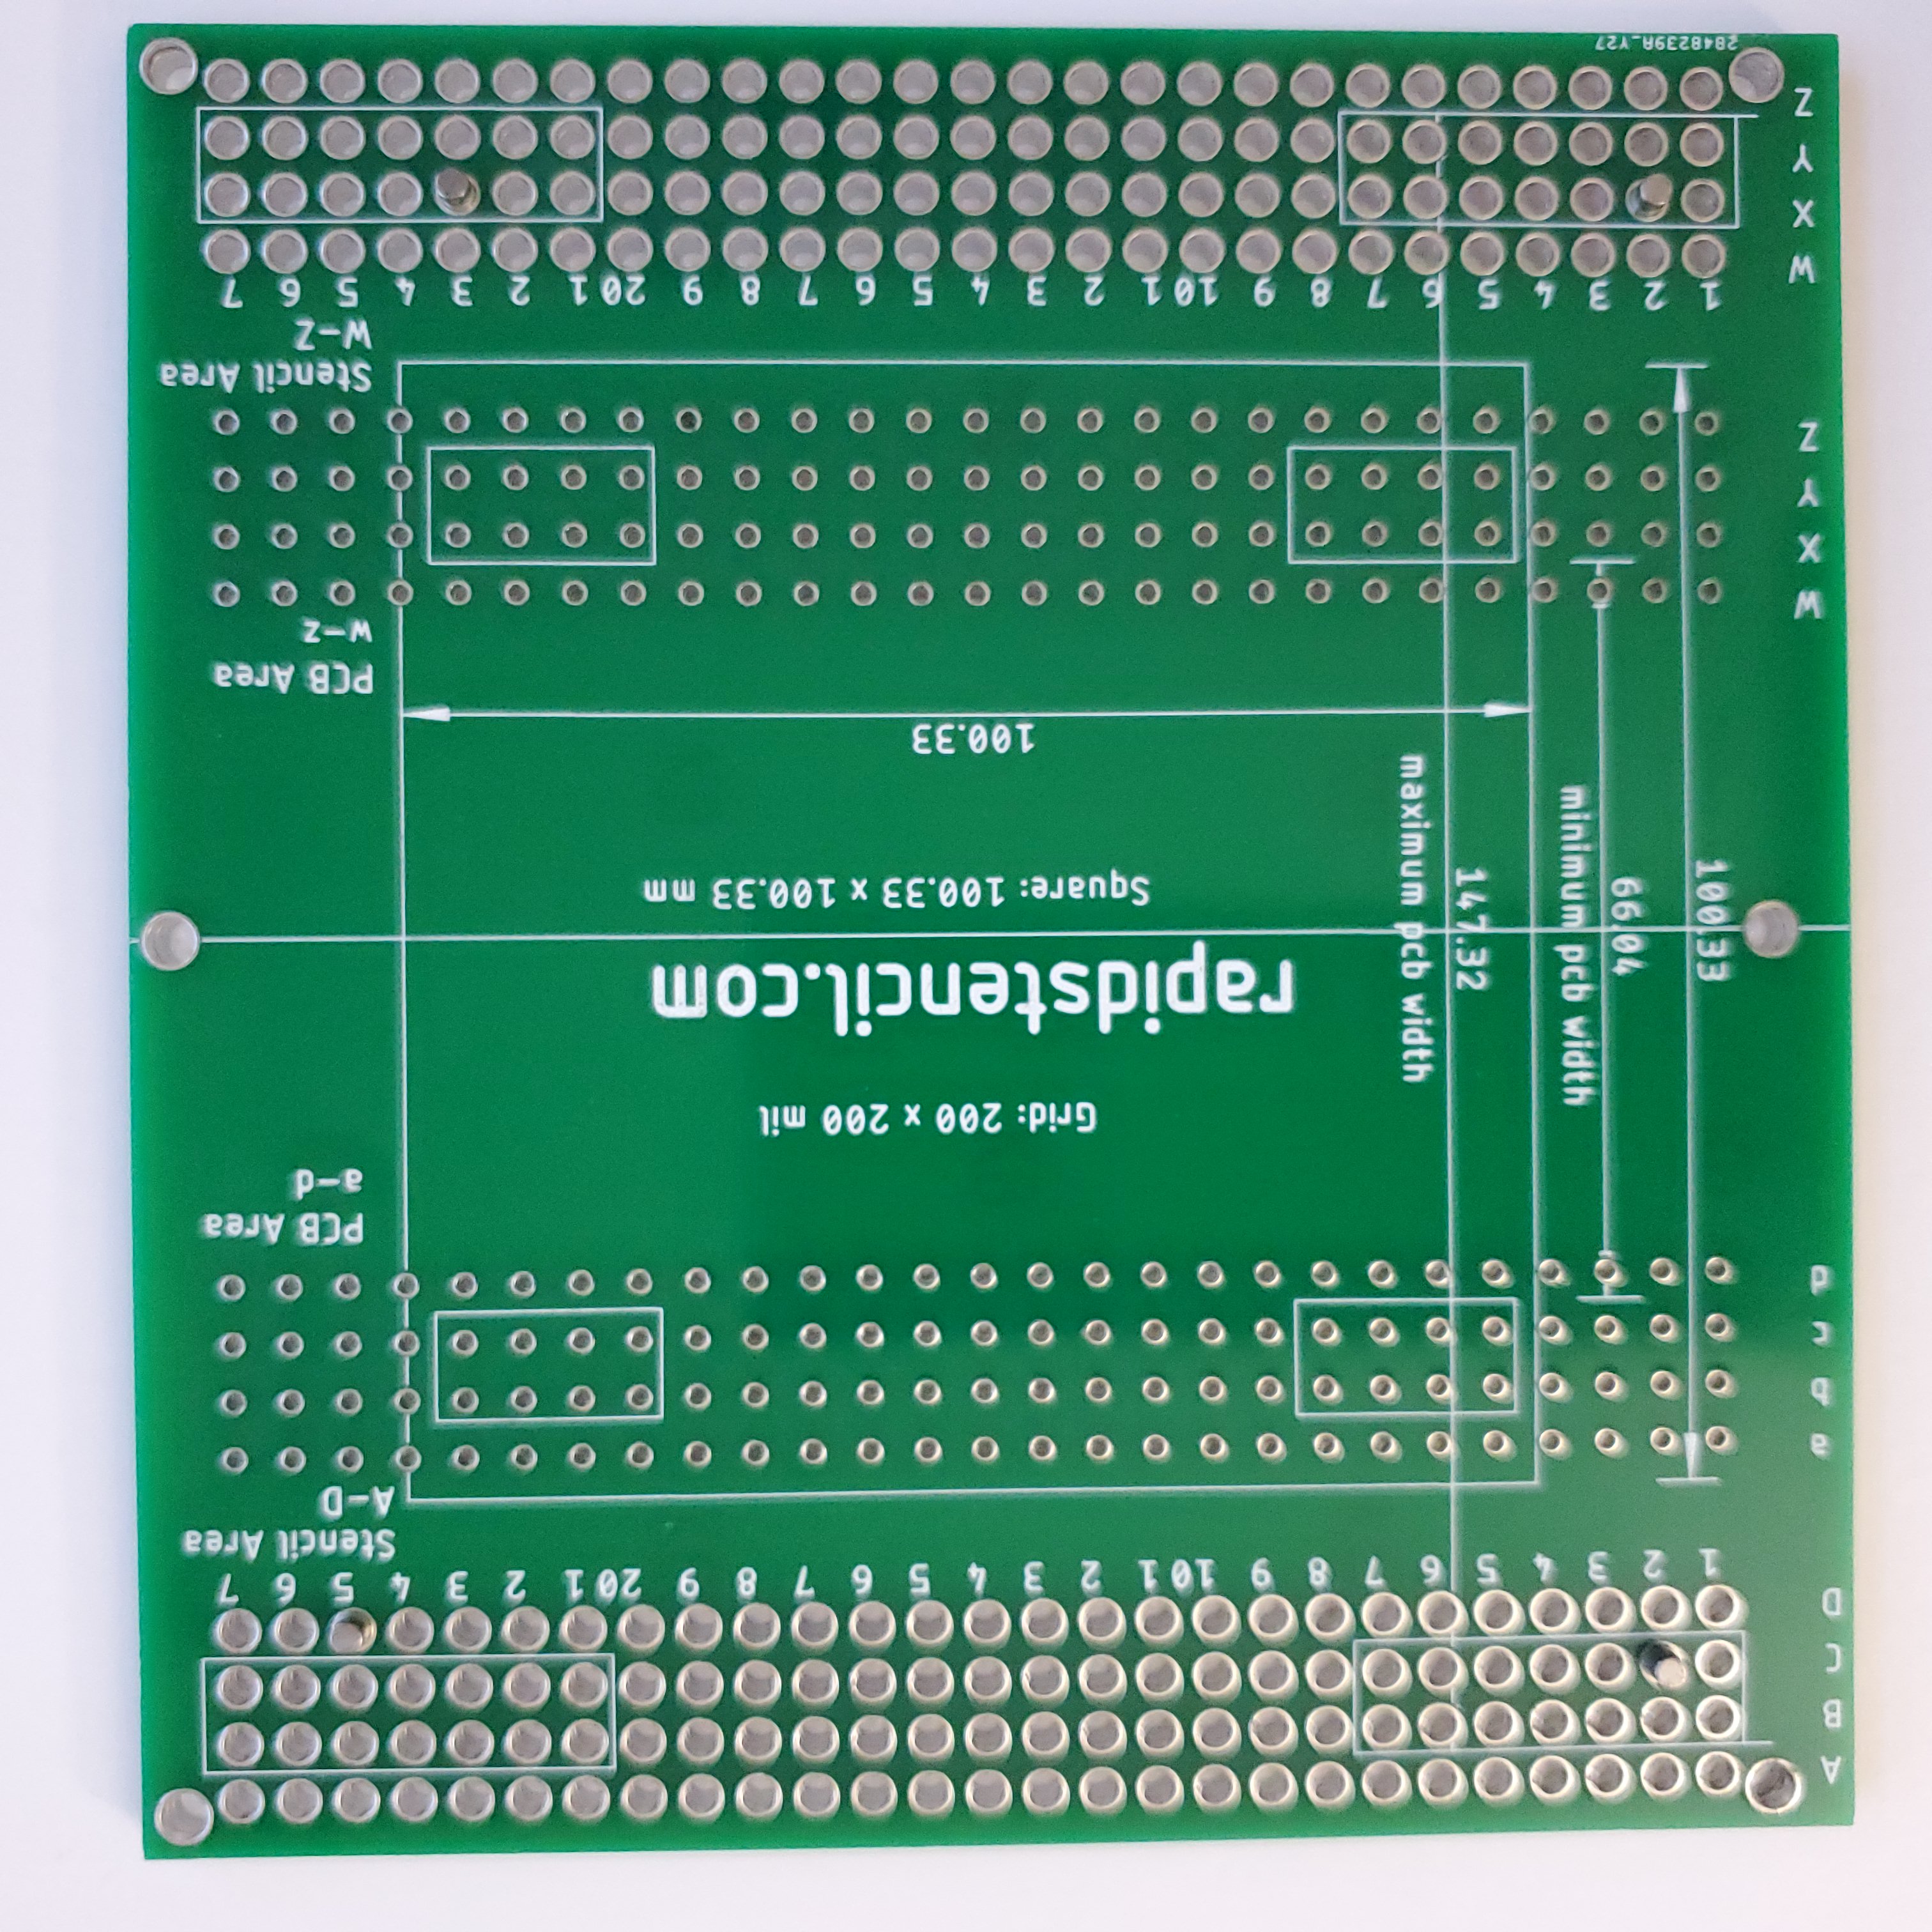
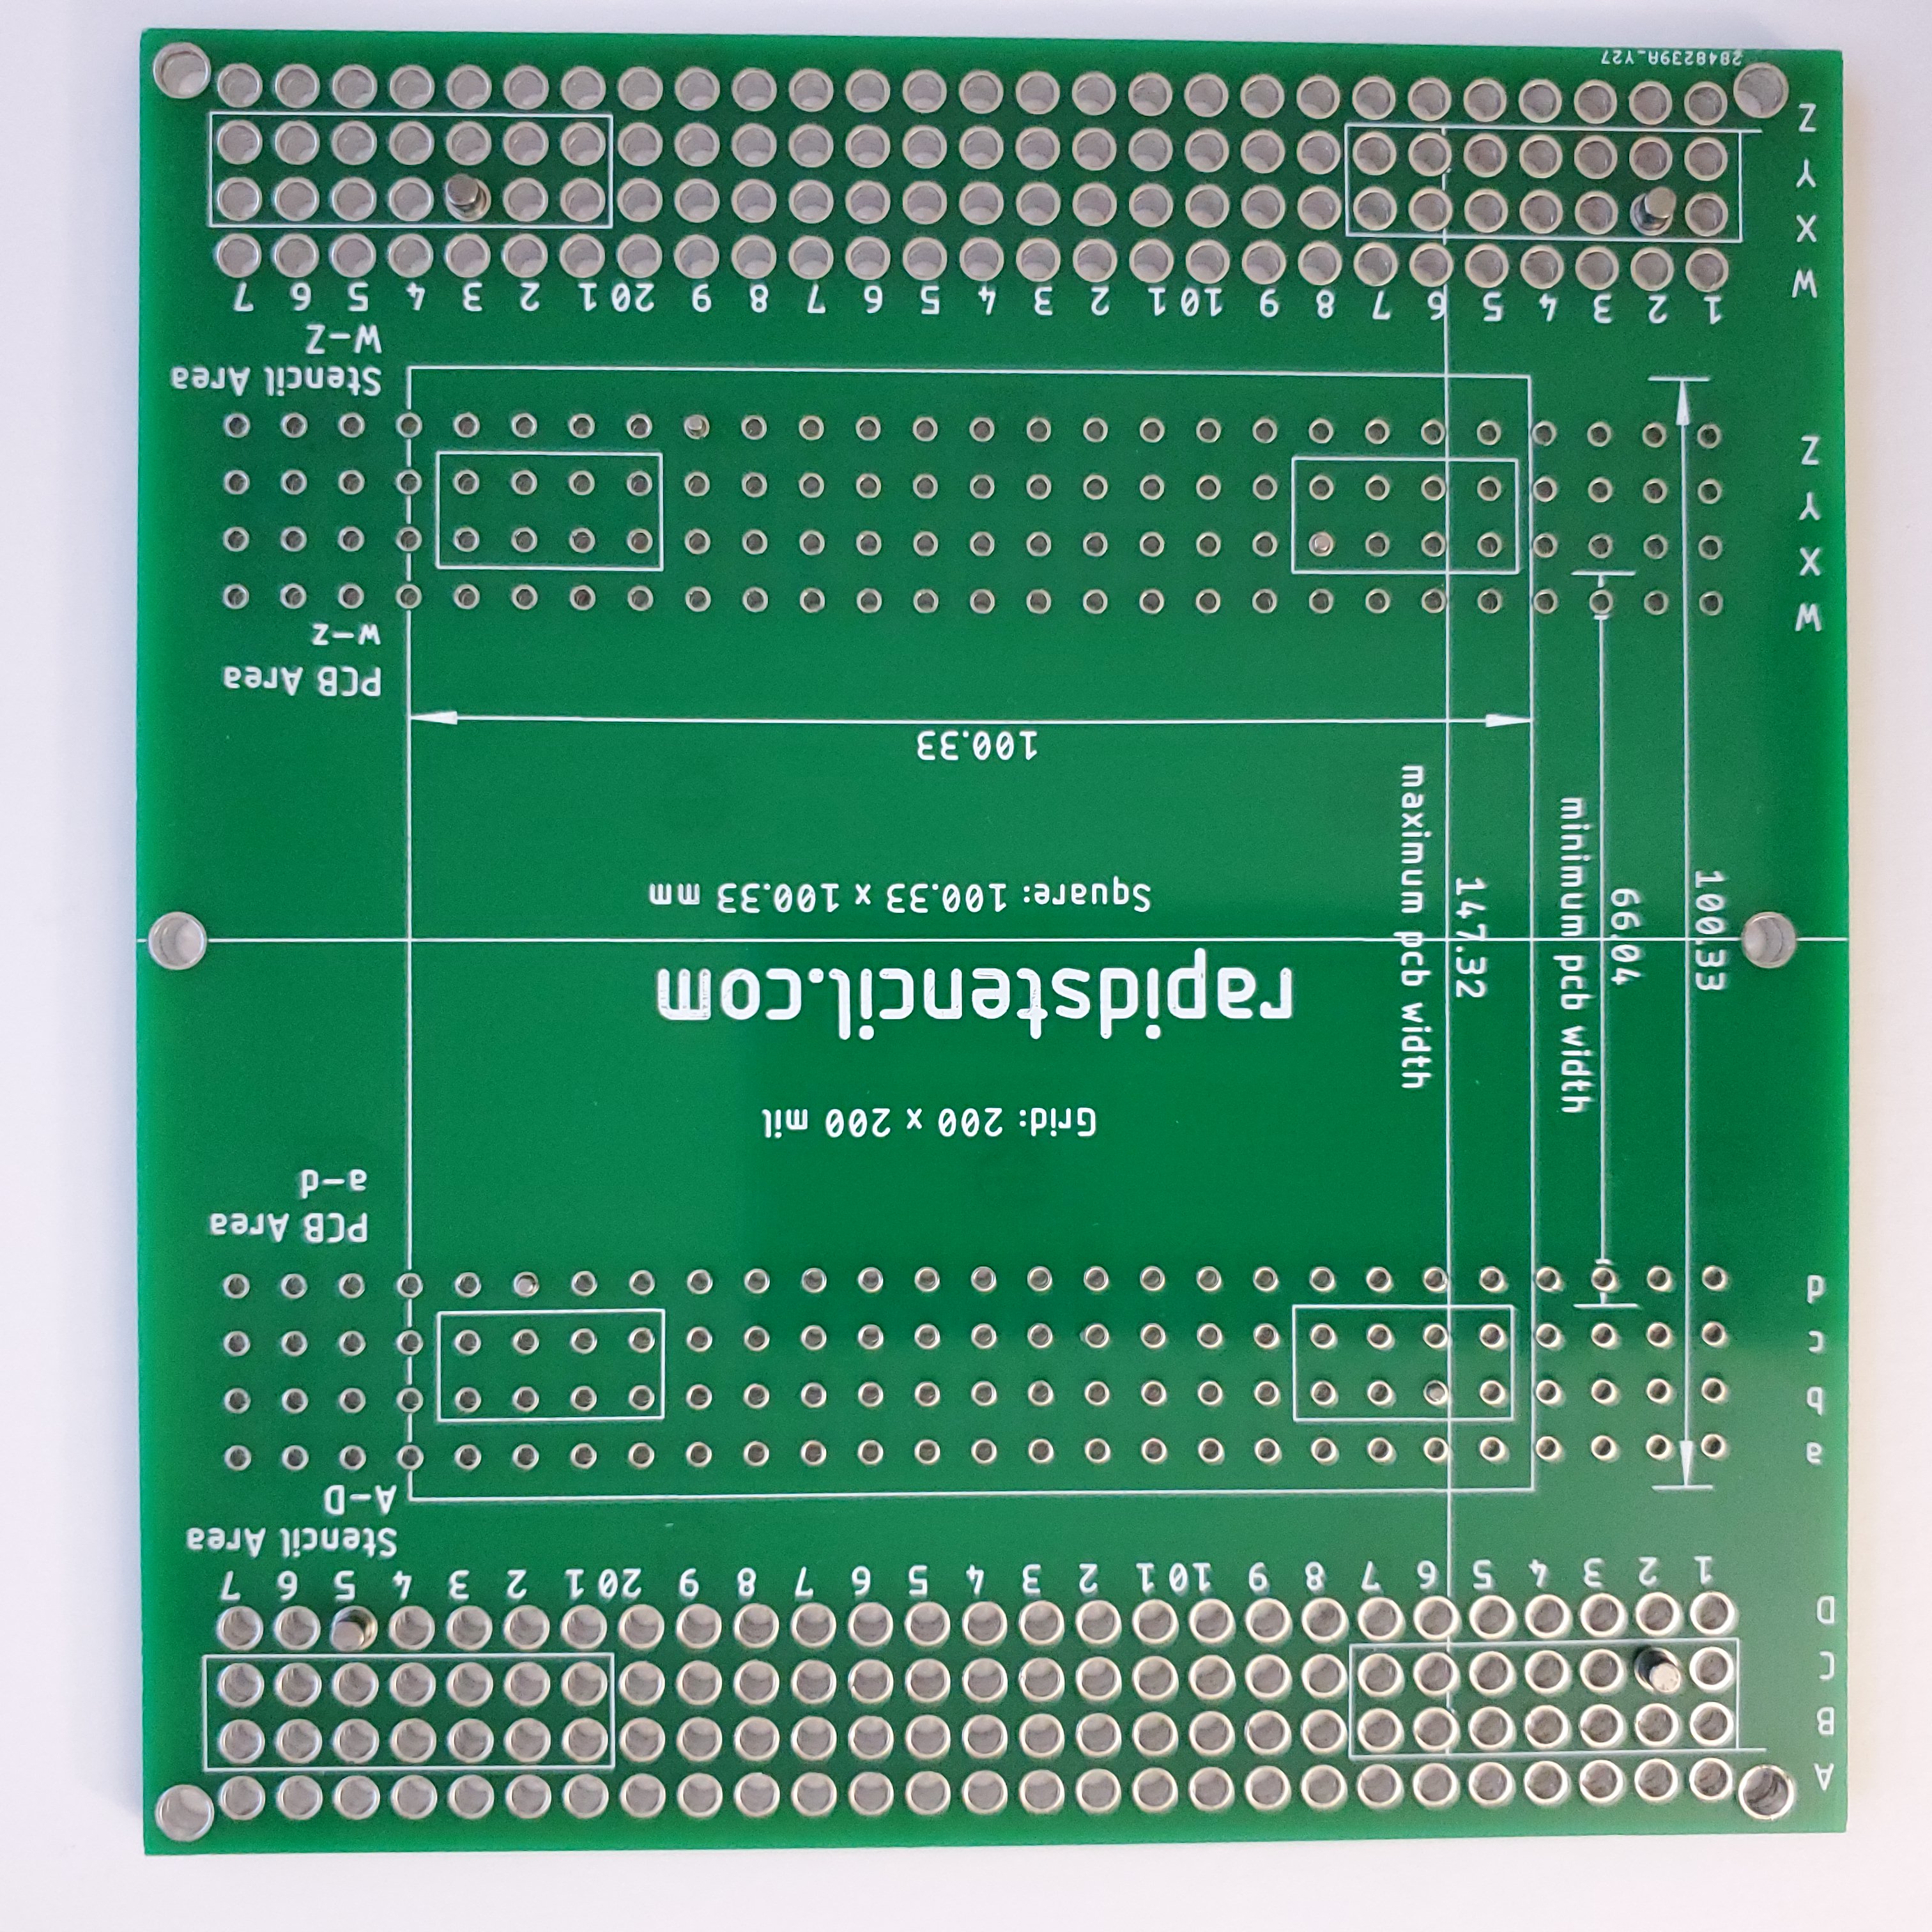
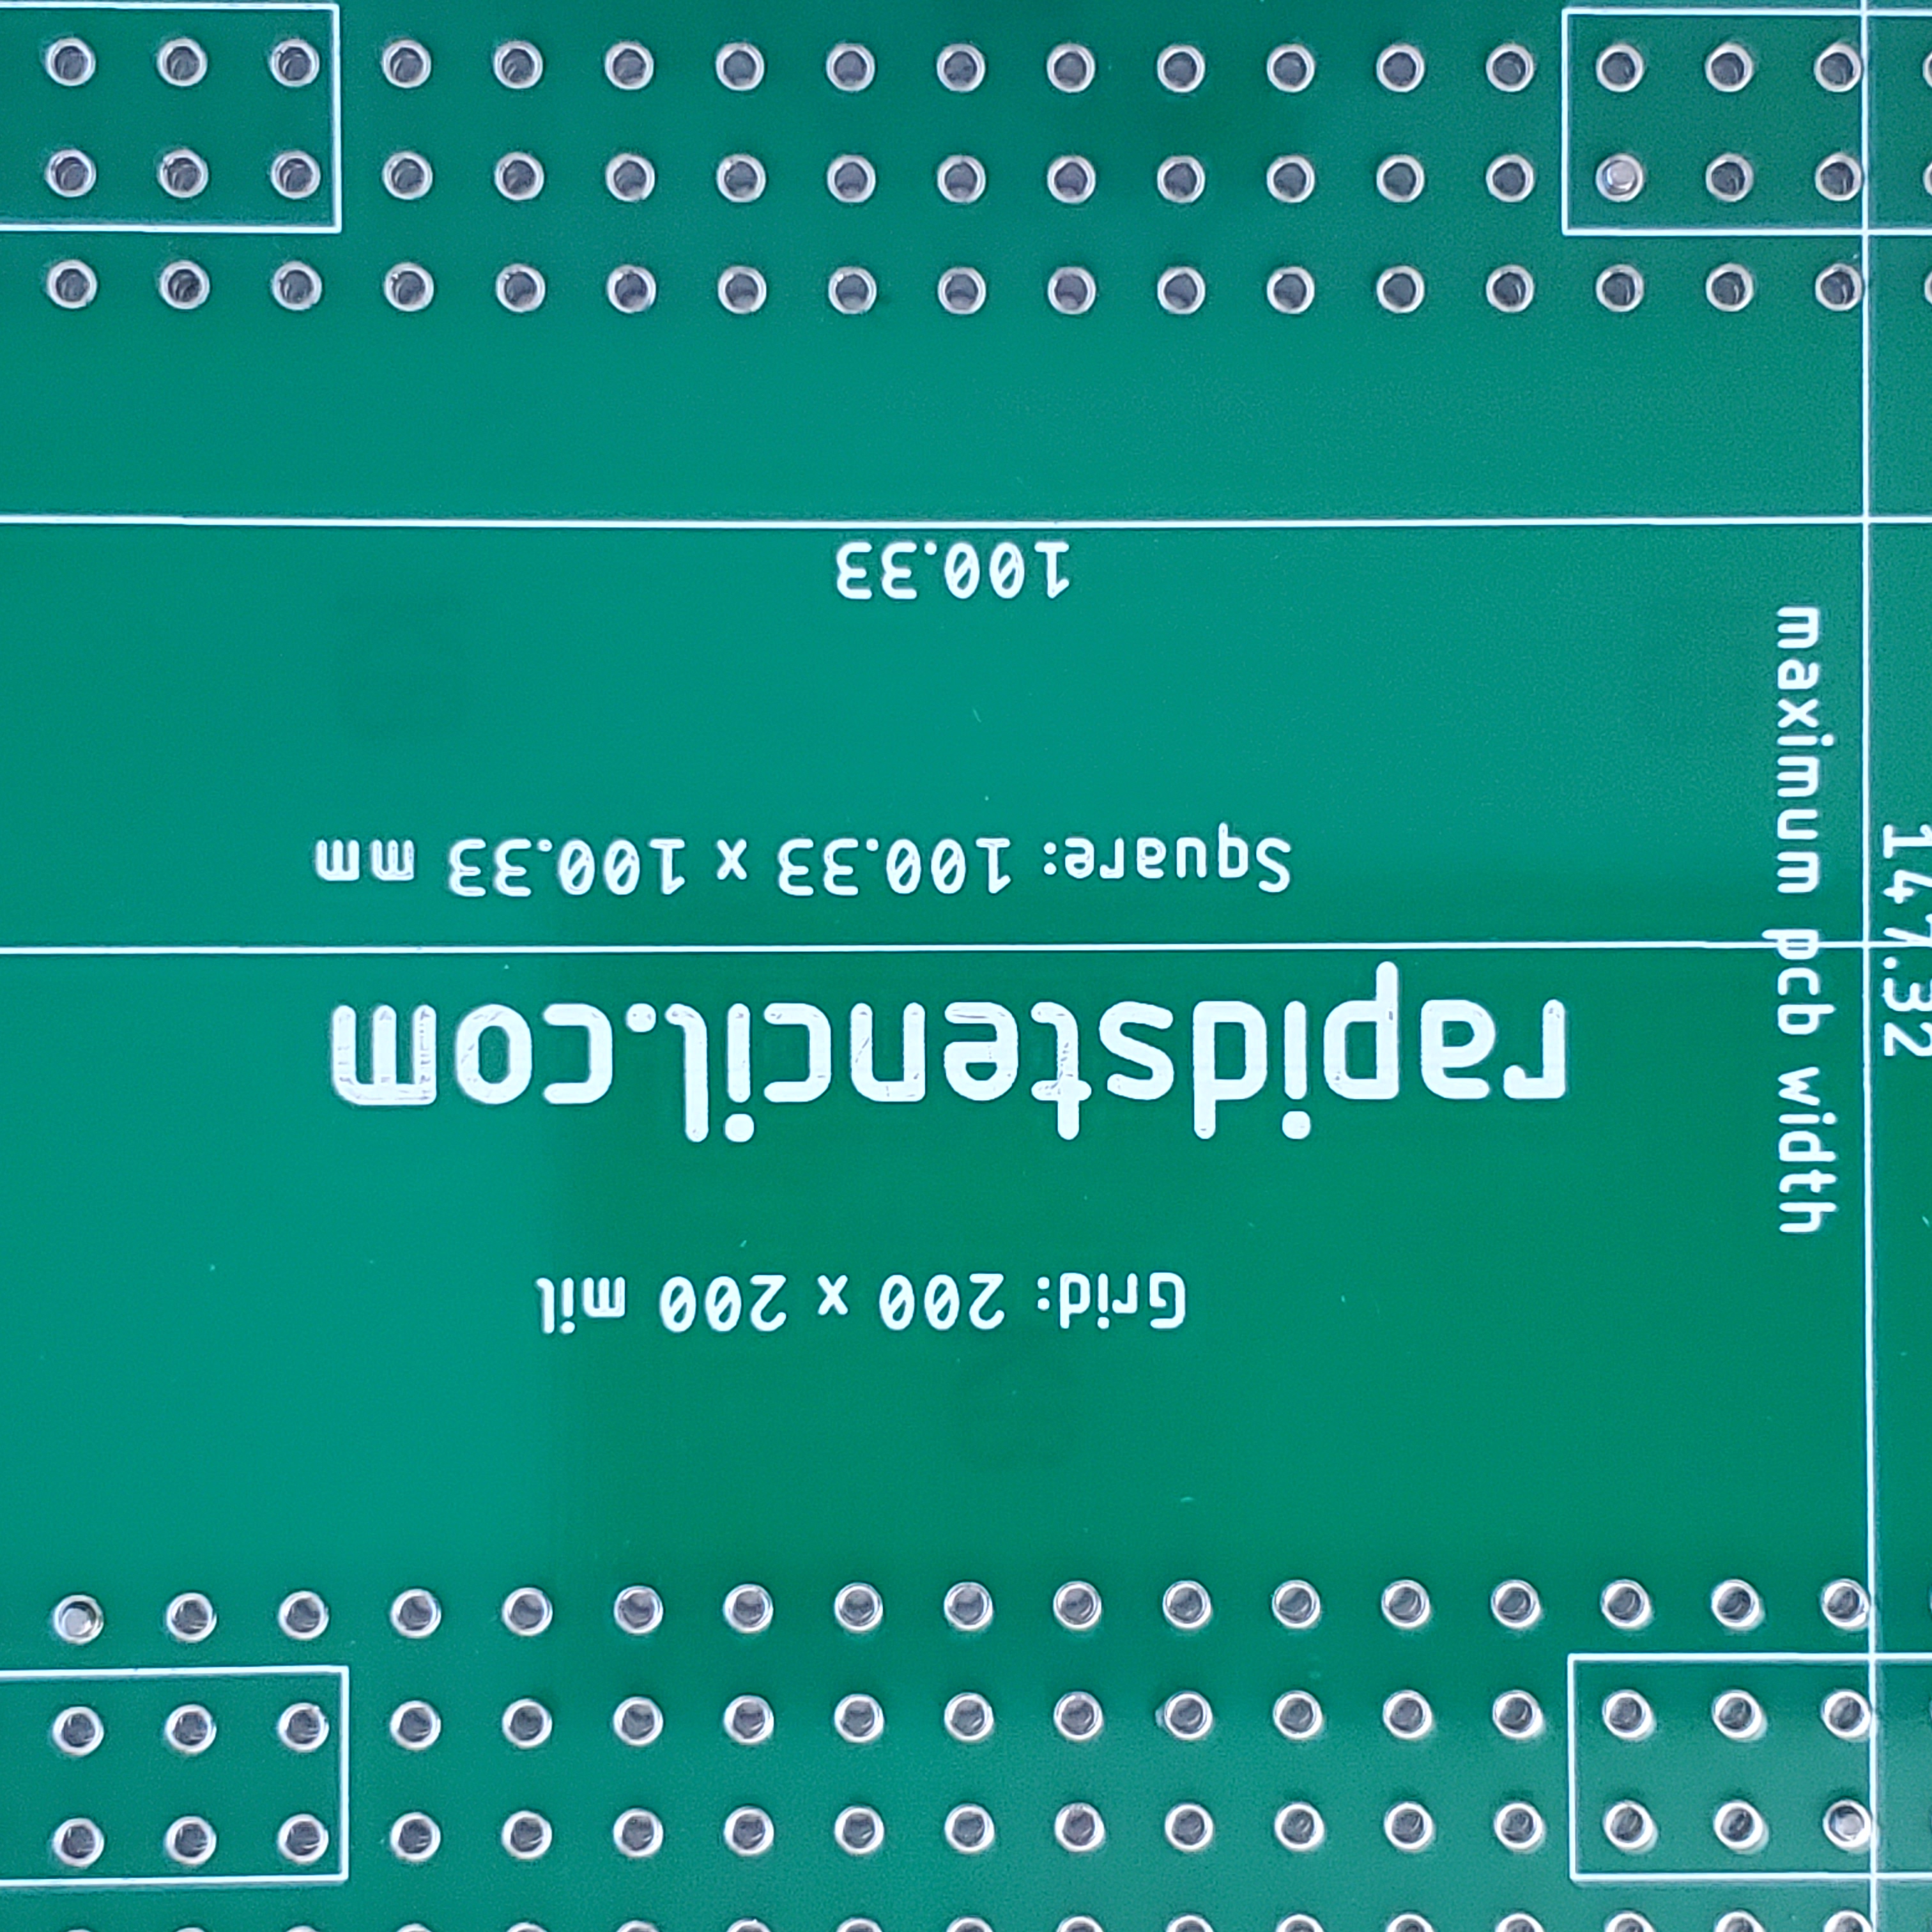
Advance RapidStencil Base PCB
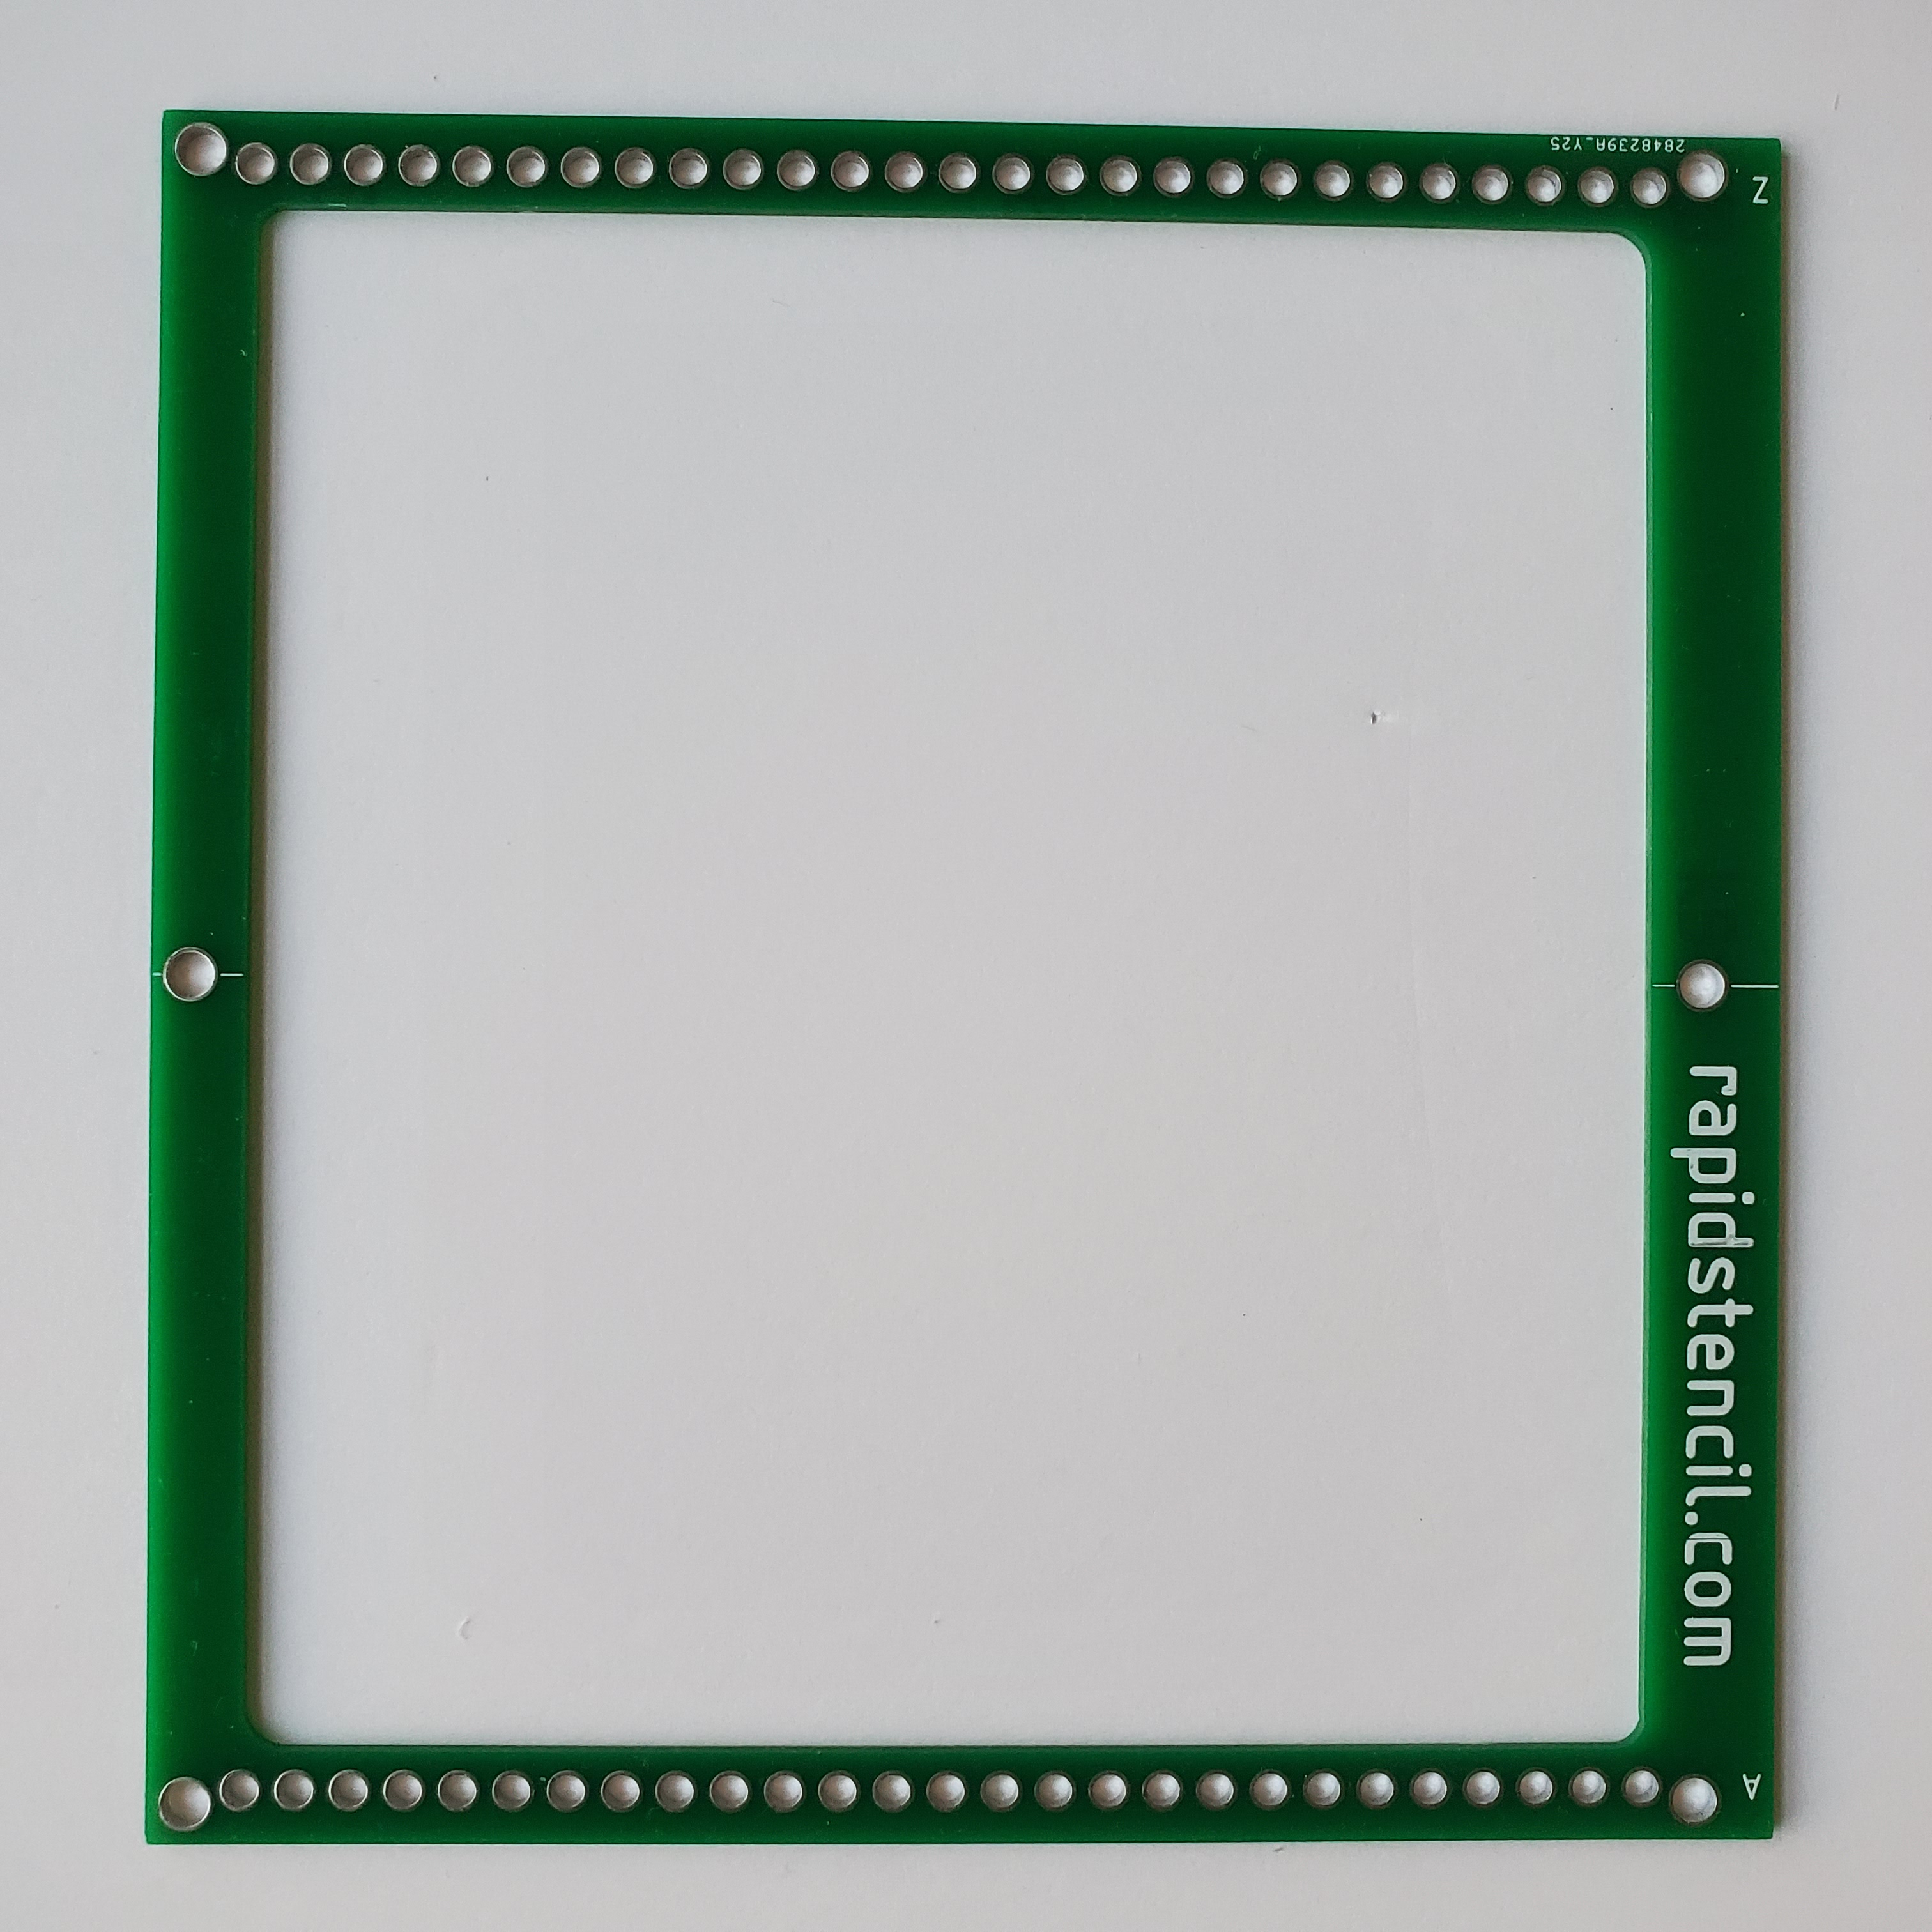
Place this around your board
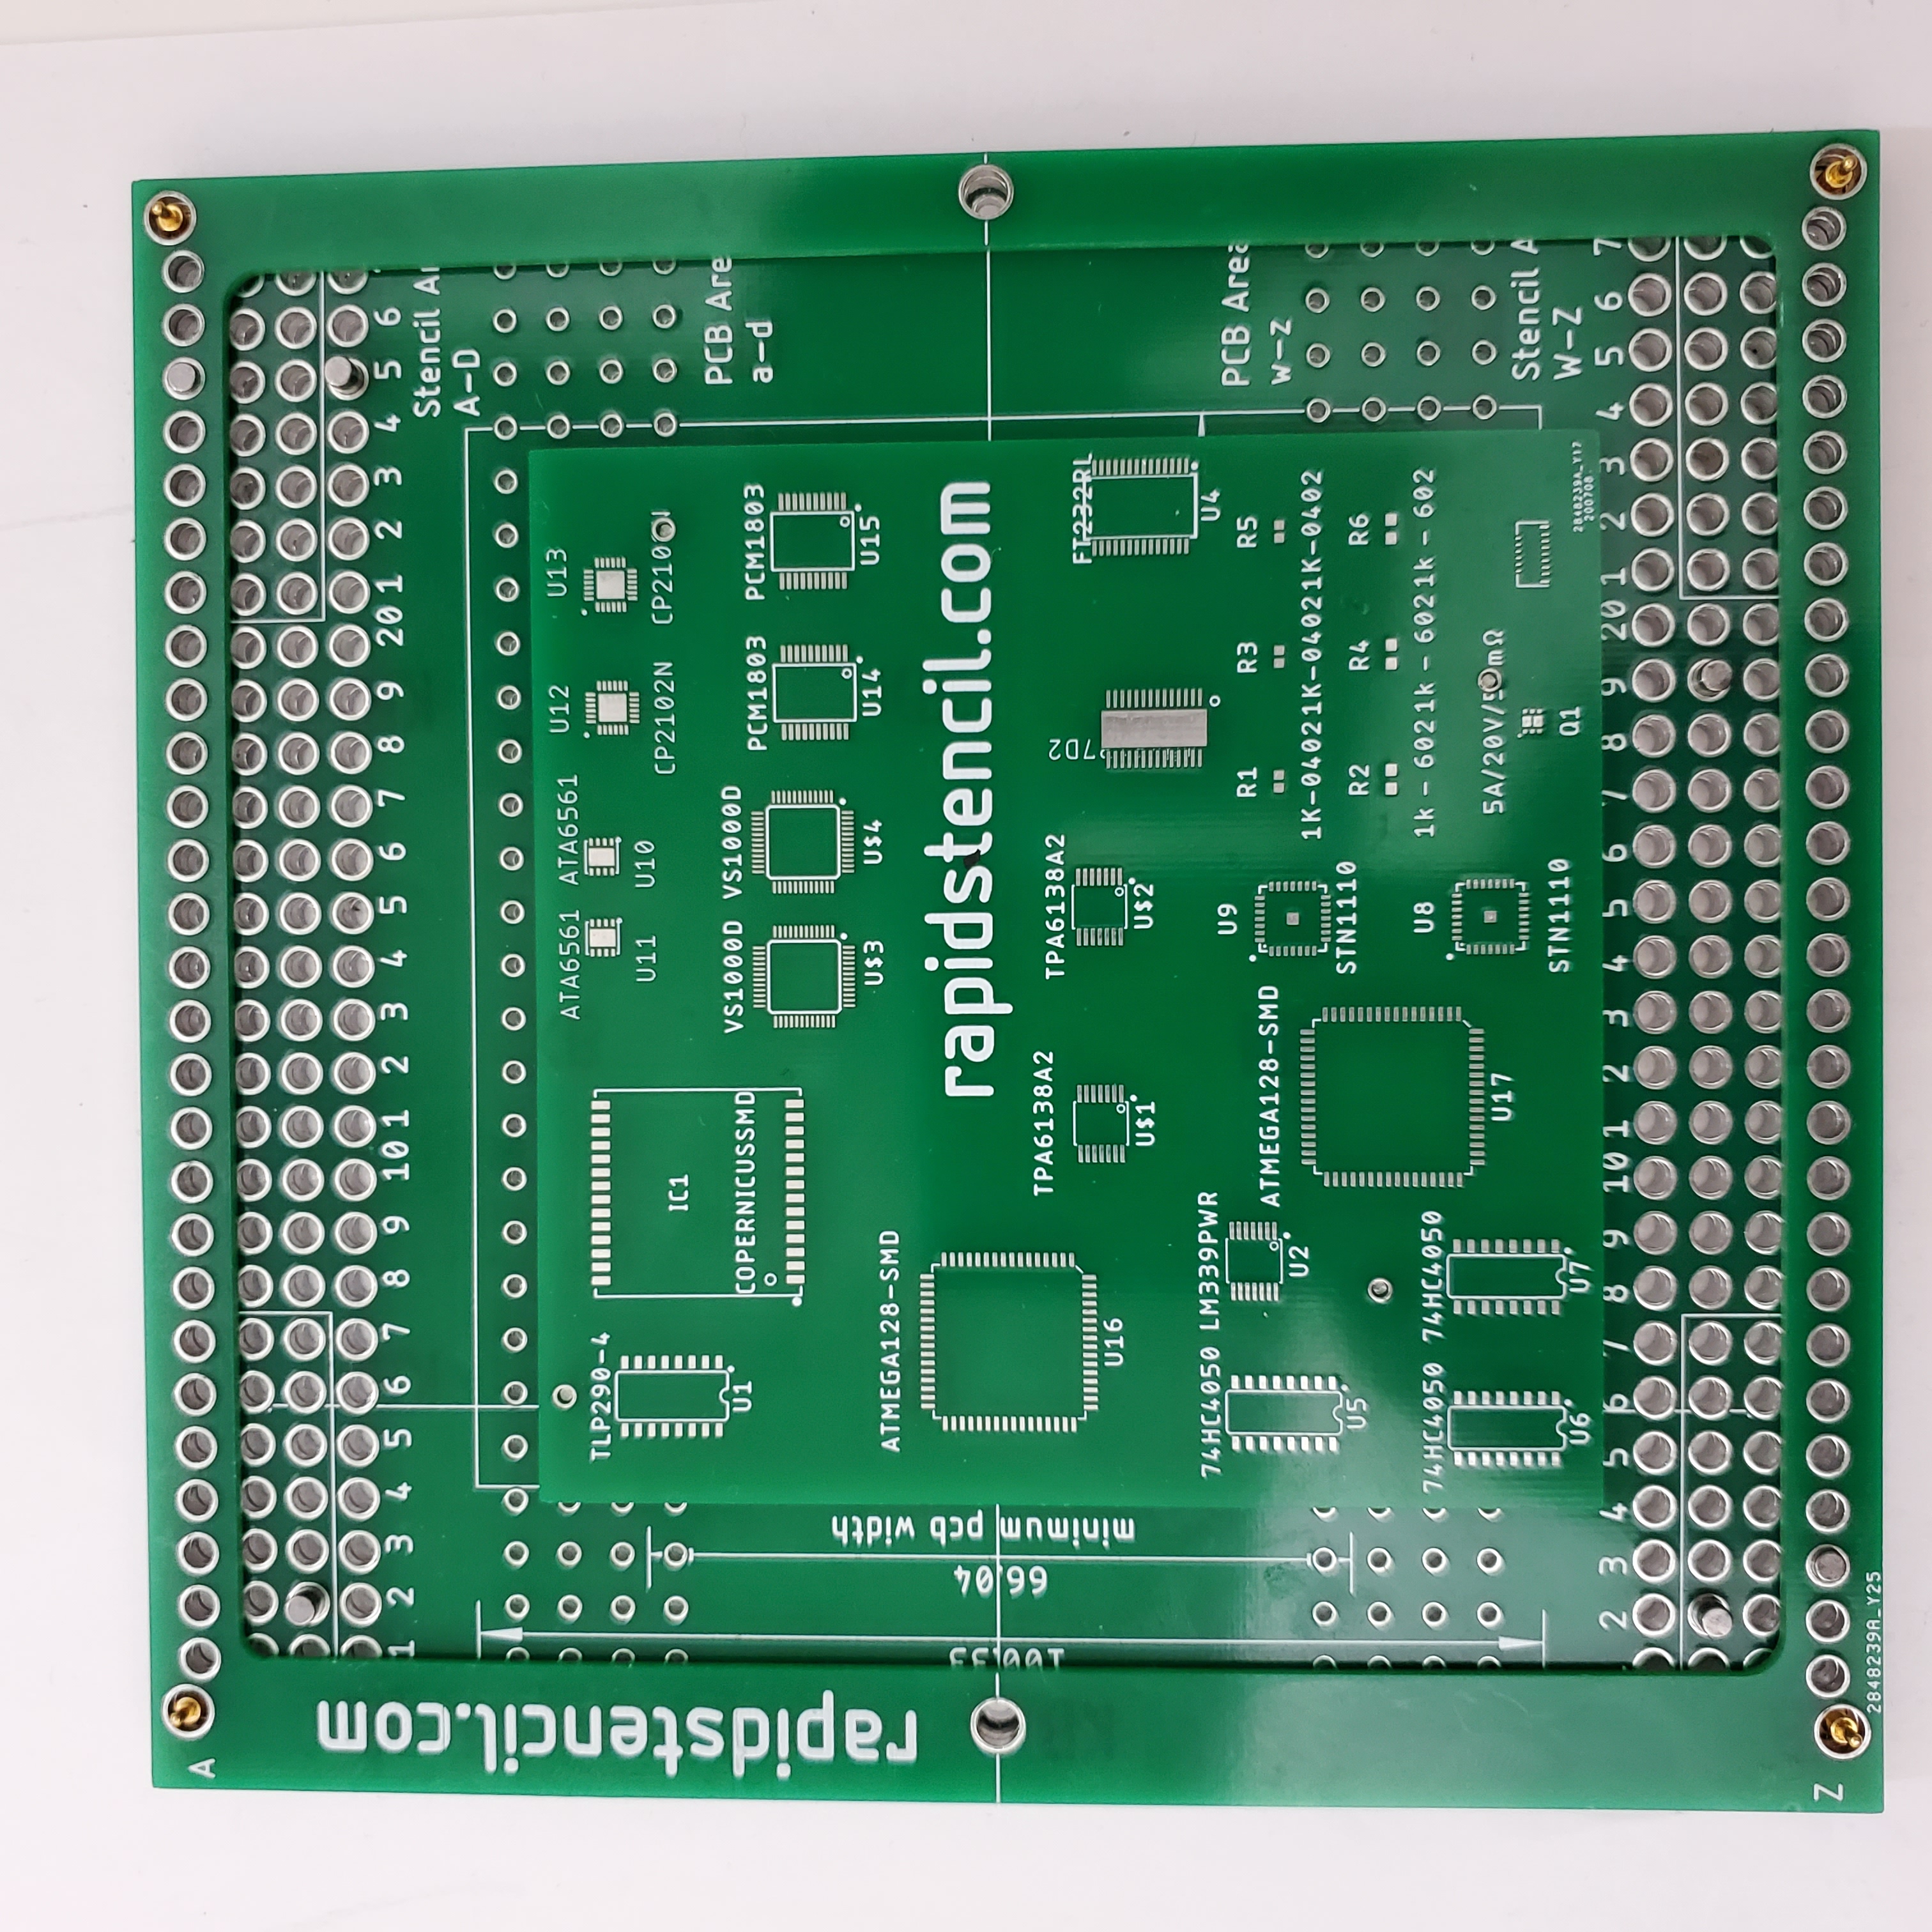
Complete Advanced RapidStencil IT HAS PINS CHANGE THE PIC
Stencil Accuracy Excellent
Stencil Accuracy Excellent
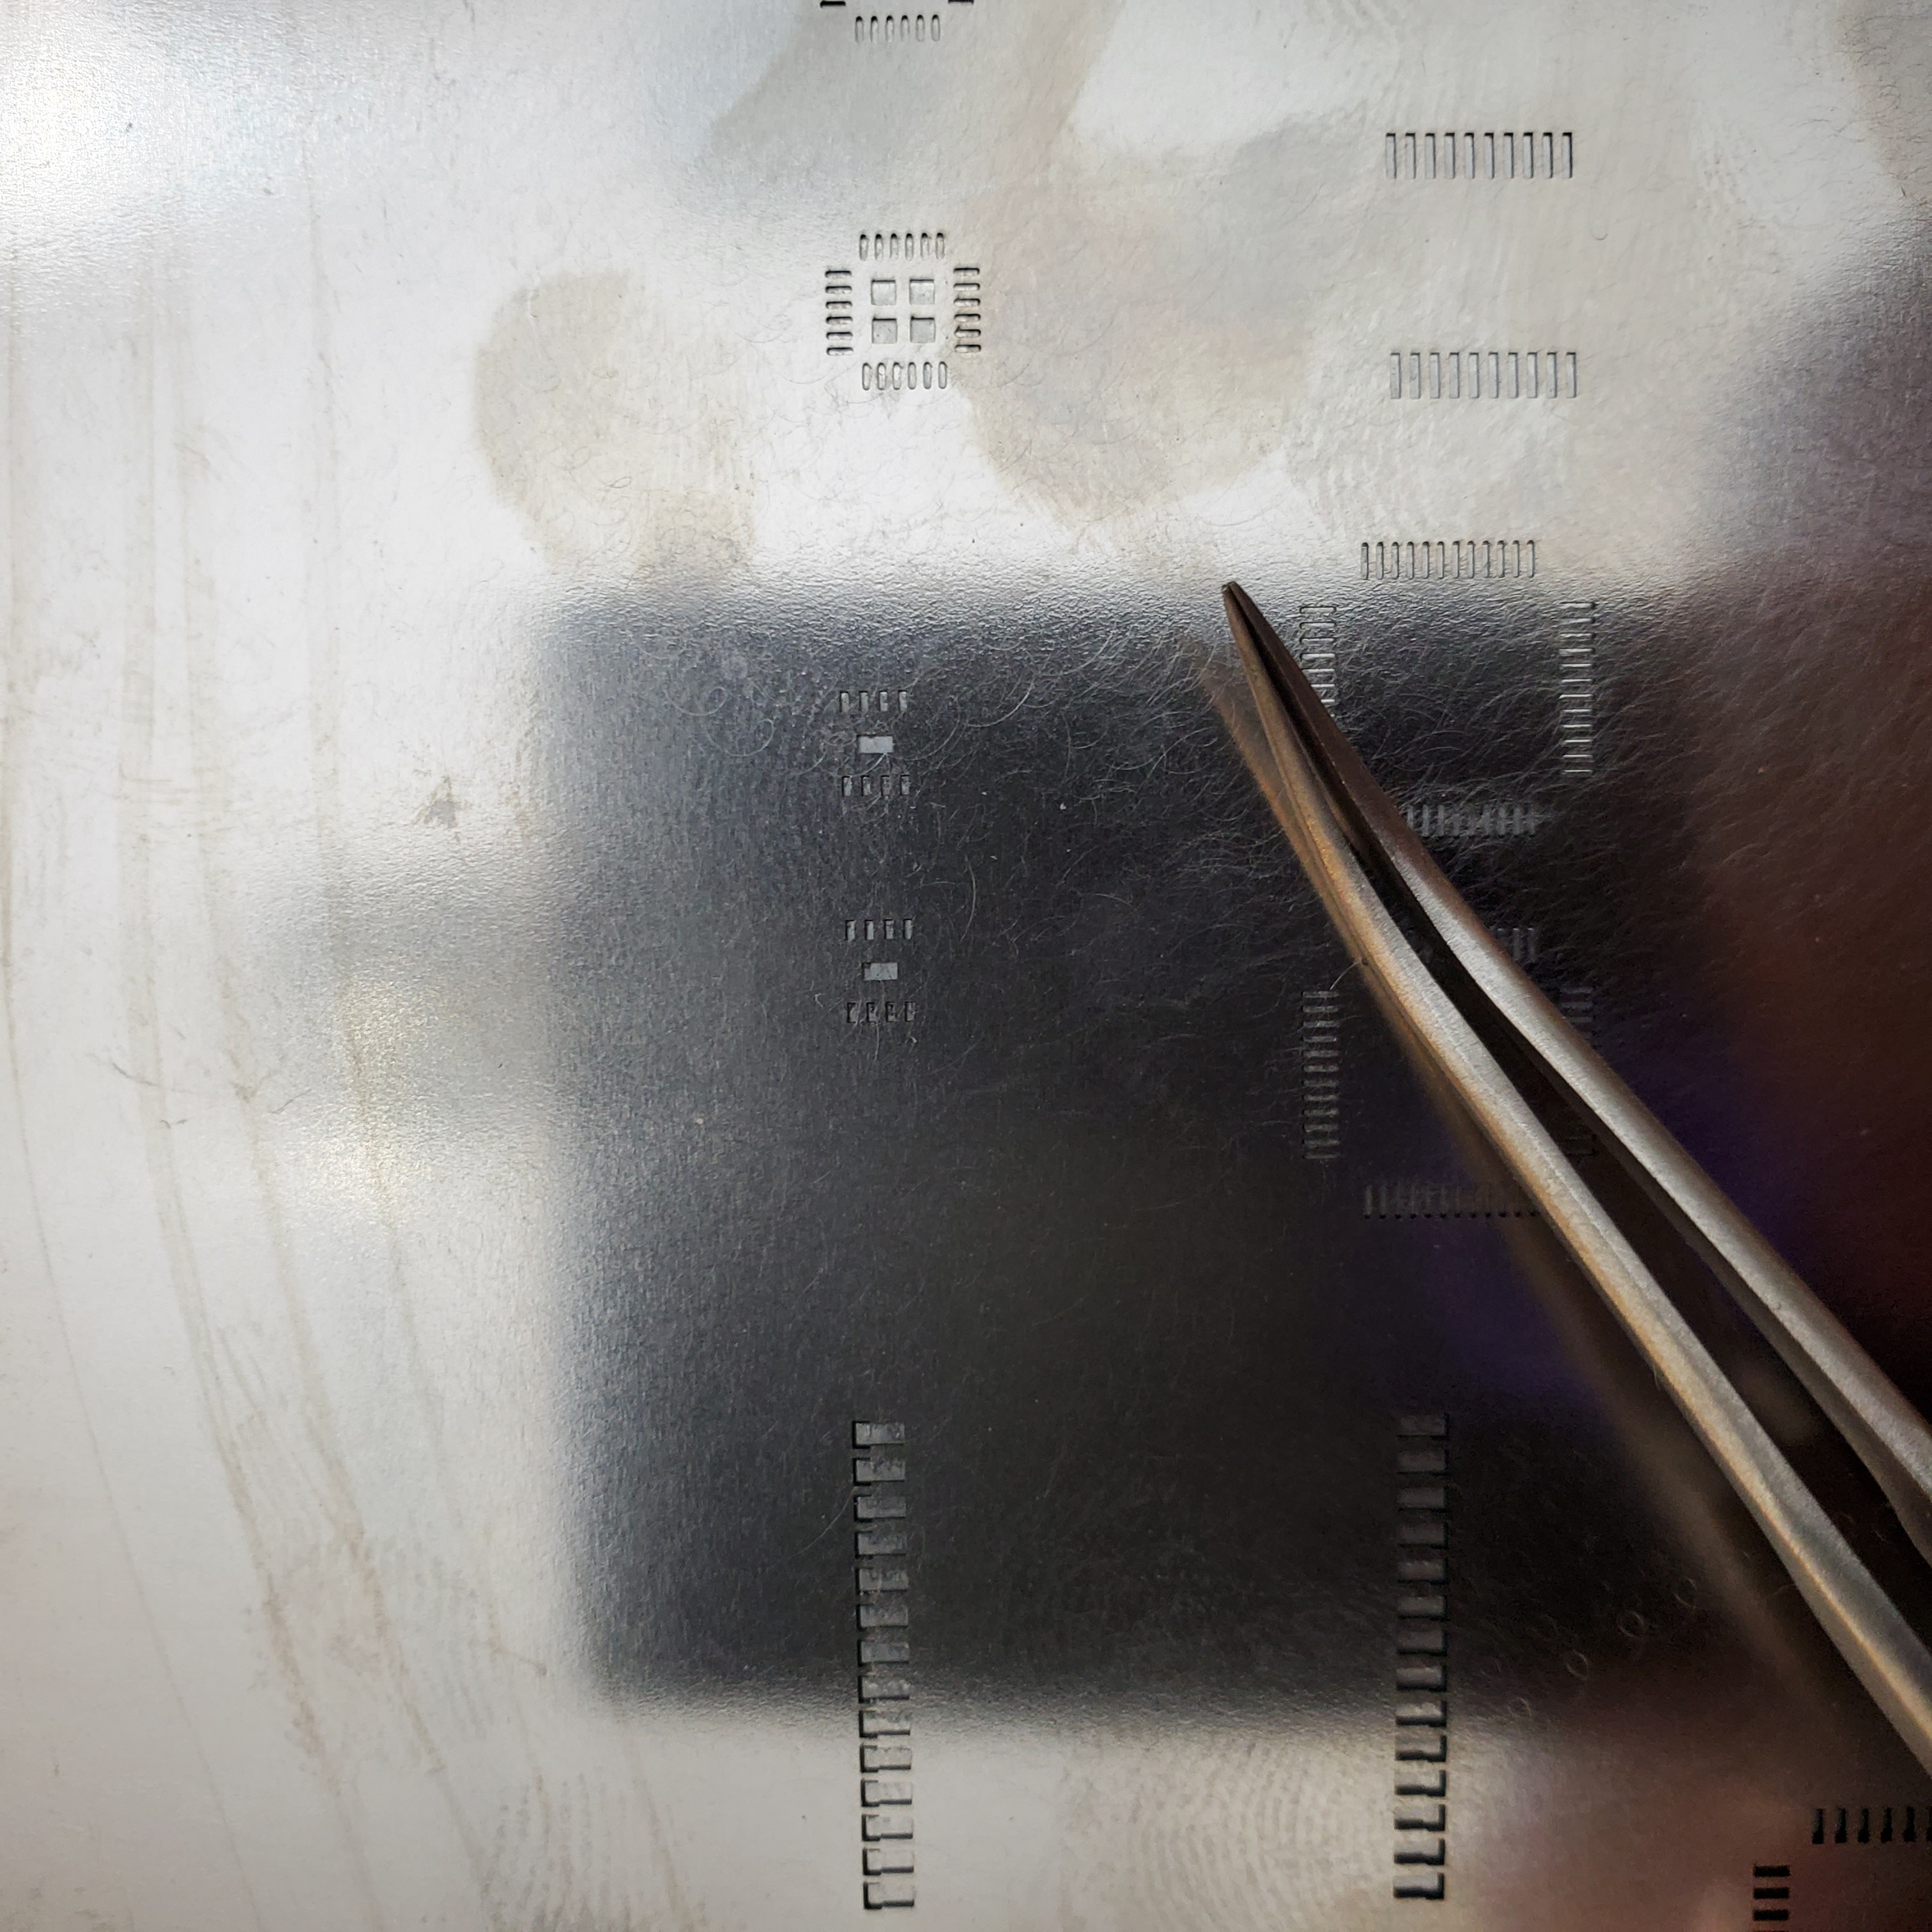
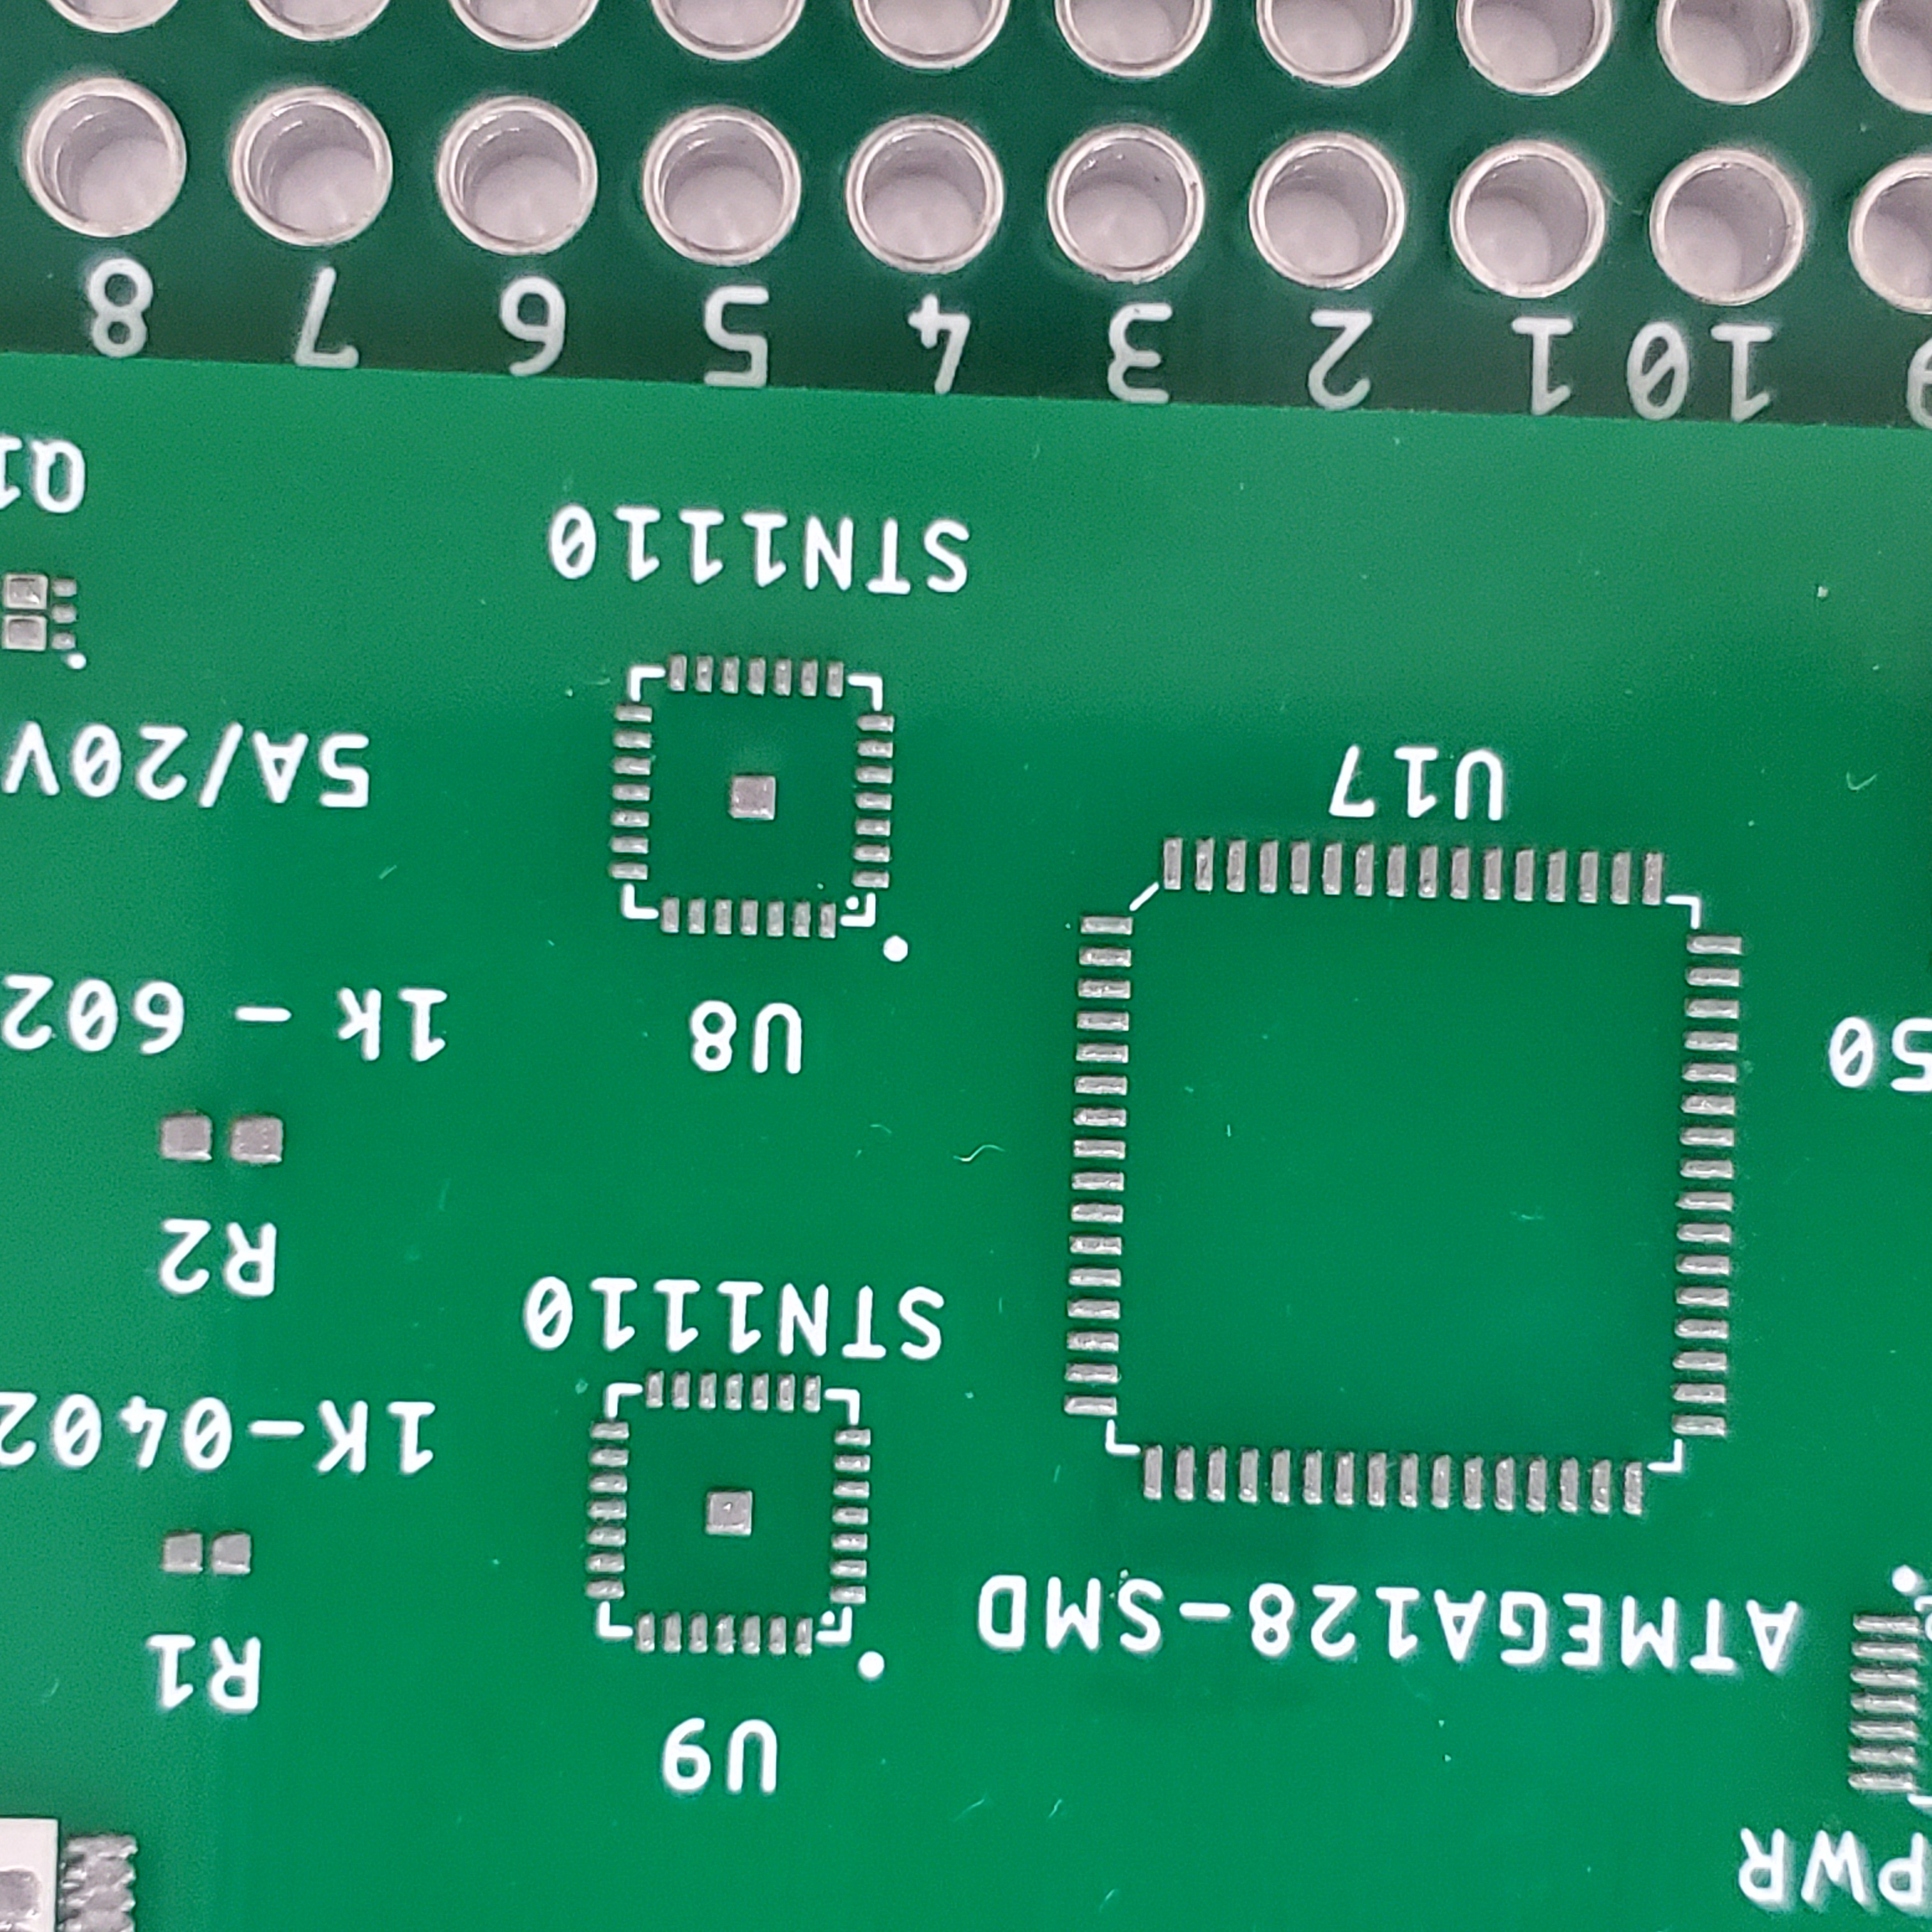
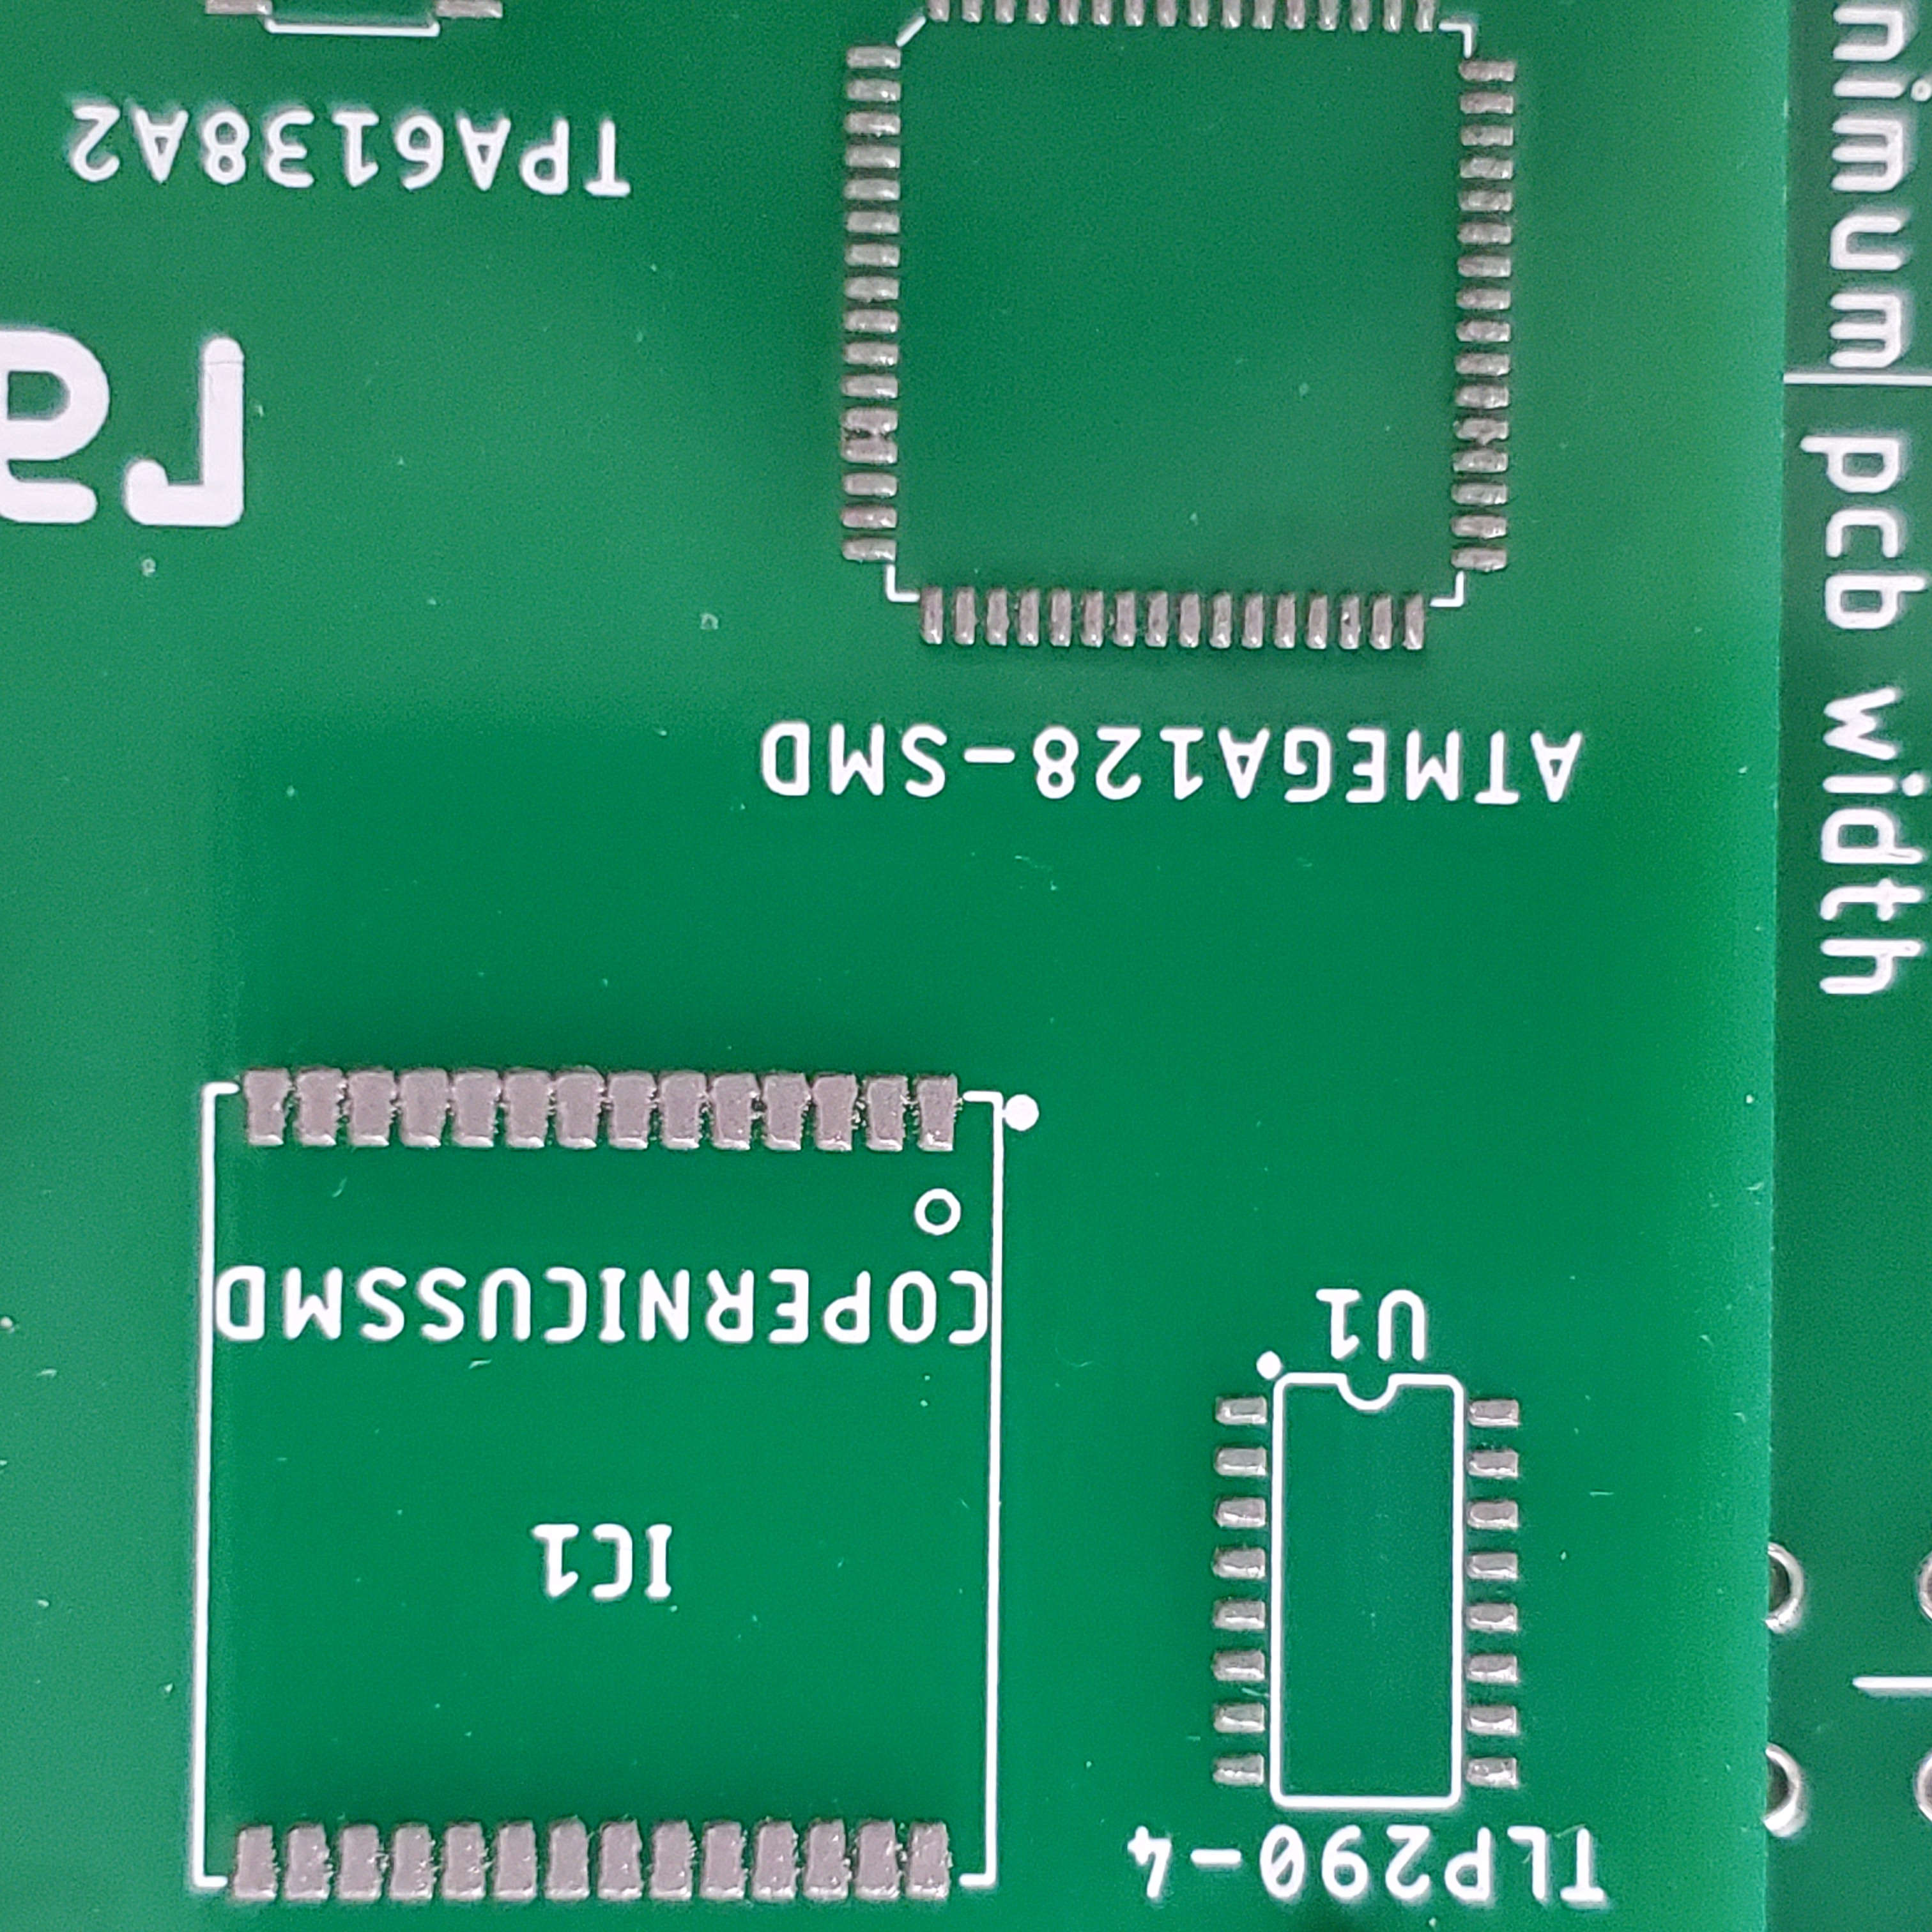
Solder paste application result using RapidStencil

Solder paste application result using RapidStencil
Solder paste application result using RapidStencil
Solder paste application result using RapidStencil
Solder paste application result using RapidStencil
Solder paste application result using RapidStencil
Solder paste application result using RapidStencil